Cosmo Bag: Done

Consider me Travel Handmade ready!  Whew - it took some determination to make it to the end on this one.  But I'm glad to say I've conquered an Amy Butler bag pattern!

Cosmo close up

Challenges:
1.  6.25 yards of interfacing need to be applied to almost every piece cut.
2.  Instructions are clear, but need to be read very carefully.  I read each step at least 2 x before beginning.  I found I really needed to focus to avoid spending time with the seam ripper.
3.  For some reason my lining ended up larger than the exterior of the bag.  So the lining doesn't quite fit as well as I'd like it to.  As a result, there are various tucks in the fabric where the lining joins the exterior.....but unless you're really searching for them, I don't think anyone will notice.

Yes Moments:
1.  Realizing I'm SO glad I went with Modern Meadow on the outside.  Thanks to everyone who helped me decide!
2.  Pleats are not hard and I love the look they add.
3.  My first covered button.  So simple!  Must add more of these to future projects.
4.  Sewing curves....  I still need more practice, but the practice helps.
5.  Realizing the interfacing will make this bag awesomely sturdy.  This bag is constructed well.  A necessary evil I guess.
6.  Just being able to say I've made it thru an Amy Butler pattern.  It was no easy task for a quilter.  and I feel like I really accomplished something!

Here's what I'll look like carrying it at the Sewing Summit!

Me carrying Cosmo

Do I see more Amy Butler bags/patterns in my future??  Yes.  

Anytime soon?  Nope.  

For now, I've spent the past month working on this bag and know what I realized?? 

I really miss quilting.  
There's still just something about working on a quilt that's really IT for me.  

I'm gonna go cut up some squares or something....

Hello Sunshine Queen Quilt Finish

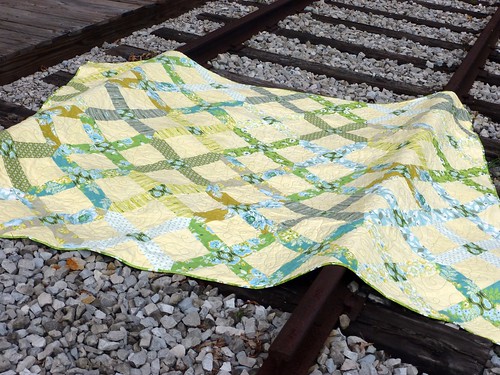
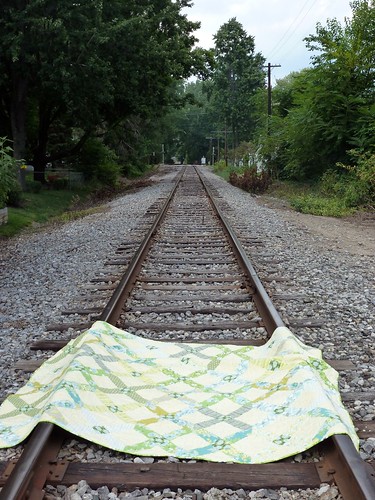
Hello Sunshine is FINALLY finished!  The individual x-block used in this quilt has always reminded me of a railroad crossing sign.  So for this quilt's finish photo shoot I decided to head to a historical village with some railroad nostalgia.

Nicey Jane Hello Sunshine #1

This quilt is queen sized for our master bedroom.  It's the first one I've made for our bed.  Yikes!  I can't imagine doing a king - this was big enough for me!  I started with a half yard bundle of 10 Nicey Jane prints that I received for Christmas.  I absolutely love how it pairs with the Kona Maize - it's so cheery and bright.

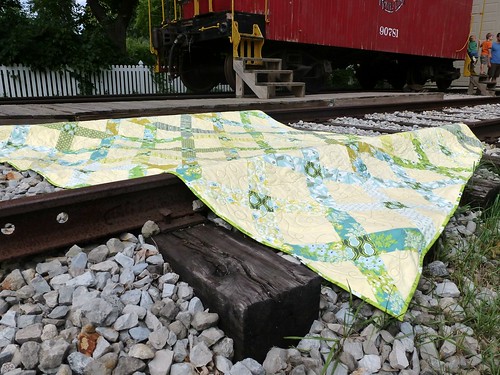
Nicey Jane Hello Sunshine #2 edited

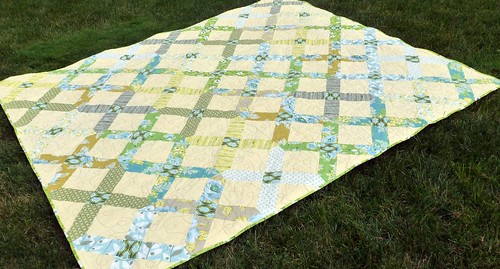
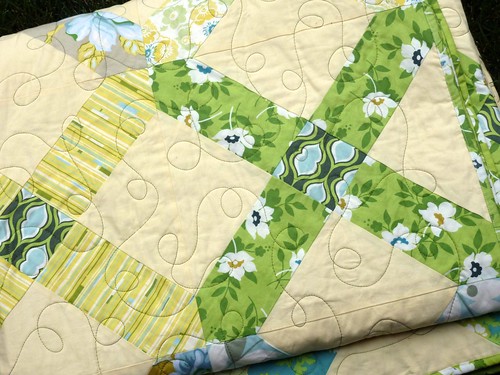
What started out as an x-block has a lattice effect when you look at the whole piece put together.  I think it was the right choice for the garden and vintage-y florals of the prints.

Nicey Jane Hello Sunshine #3 edited

I was trying to learn how to use EQ7 when I designed this quilt (that was also a xmas present).  After having done a couple designs with the software, I have noticed it seems to overestimate yardage requirements.  When I first started this quilt, it was only to be lap size, 16 blocks.  I ended up making 42 - 14" blocks for the queen.

Nicey Jane Hello Sunshine #4 edited

I quilted it at my LQS on a HQ Avante.  I love working with that machine!  It makes doing a large quilt so easy.  It only took me about 1.5 hours to quilt the whole thing.

Nicey Jane Hello Sunshine #5 edited

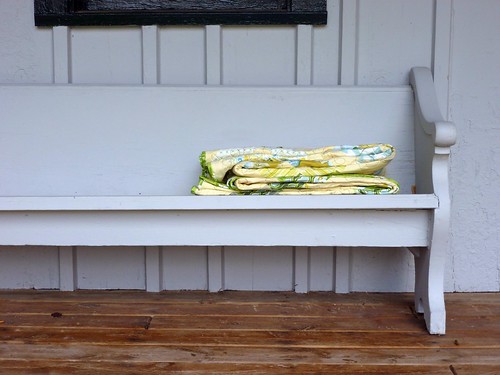
I know you can't see very much of the quilt, but I just love this bench shot.

Nicey Jane Hello Sunshine #6 edited

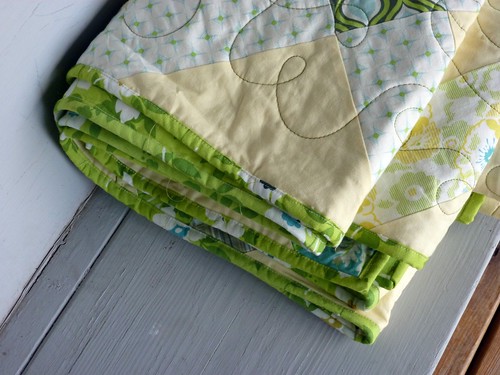
I uses one of the green prints for the binding, and struggled with whether I should hand or machine bind it.  In the end, getting it done quick won out.

Nicey Jane Hello Sunshine #7

Overall, I'm really happy with how it came out and it's really warm to sleep under at night!


Tutorial: How To Add Piping to a Pillow


I've piped a couple pillows now and the tutorials I've referenced before didn't explain things how my mind works.  So of course, I thought I'd write my own!  Hopefully, this will help you add the piping with less frustration.  Because in the end, it adds such a professional touch and is worth it!


Now, the important thing to realize BEFORE you even begin sewing is that you will end up sewing around the cording three times before your pillow is finished.  In order not to see the previous stitching line, it is important that each consecutive stitch line gets closer to the cording.

So the first line you sew is basically a basting line just to secure the cording inside your fabric strip.  It should be loose, with room to sew 2 more stitching lines inside the original baste.

The second stitching line attaches the cording wrapped in fabric to the pillow top.  This stitching line should be inside or to the left of the baste.

The third stitching line is the last one (!) and attaches the back of the pillow to the front plus piping combo from the previous step.  Again, this third stitching line should be inside or to the left of the other stitching line.

Clear as mud?  Let me show you with a little more detail and photos.  Just remember, each consecutive stitch line should be closer and closer to the cording to prevent seeing any unwanted stitches.


      Sew stitch line #1, the basting line.  I like to use my zipper foot for piping.


      Make the piping similar to how you would binding in terms of finishing.  Leave 2 inches or so open so   you can tuck the opposite end inside for a finished look.


      Pin all the way around and clip at the corners for ease of turning.


      Sew stitch line #2 to attach the piping to the pillow front.


      See the 2 stitching lines?  The right is #1 basting line and the left is #2, attaching the piping to the pillow front.


      Place your pillow front on top of the pillow back, right sides together.  The stitch line you see in the picture is stitch line #2.

      Sew stitch line #3 to attach the pillow front and back together.  Again, sew to the left of #2!


      Leave an opening for turning the pillow right side out.


      Here you can see stitch line #2 on the right and stitch line #3 on the left.  When you turn it right side out, stitch line #3 will conceal all the other stitching.


      Right side out....


      Stuff..... and hand sew the opening closed.


      That's all!  Hope this helps you make perfect piping next time!