With all the holiday hustle and bustle behind us, it's time to start thinking about new projects. The
Sisters' Ten Block of the Month Club is kicking off just in time. There is nothing like starting a new project with a fresh new year. Let me tell you the nitty gritty of
Sisters' Ten...
The Sisters' Ten Blocks.
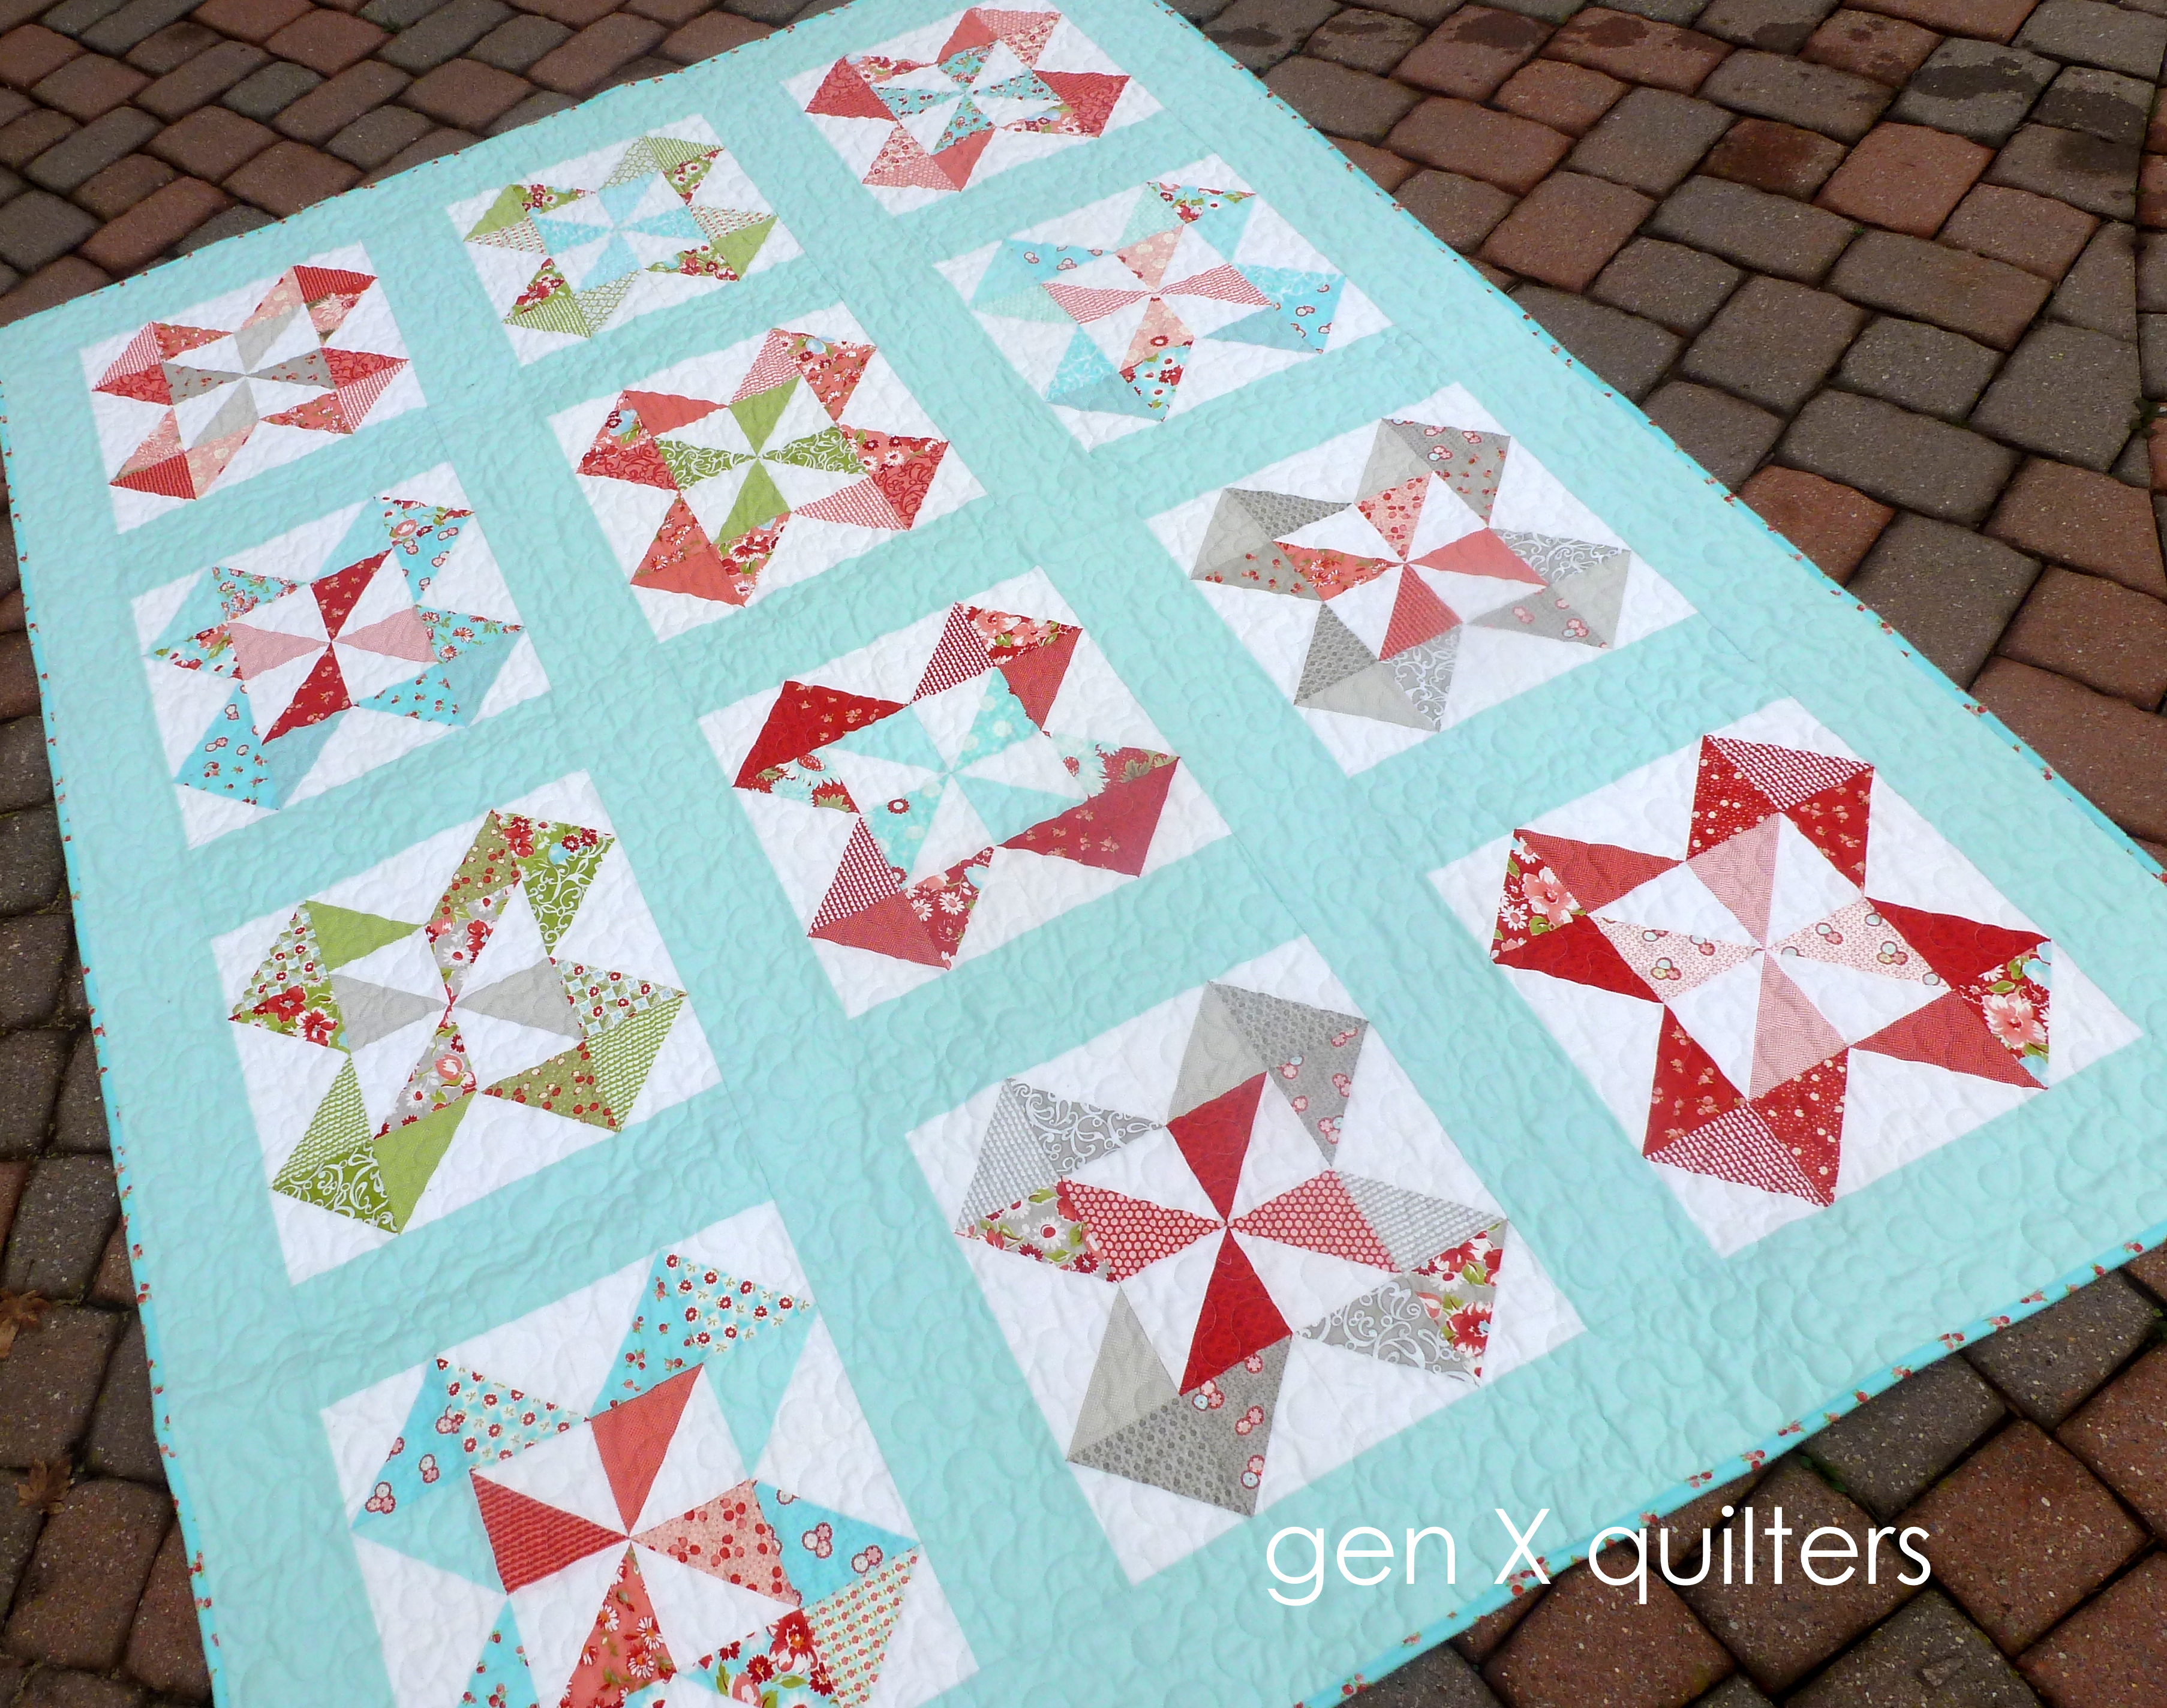
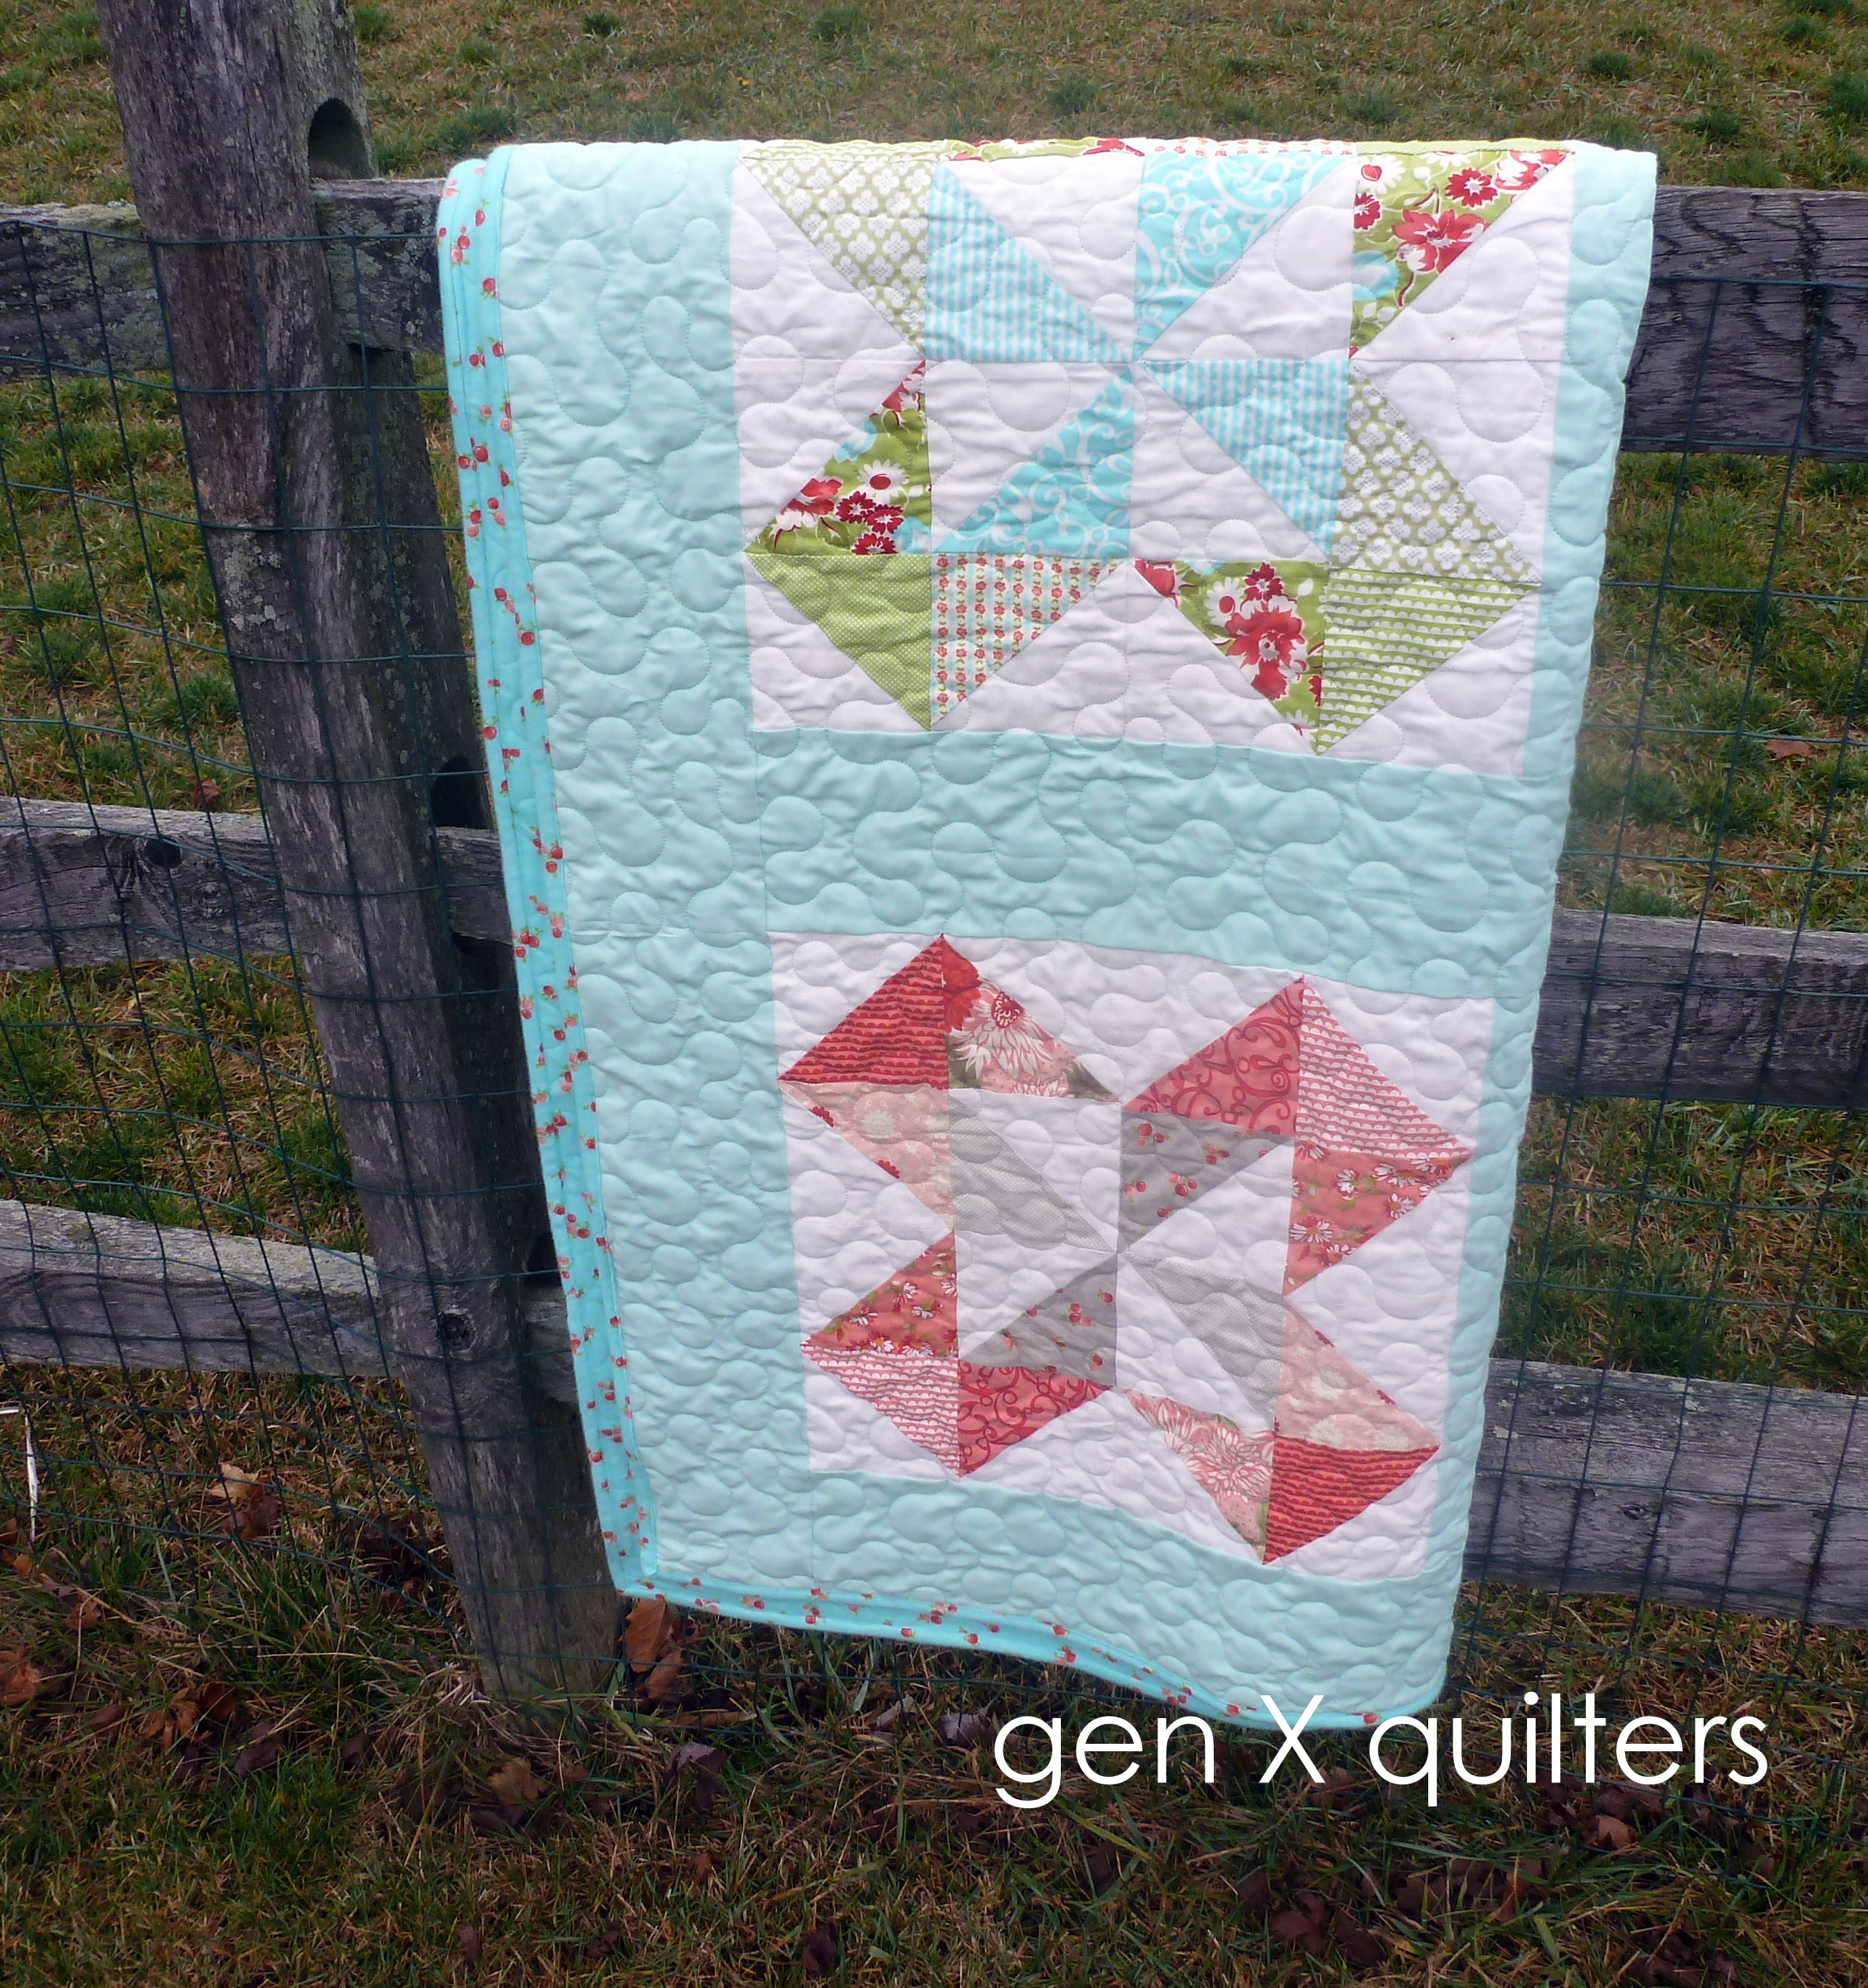
This Block of the Month quilt has a theme centered around your favorite women. Be it a Wife, Mother, Grandmother, Aunt, Sister or Friend. We all have a woman that we look up to and aspire to be like. These ten quilt blocks all honor those women, using their name as the block name. Sister's Choice, Grandmother's Frame. Quilts are a great way to commemorate these women.
The Design.
Frequently Asked Questions.
1. When are the new block tutorials released? Each month, a new block tutorial will post on the first Friday of the month.
2. How long does the BOM run? This BOM will run one year. January though October will have block tutorials. November and December will be spent finishing the quilt.
3.
How many blocks are there in the quilt? Each "half" of the quilt has 10 blocks. There will be 10 block tutorials. We will make
2 of each block during the month.
4.
What size is the finished quilt? There are two finished sizes of the quilt depending on the block size you choose.
Lap. 60" x 60" (9" finished blocks)
Large Twin 78" x 78" (12" finished blocks)
5.
What size are the blocks? You may choose to make the blocks as either 9"x 9" (Lap) or 12"x 12" (Large Twin) finished. Cutting instructions will be given for both sizes.
6.
What are the fabric requirements?
Lap.
- 9 fat quarters
- 3 yards background and sashing
Large Twin.
- 12 fat quarters
- 4 5/8 yards background and sashing
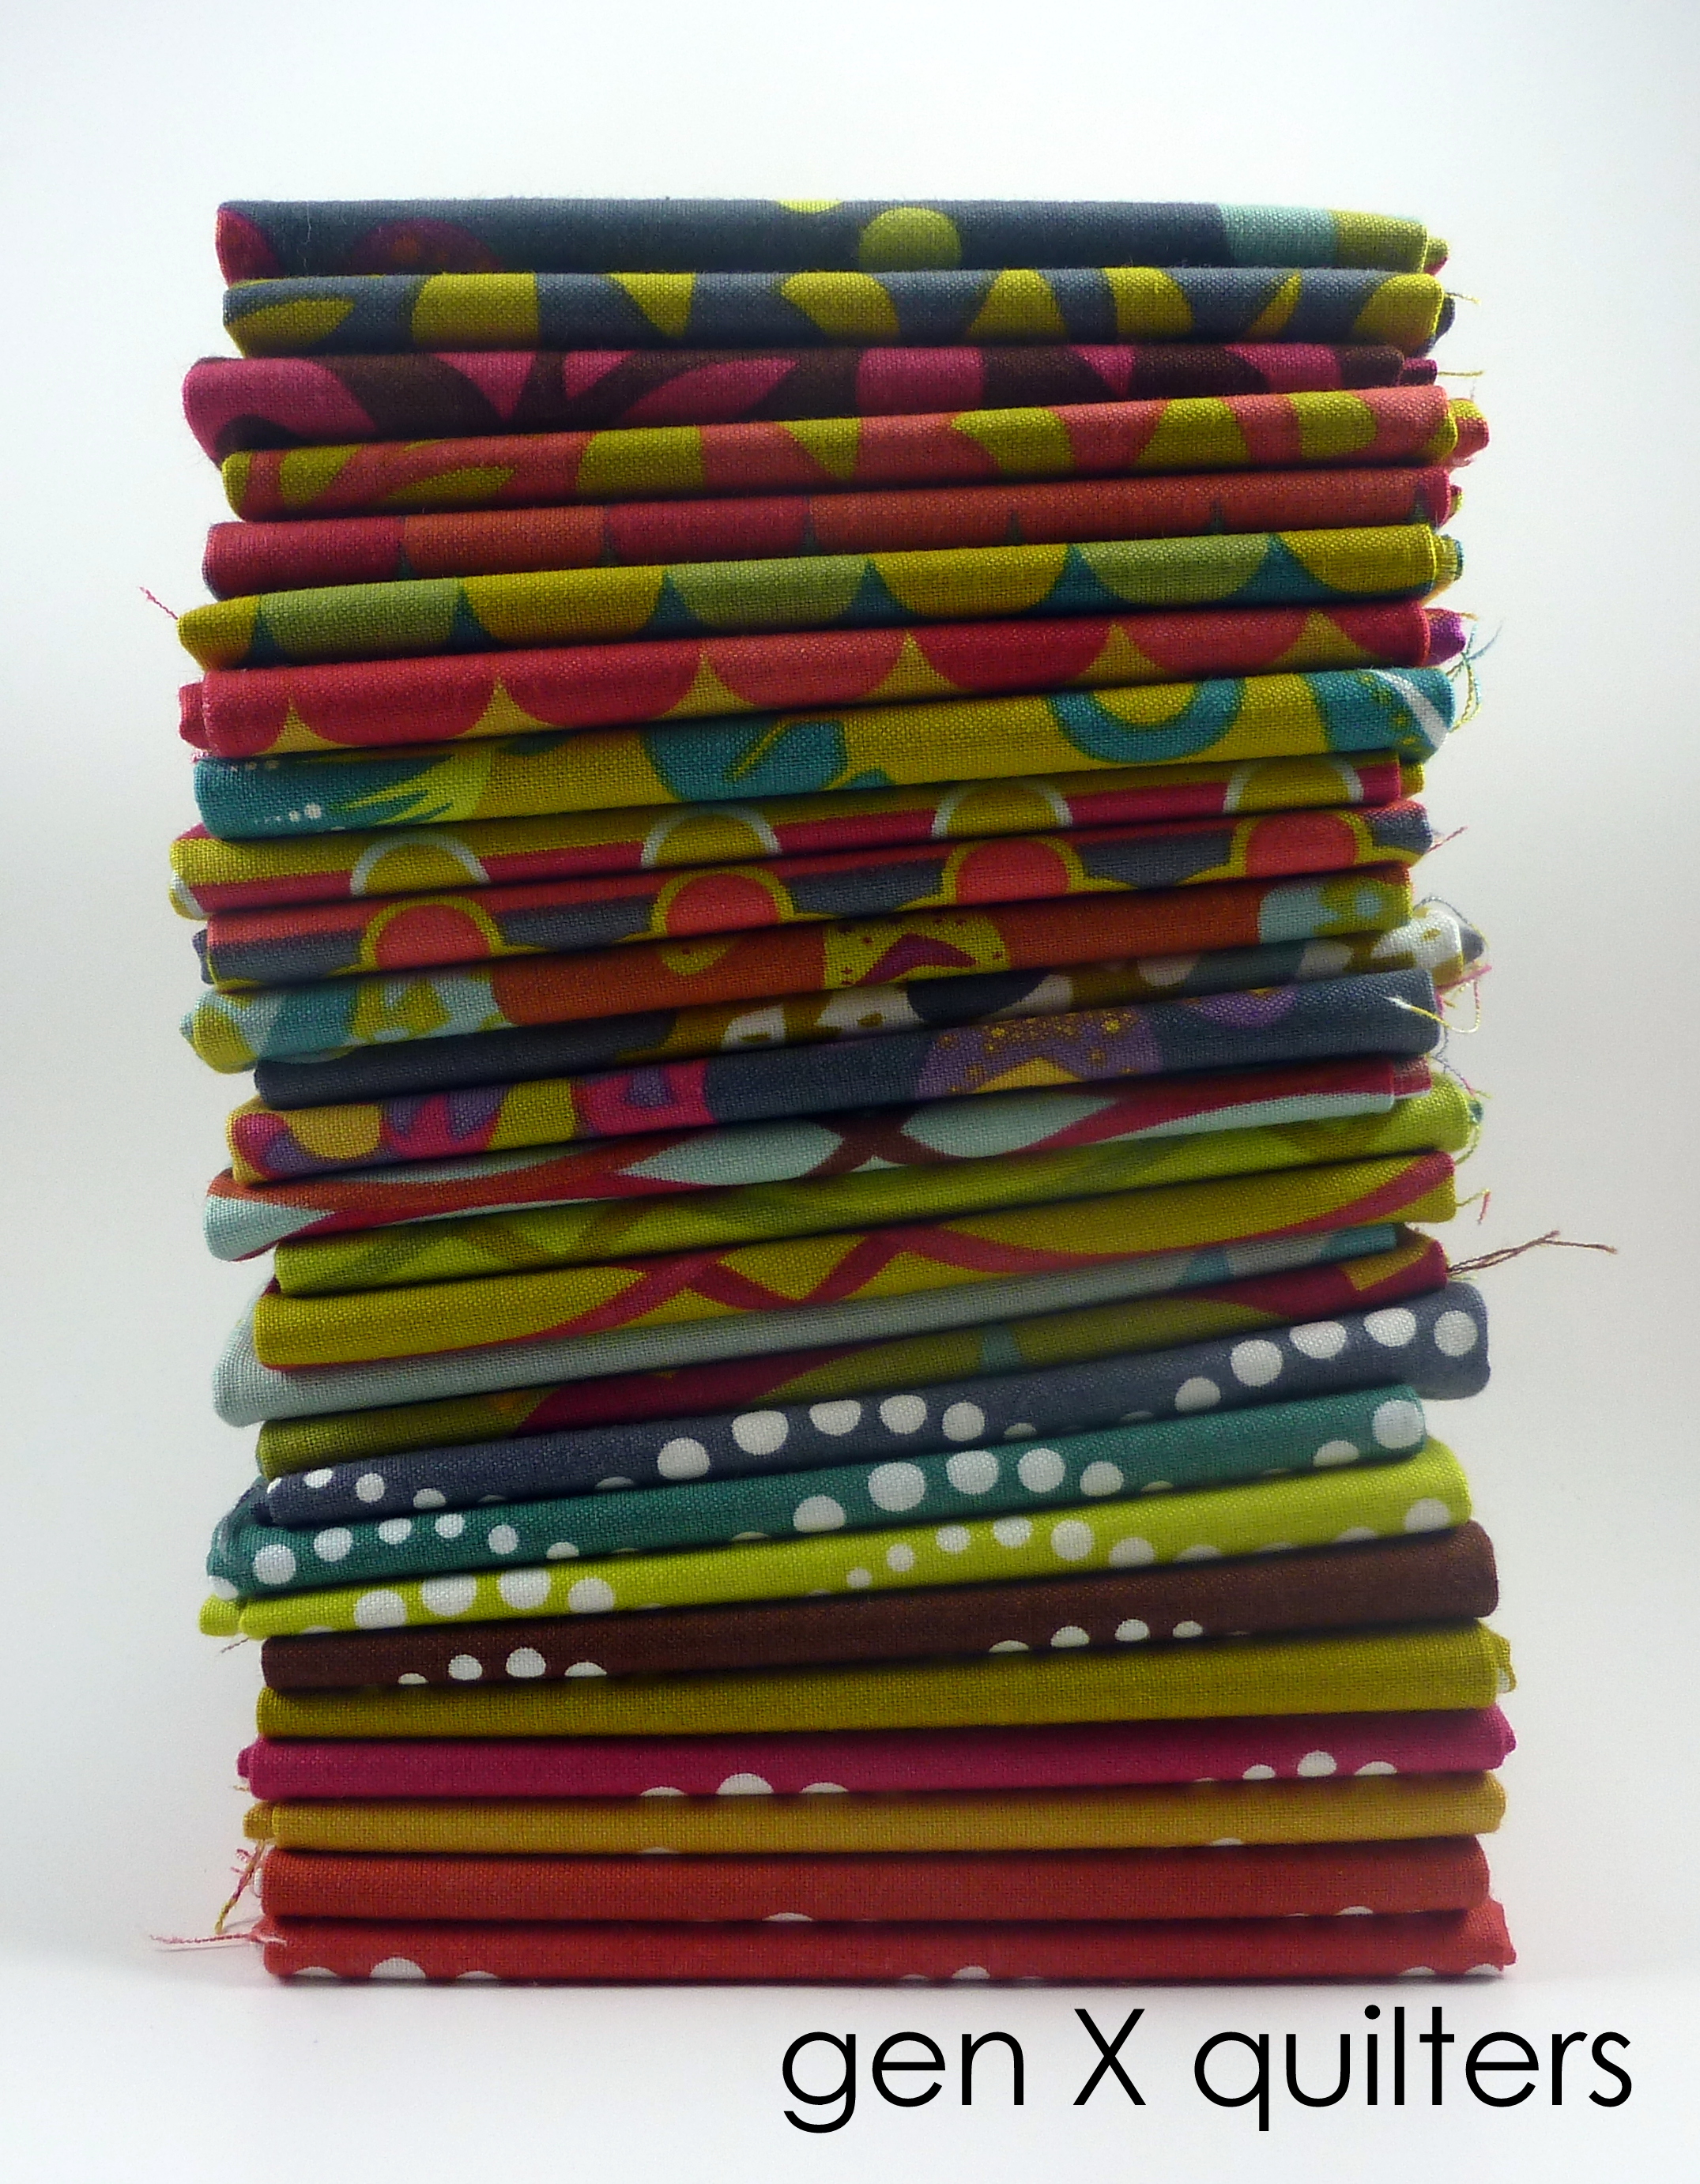
I will be using Lucky Penny by
Alison Glass for
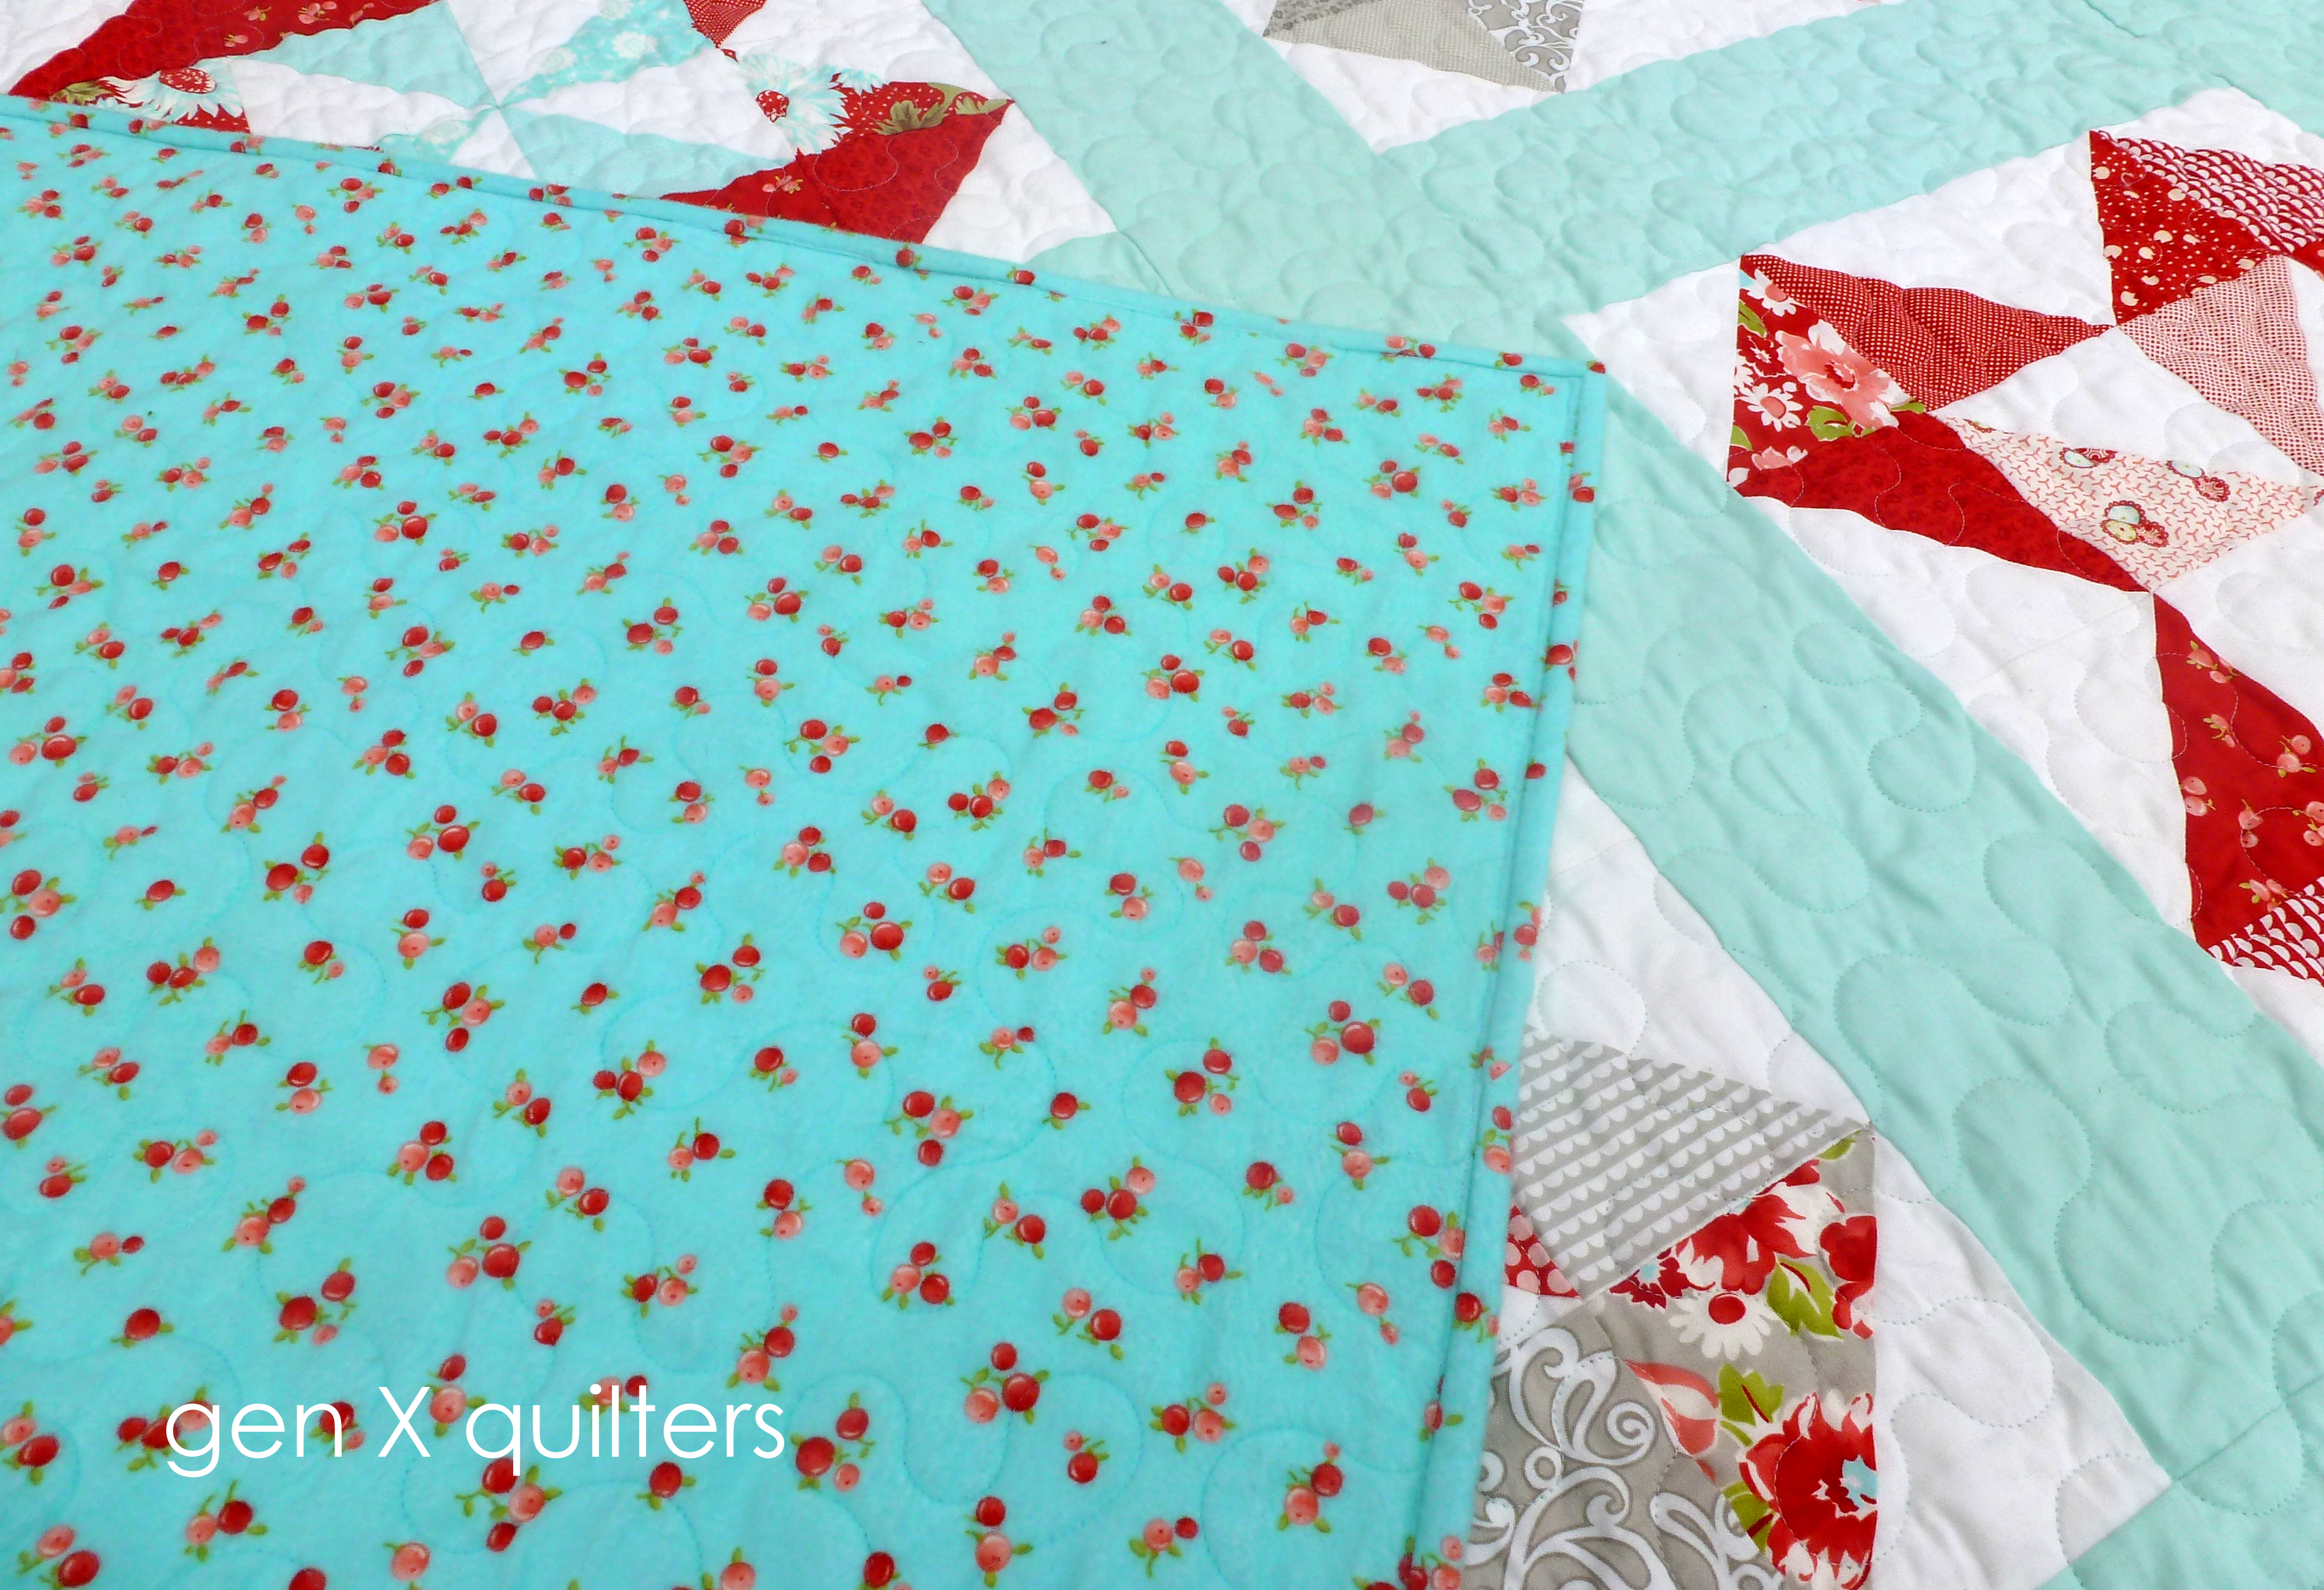
Andover Fabrics. I have the full FQ bundle, so I will use more prints than just the 12 required. I will also be using any leftover fabric for the backing.
7.
I like the Sisters' Ten blocks, but prefer a more traditional setting. Can I still join? Absolutely! You are more than welcome to make blocks along with us throughout the year, and if you prefer, set the blocks in a more traditional manner (i.e. 3 x 4 rows with cornerstones for example). It's really up to you. However, I will only be giving finishing instructions for the modern layout above.
You can make only one set of the blocks (instead of two), and then add in two additional ones of your choice for 12 total for the traditional BOM 3 x 4 setting.
-OR- make all 20 blocks and lay them out in a 4 x 5 row grid. Let your creativity flow!
8.
It's already halfway through the year. Can I still join? No problem! Block of the Month Clubs online are great because you can really work at your own pace. No one is going to prevent you from skipping a block because you don't like it or working at your own pace, be it ahead or behind.
To me, quilting is fun and about interpretation. I am providing the tutorials to you as a guide. Feel free to adapt them to your liking. After all, YOU are the person who will keep the quilt or gift it to a loved one.
9.
Is there a flickr group for this BOM? Yes - please join the
Sisters' Ten flickr group here. It is more fun when we can share our fabric selections, progress and blocks with each other.
What do you think? Sound like fun? I hope you'll join me! I am so excited to be starting this new and funky BOM with you. The first block instructions go up on Friday, January 4. If you have any questions, please leave me a comment. I will try to address all getting started questions here in this post for all to read.
I can't wait!


