Who doesn't love a quick and easy project? I sure do! And since I needed to replace the lanyard I had, I thought I'd do a quick tutorial for you all. You'll probably spend more time choosing what fabric to use than actually making this lanyard.
Materials.
- 3 3/4" x width of fabric (wof) strip*
- 1" swivel hook
- coordinating thread
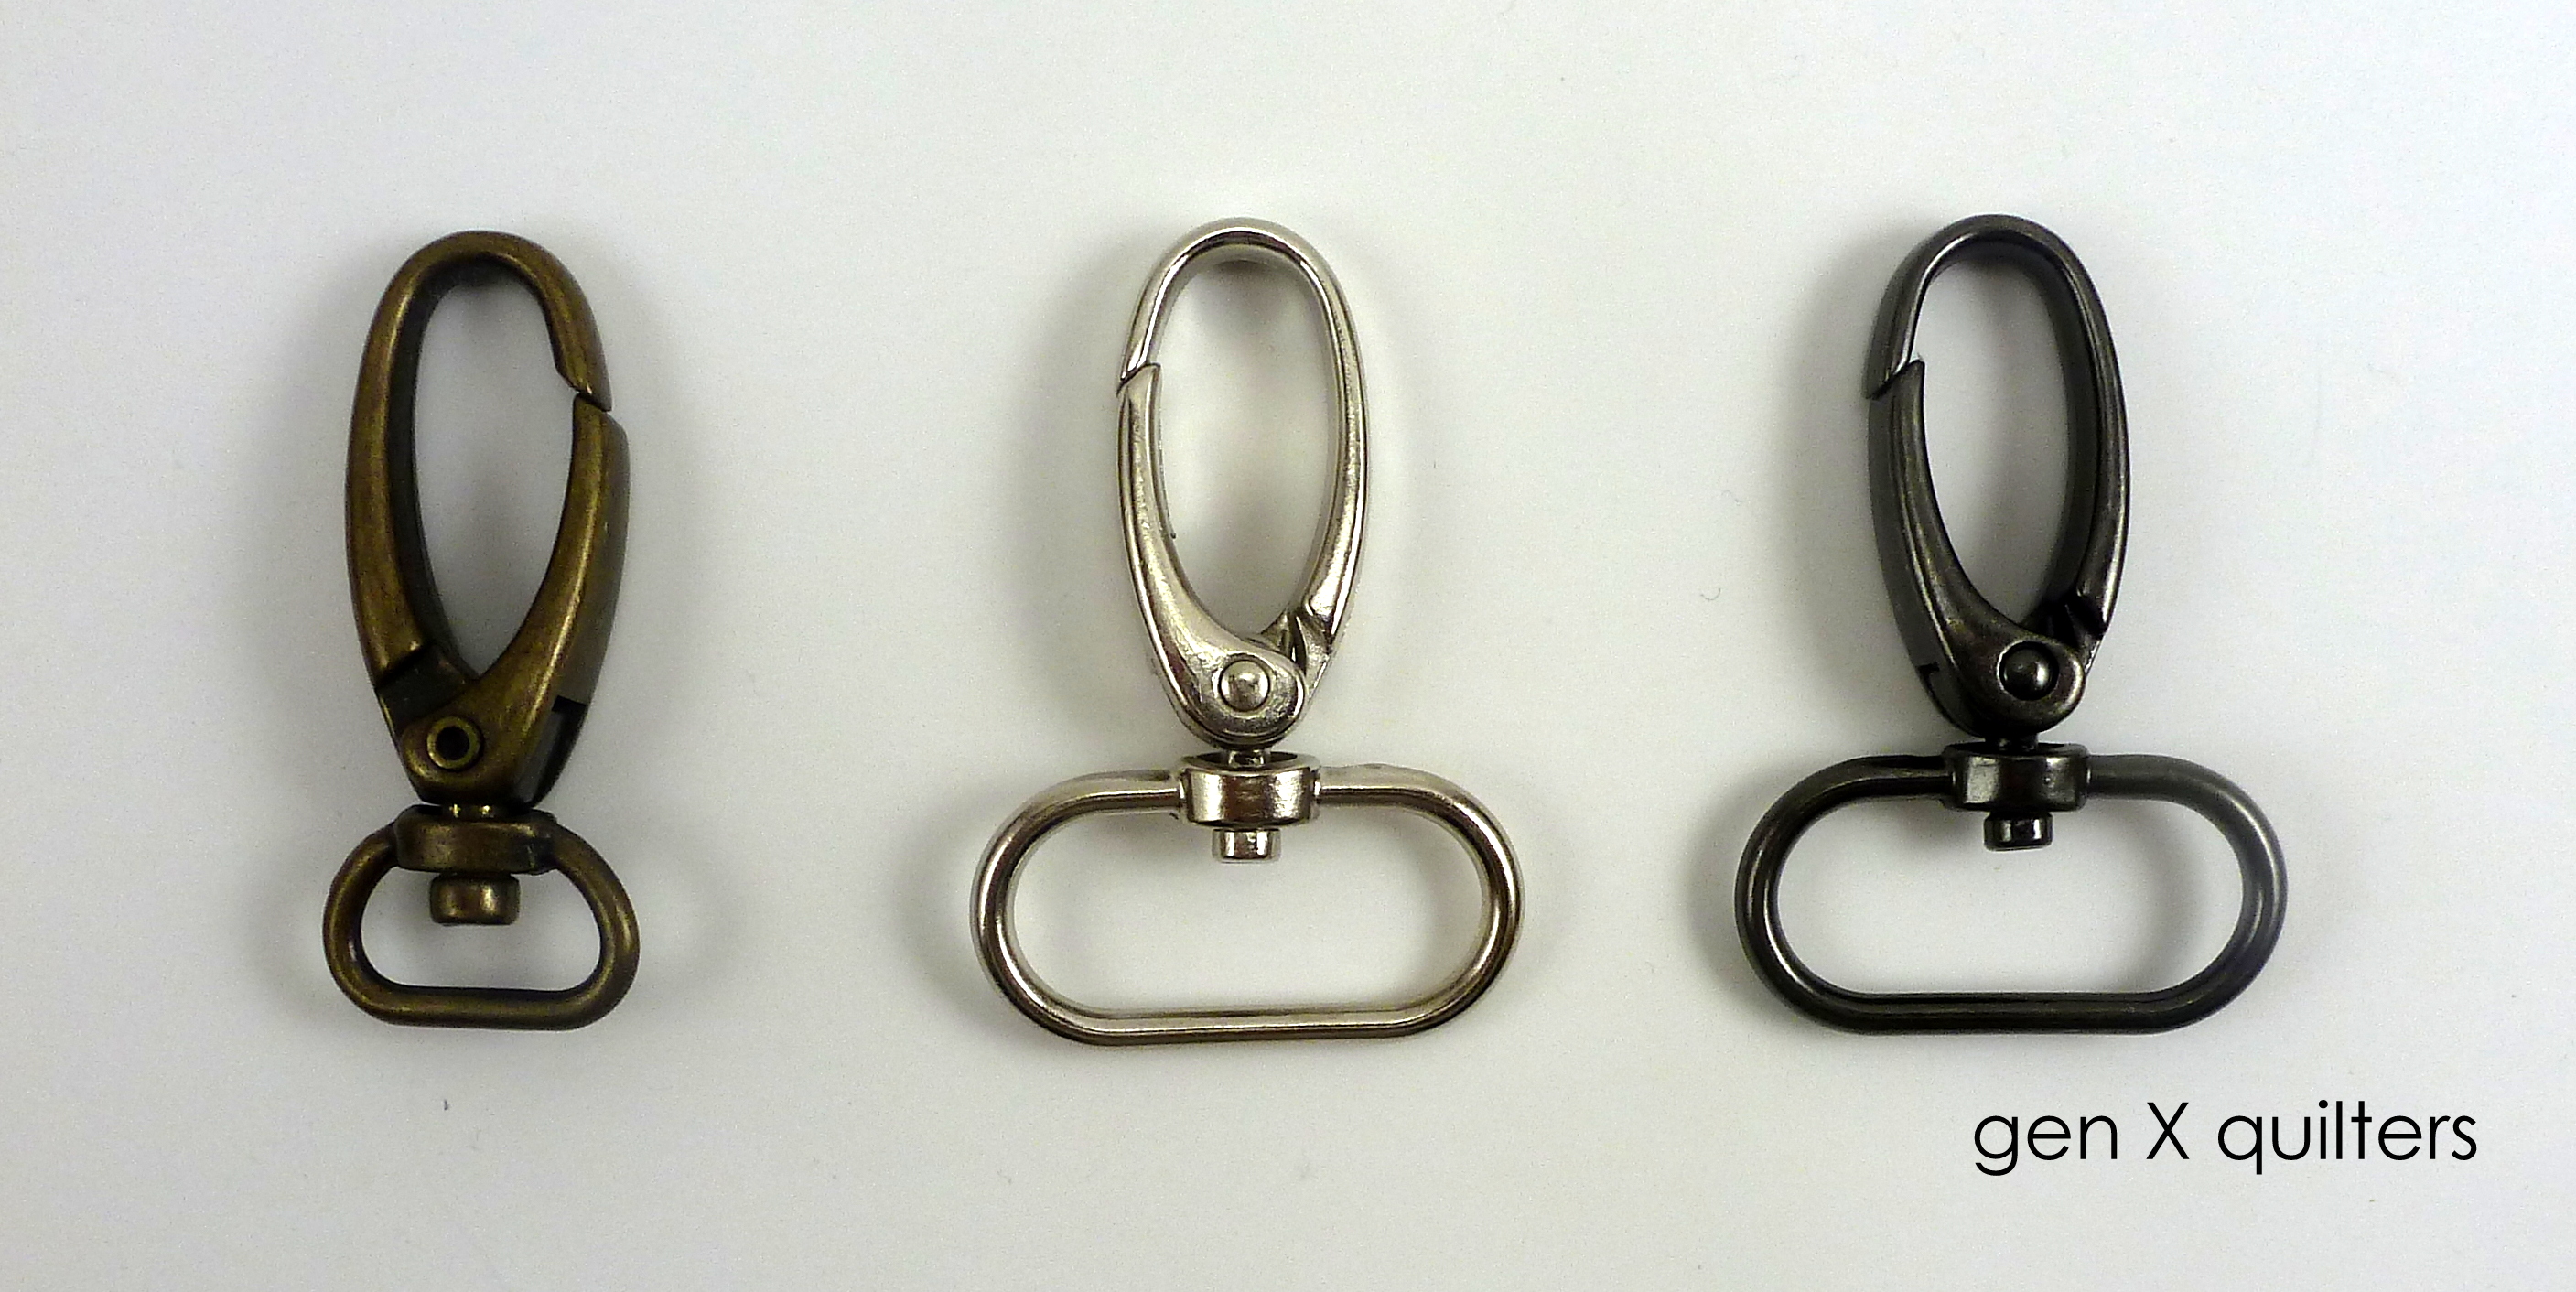
*The width of the fabric strip will depend upon the size of the swivel hook. I am using a 1" hook, pictured on the right and middle below. If you are using a smaller hook (pictured left), cut your fabric strip 1/4" less than 4 x the width of your hook. (i.e. for the 1" inch hook, 4 * 1" - 1/4" is 3 3/4". for a 1/2" hook, 4 * 1/2" - 1/4" is 1 3/4".)
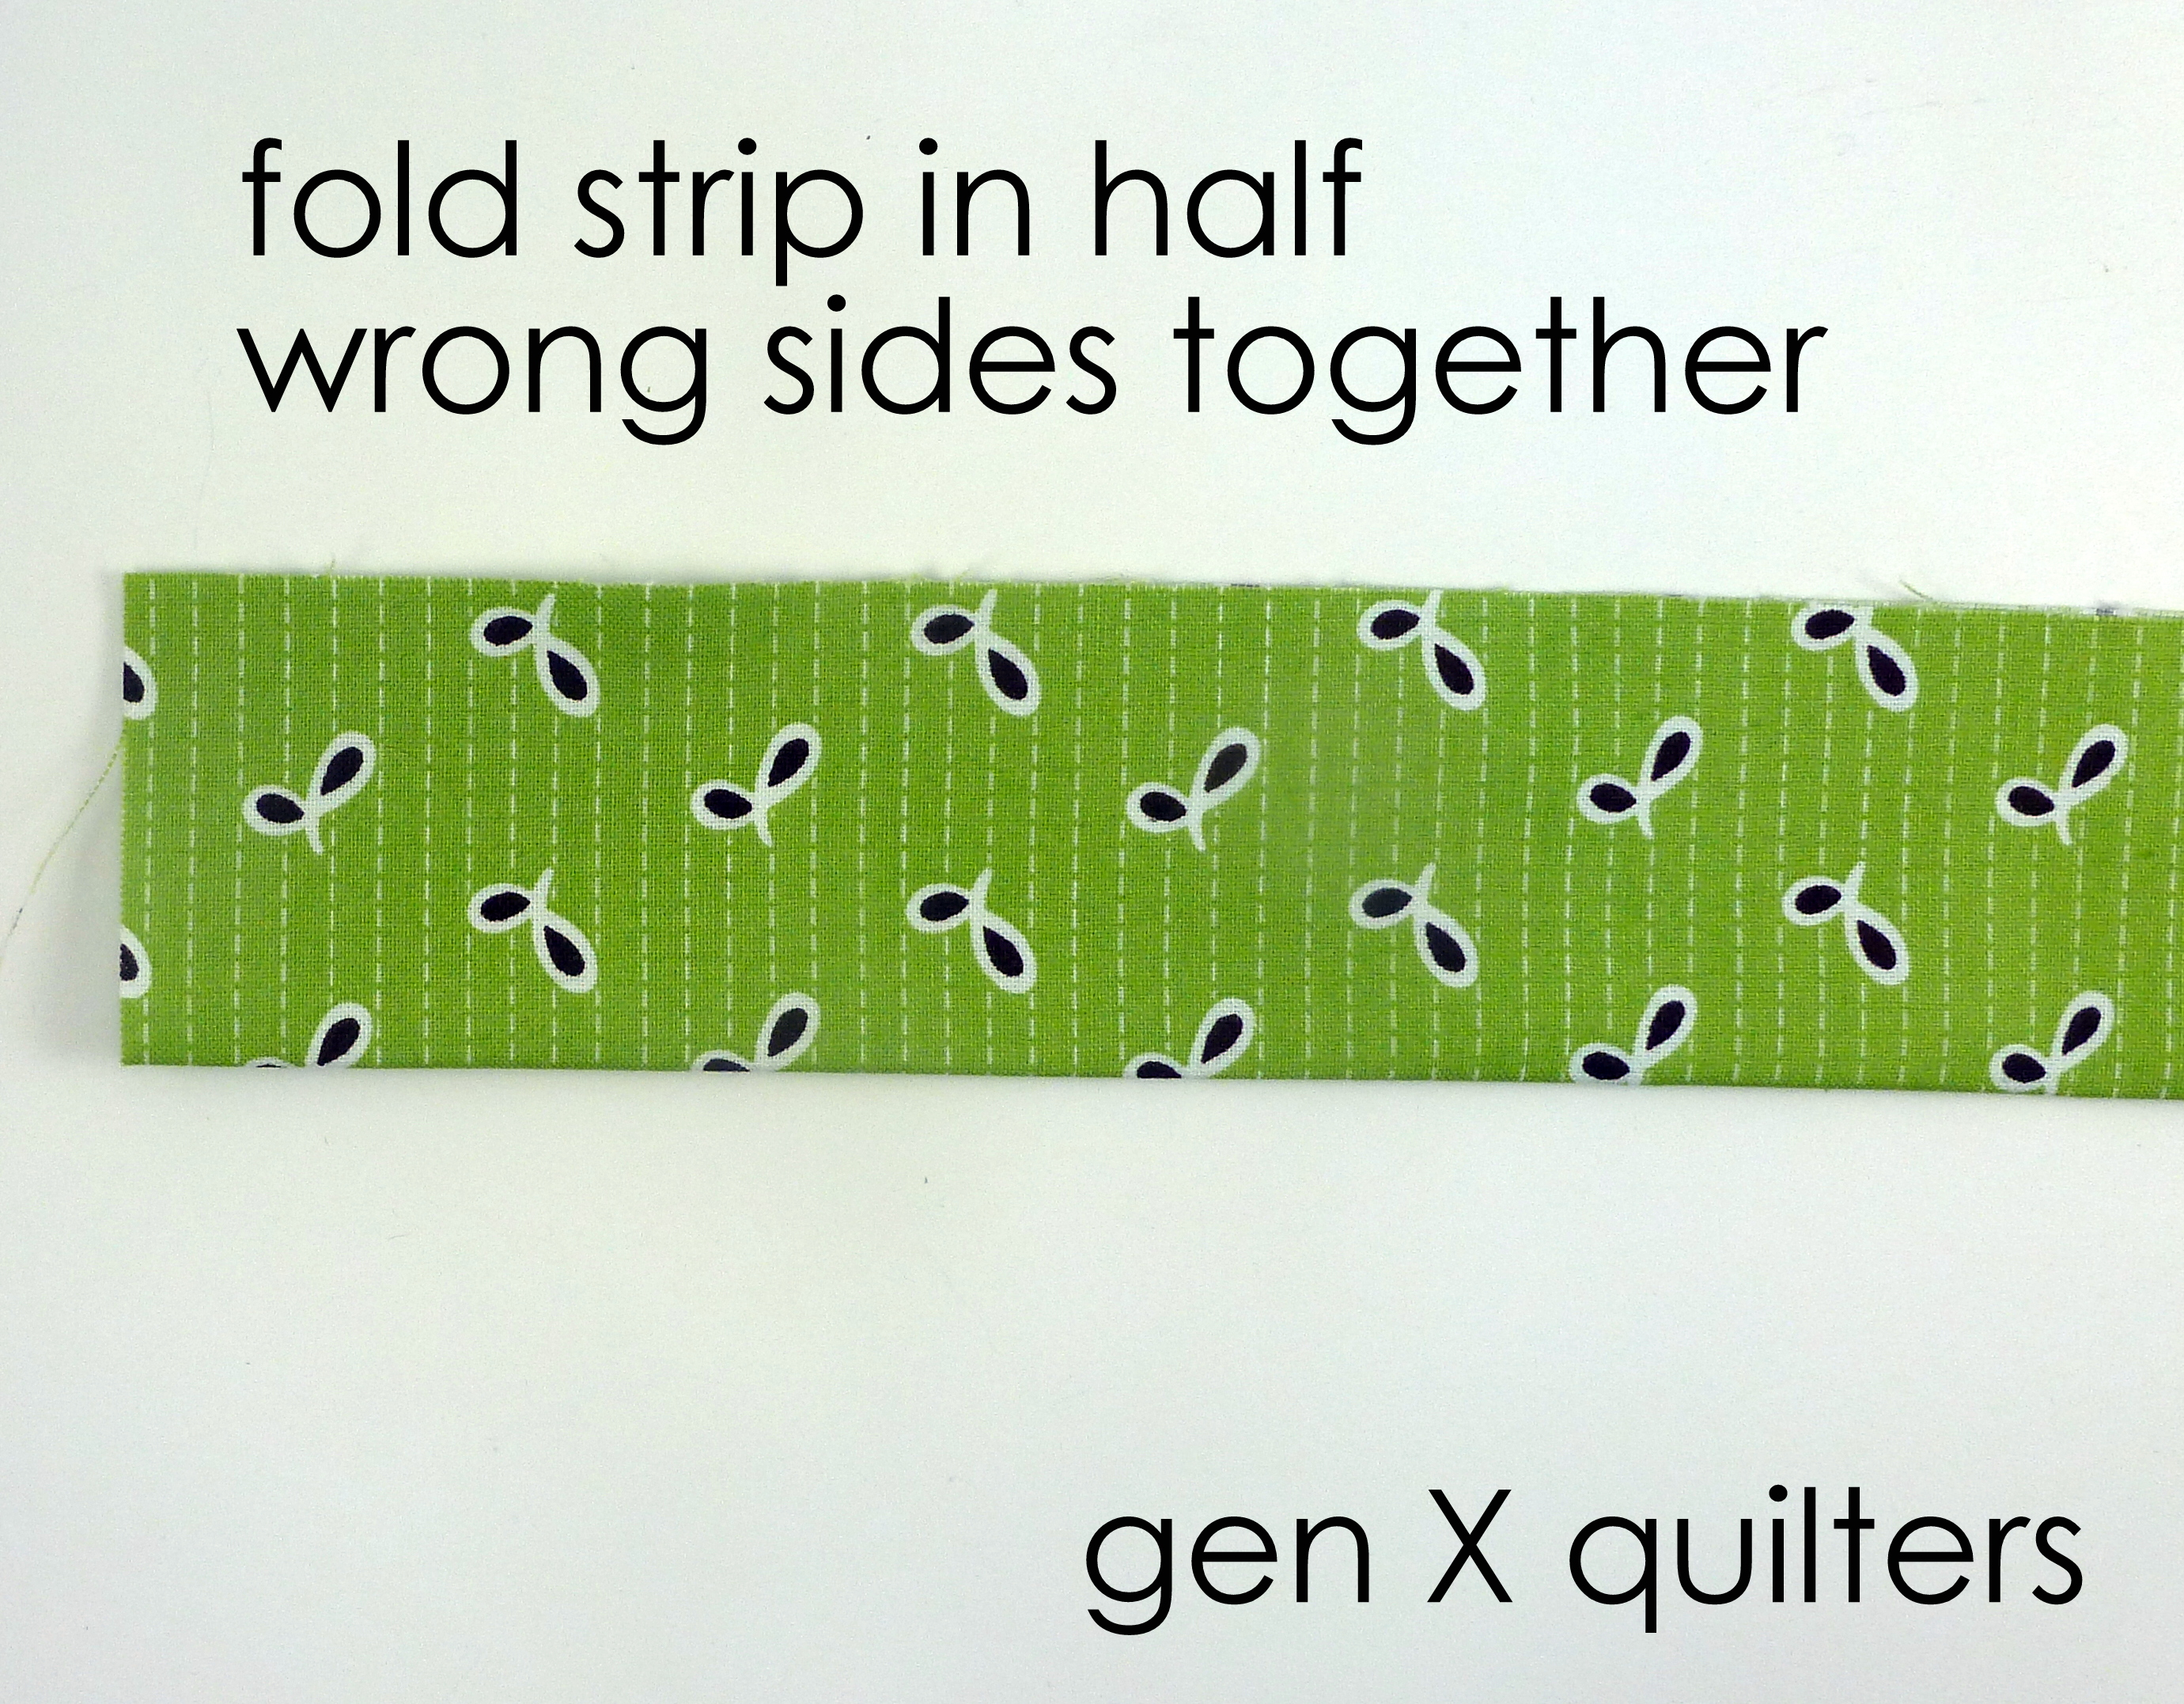
1. Fold the fabric strip in half lengthwise and press to create a crease in the center of the strip.
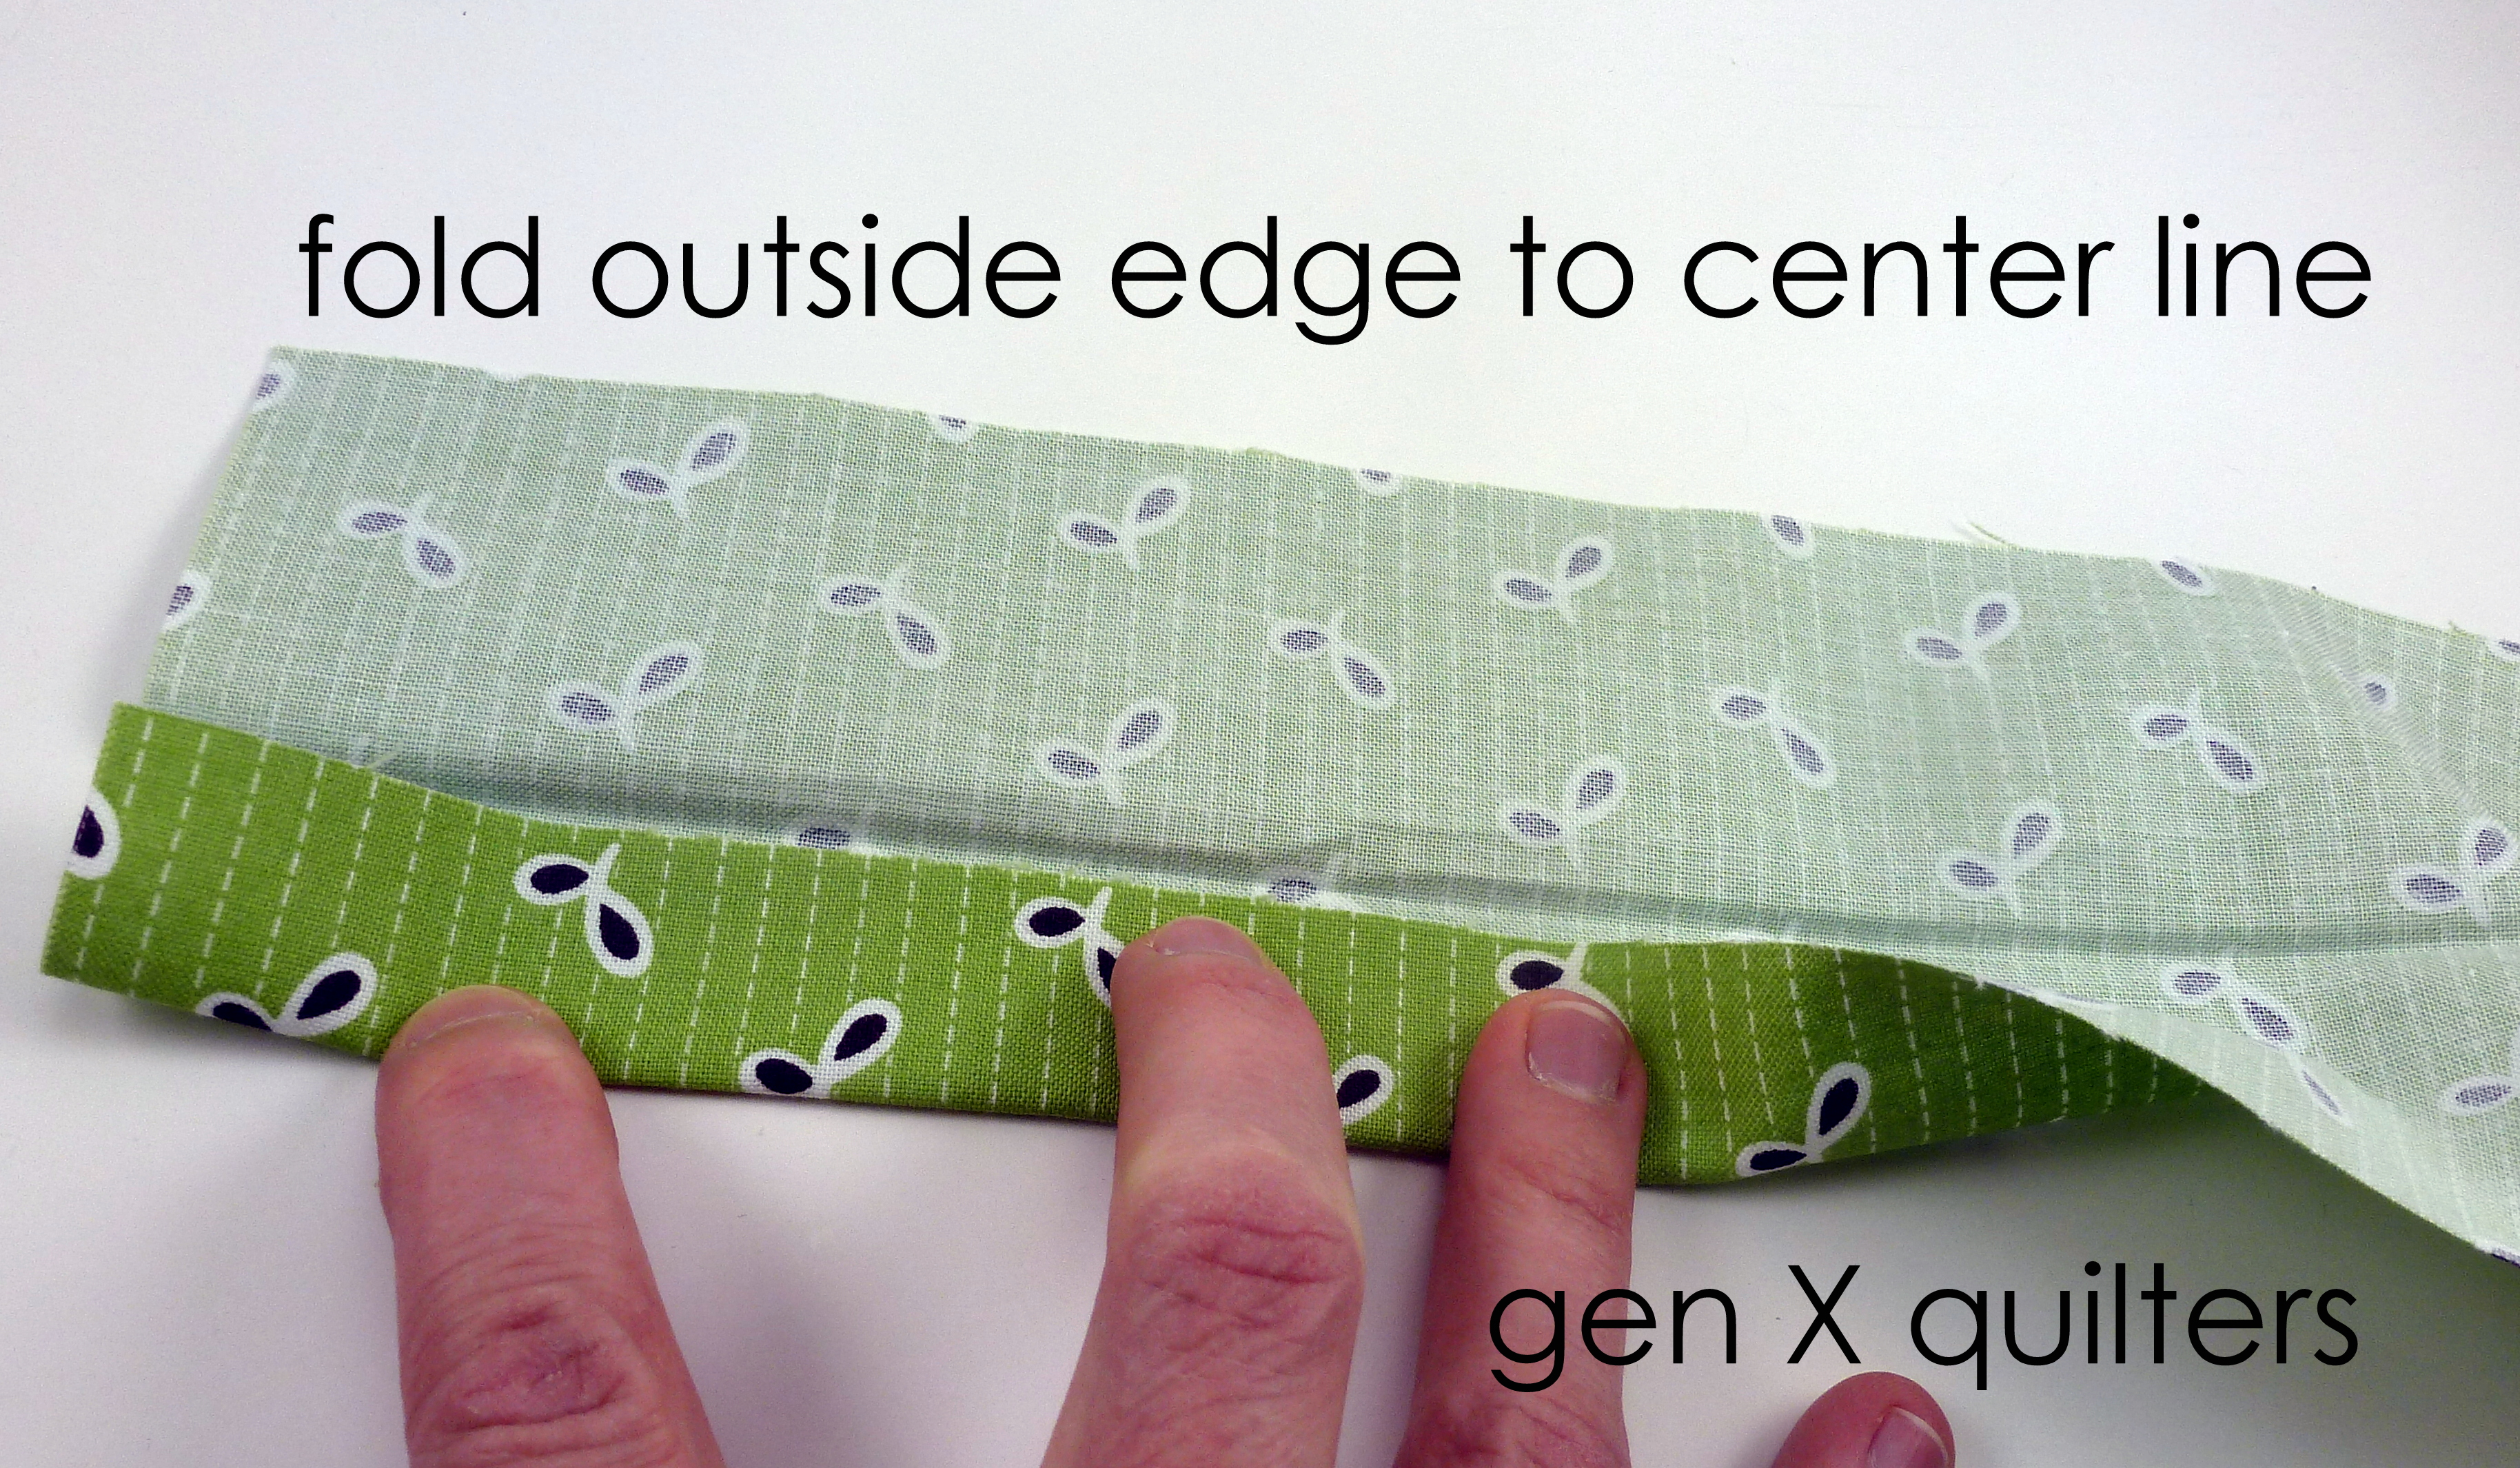
2. Open the strip. This time fold the outside edge to meet the pressed center line. Press.
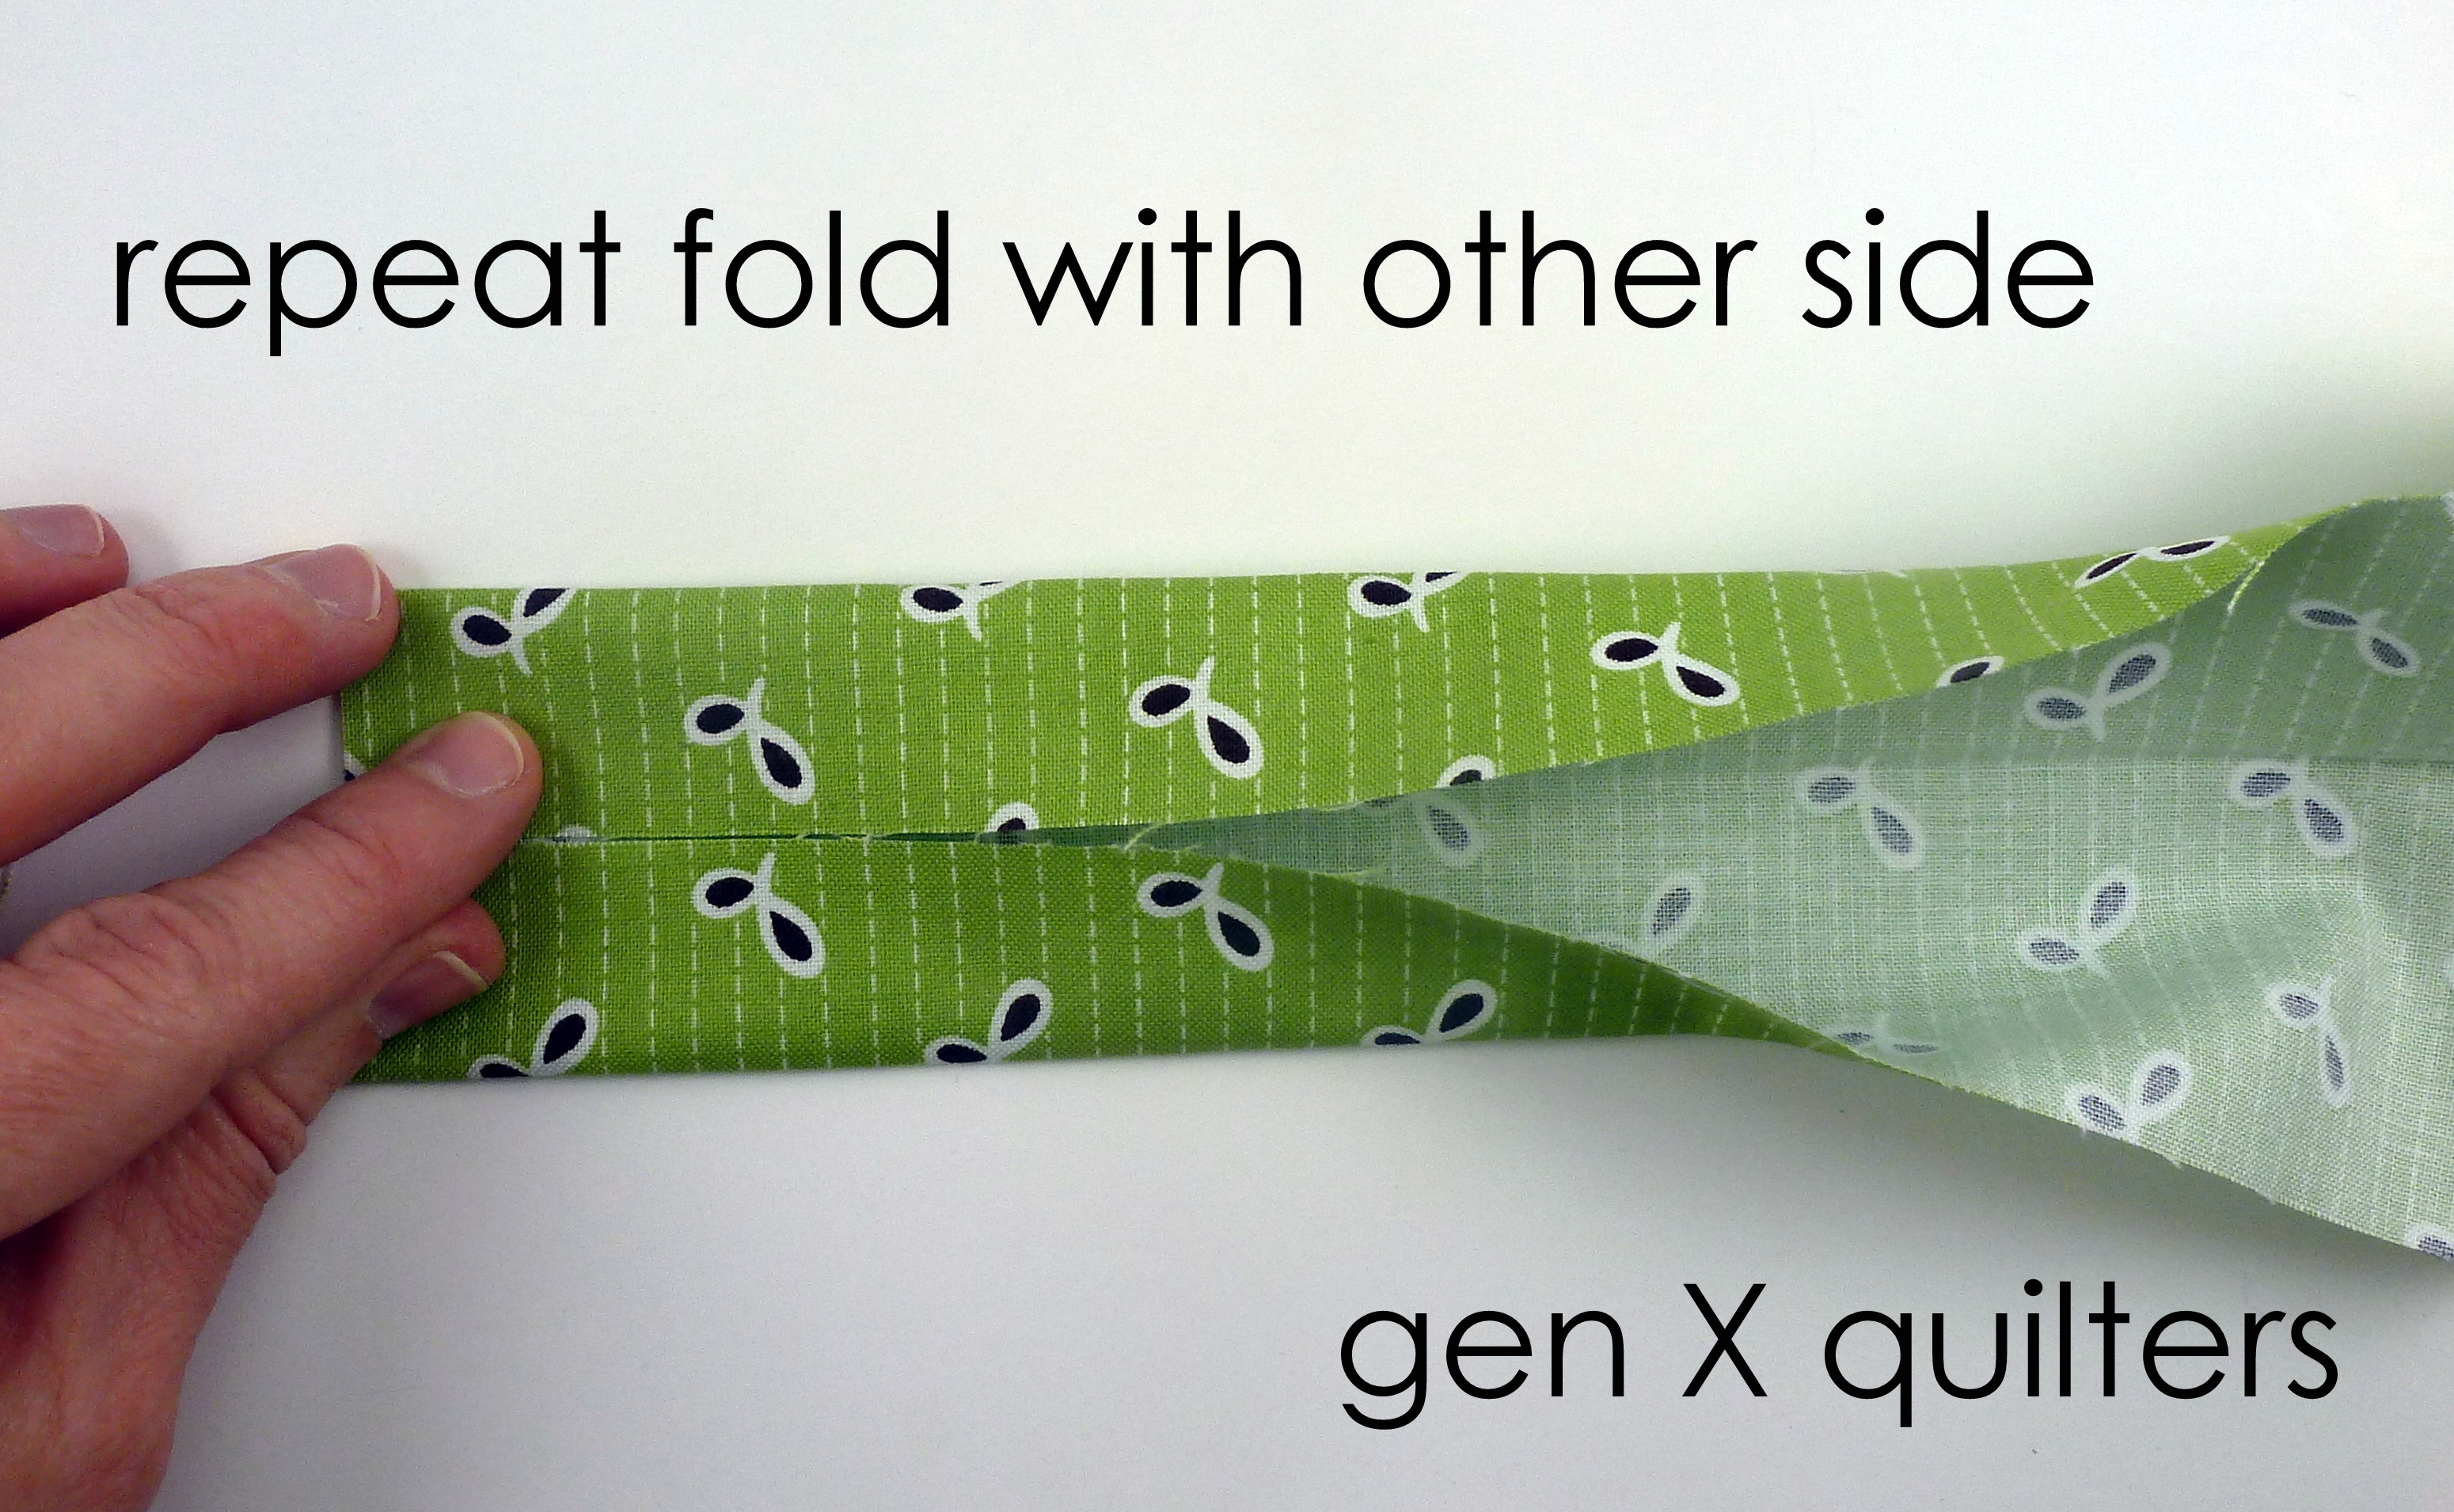
3. Repeat this process of folding and pressing with the other side of the fabric strip.
4. Fold the unit from step 3 in half again, tucking the unfinished edges inside the strip. Press and pin in place.
5. Topstitch 1/8" away from the edge on both sides of the strip.
This will give the strip a nice finished look.
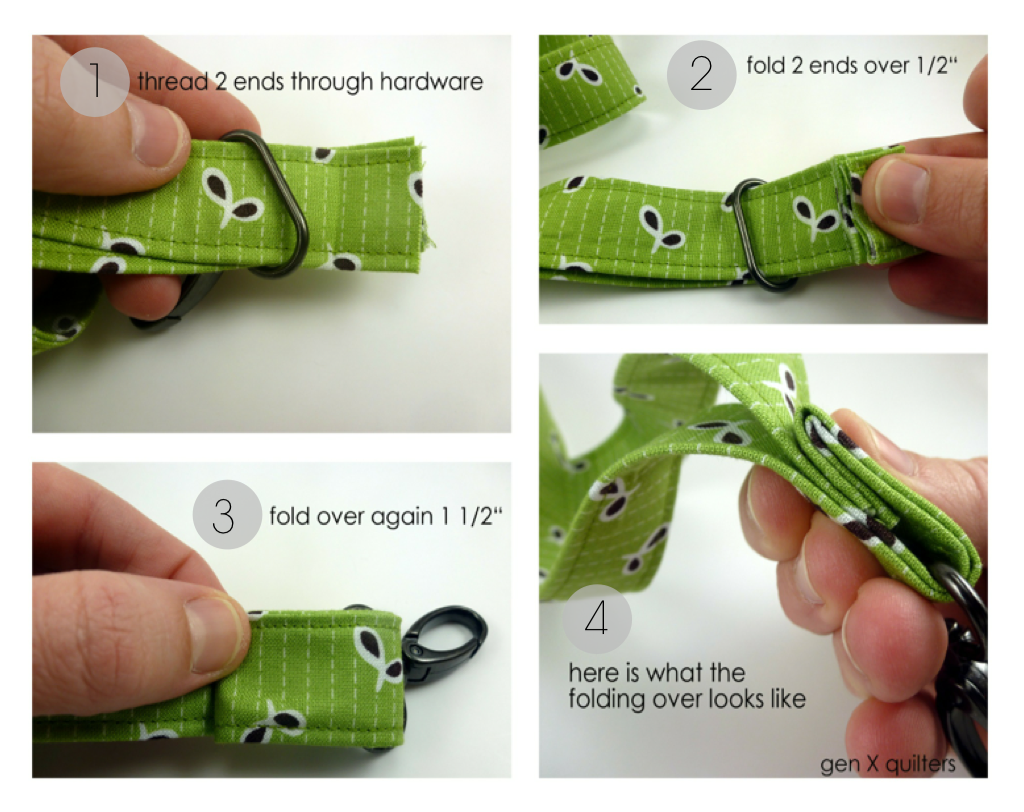
6. Fold the strip in half, bringing the two raw edges together. Slip the swivel hook over the two raw ends. Next, fold the ends over first 1/2" to tuck raw edges inside, then fold again 1 1/2".
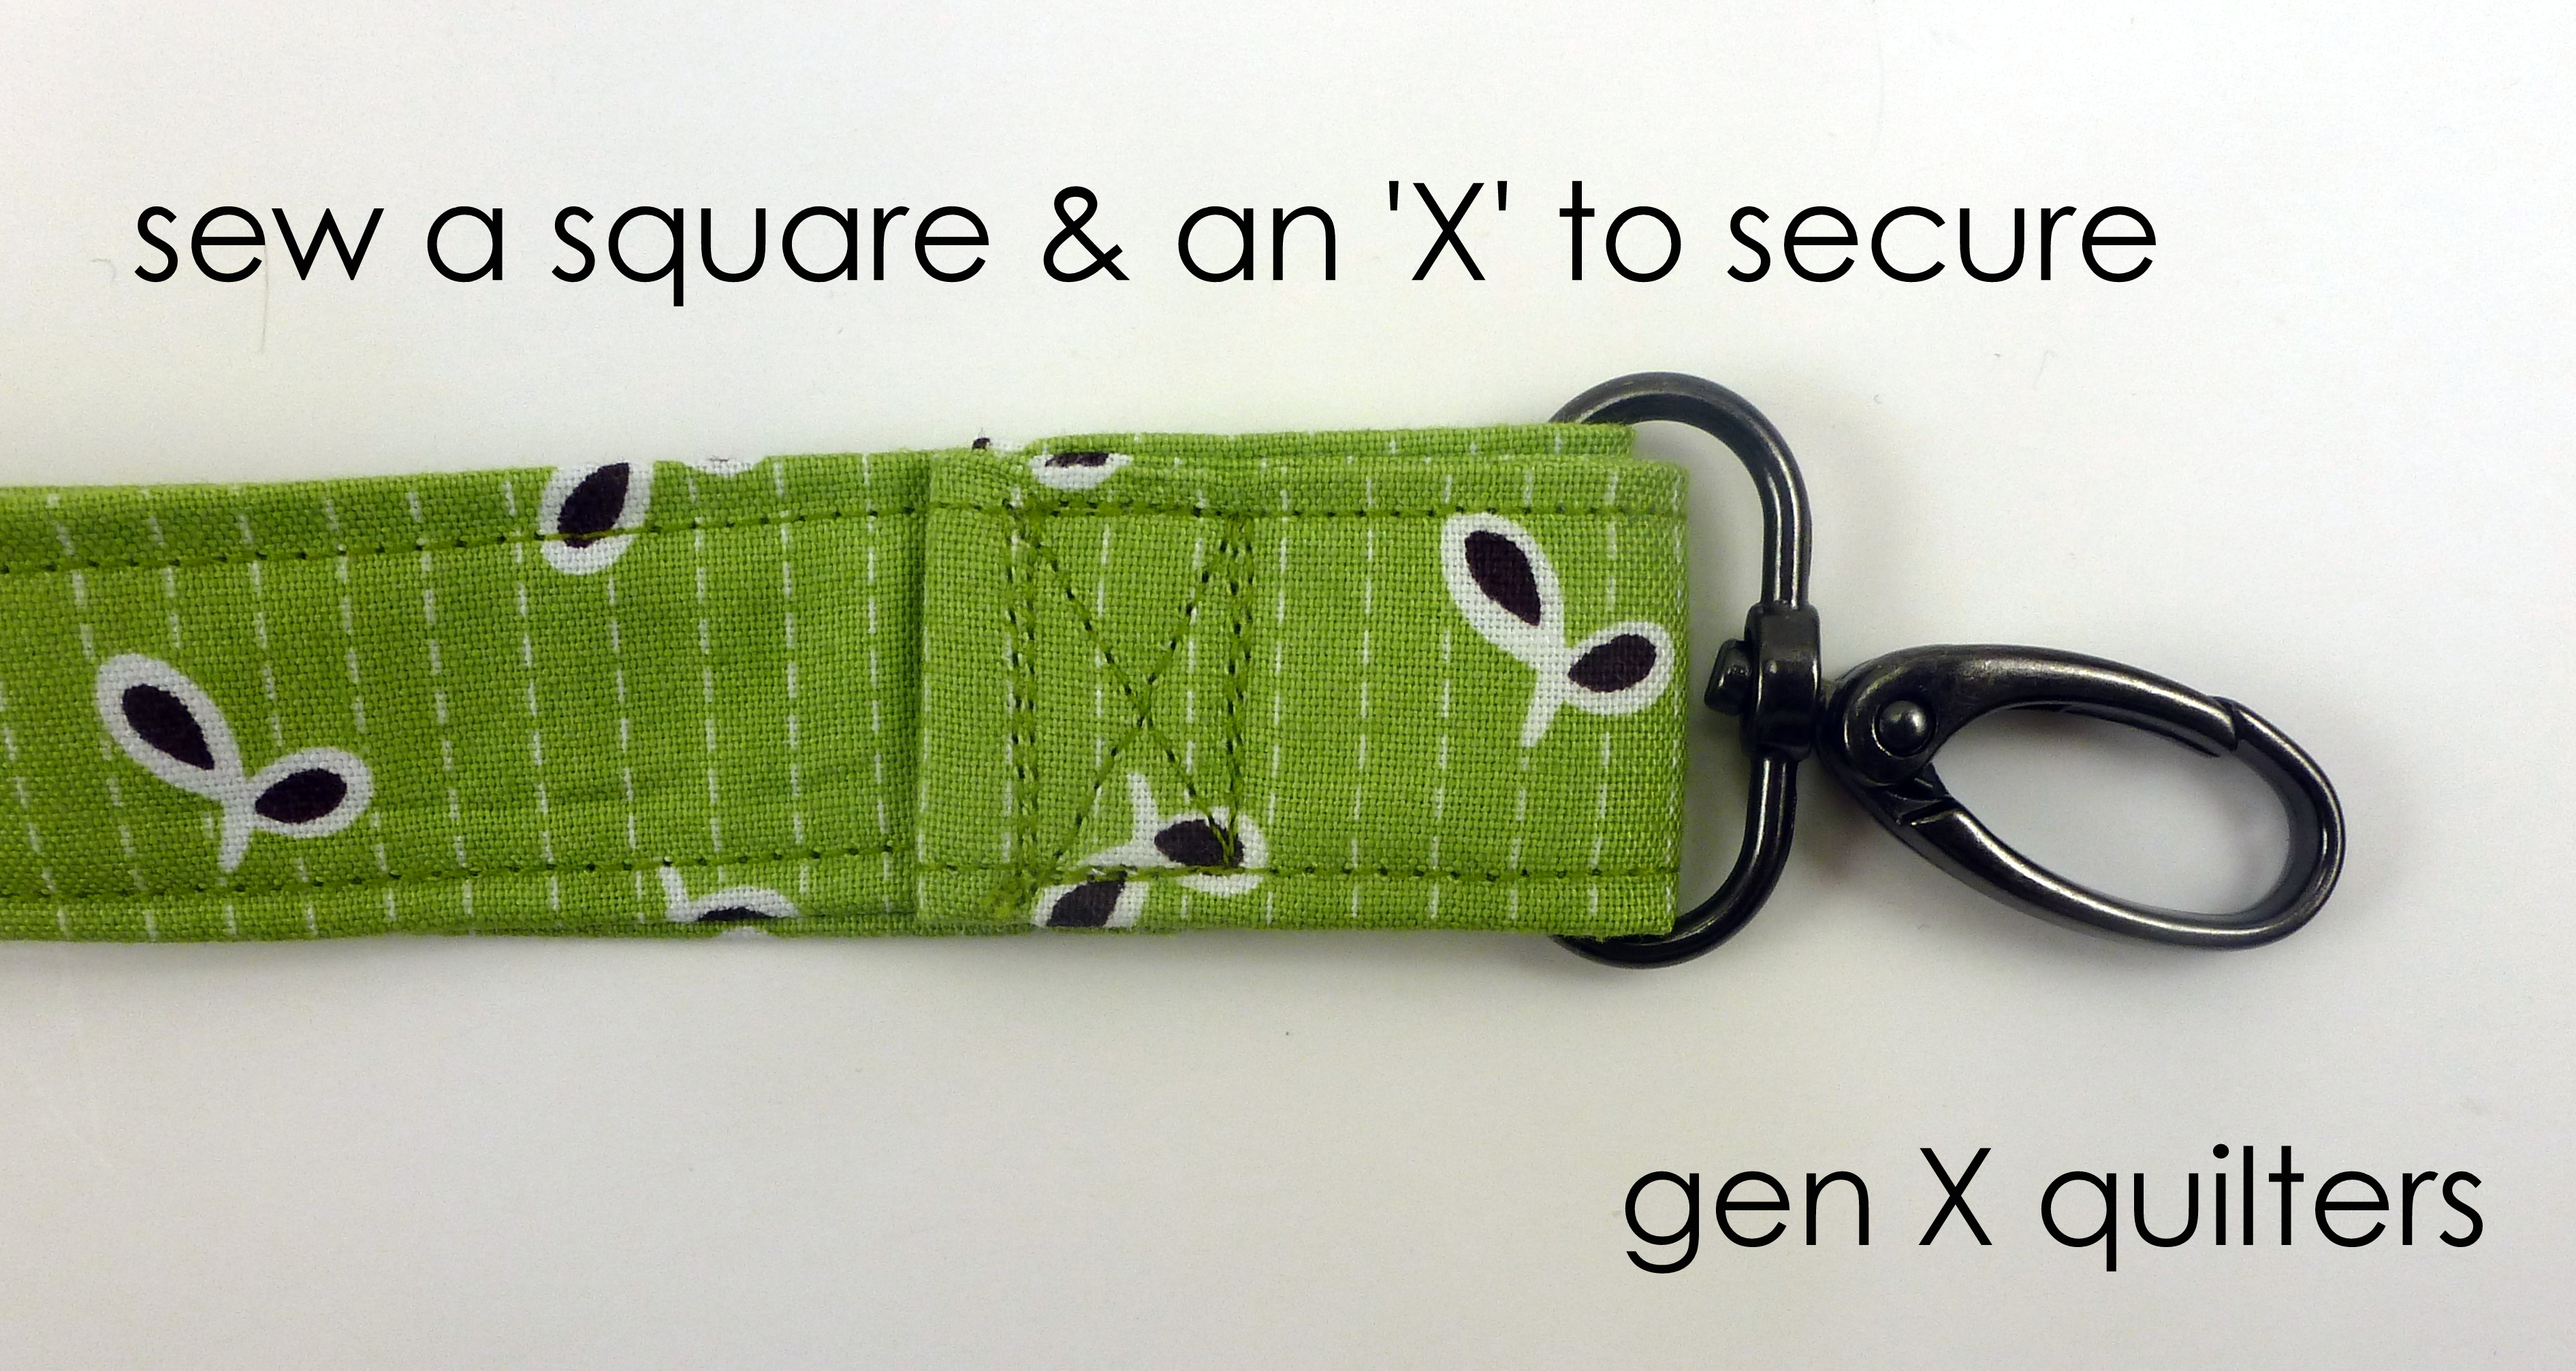
7. Stitch a square with an X through it to secure. **Hint** if you have a walking foot for your sewing machine, it really helps sew over all the layers. I definitely recommend it for this step.
And here I am modeling my new lanyard... I use one all the time for my keys. It seems I am always carrying 8 things in the parking lot - a baby, grocery bags, holding a little hand, packages, our to-go order from Panera, etc. - and knowing exactly where my keys are and having them easily accessible makes life a little easier for me... :)

