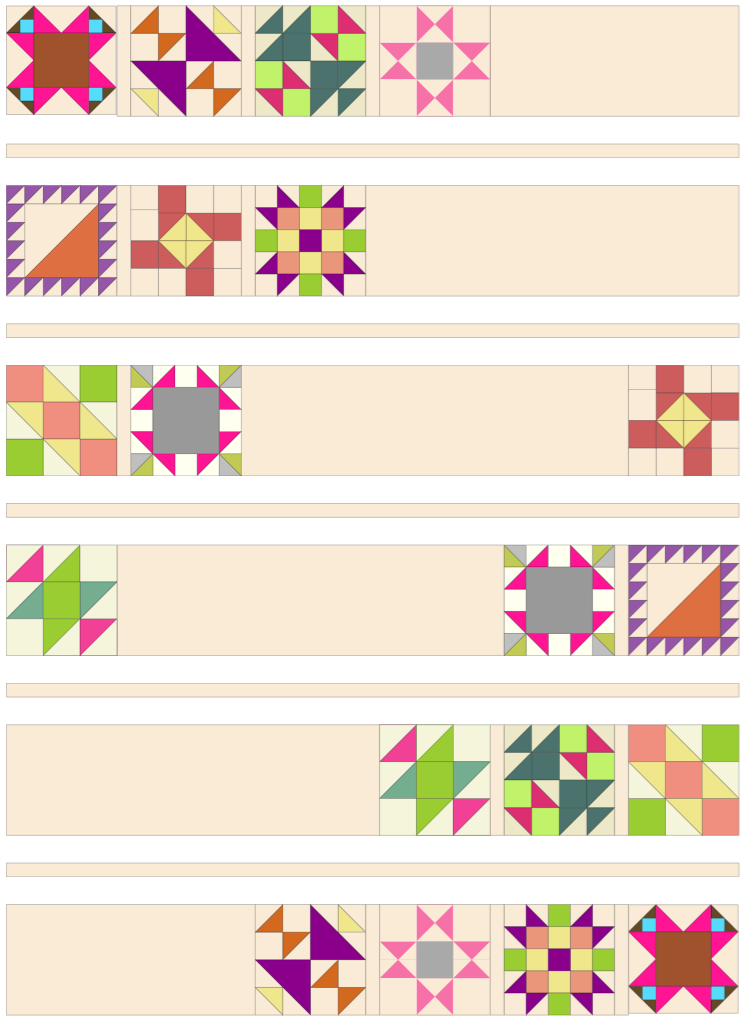
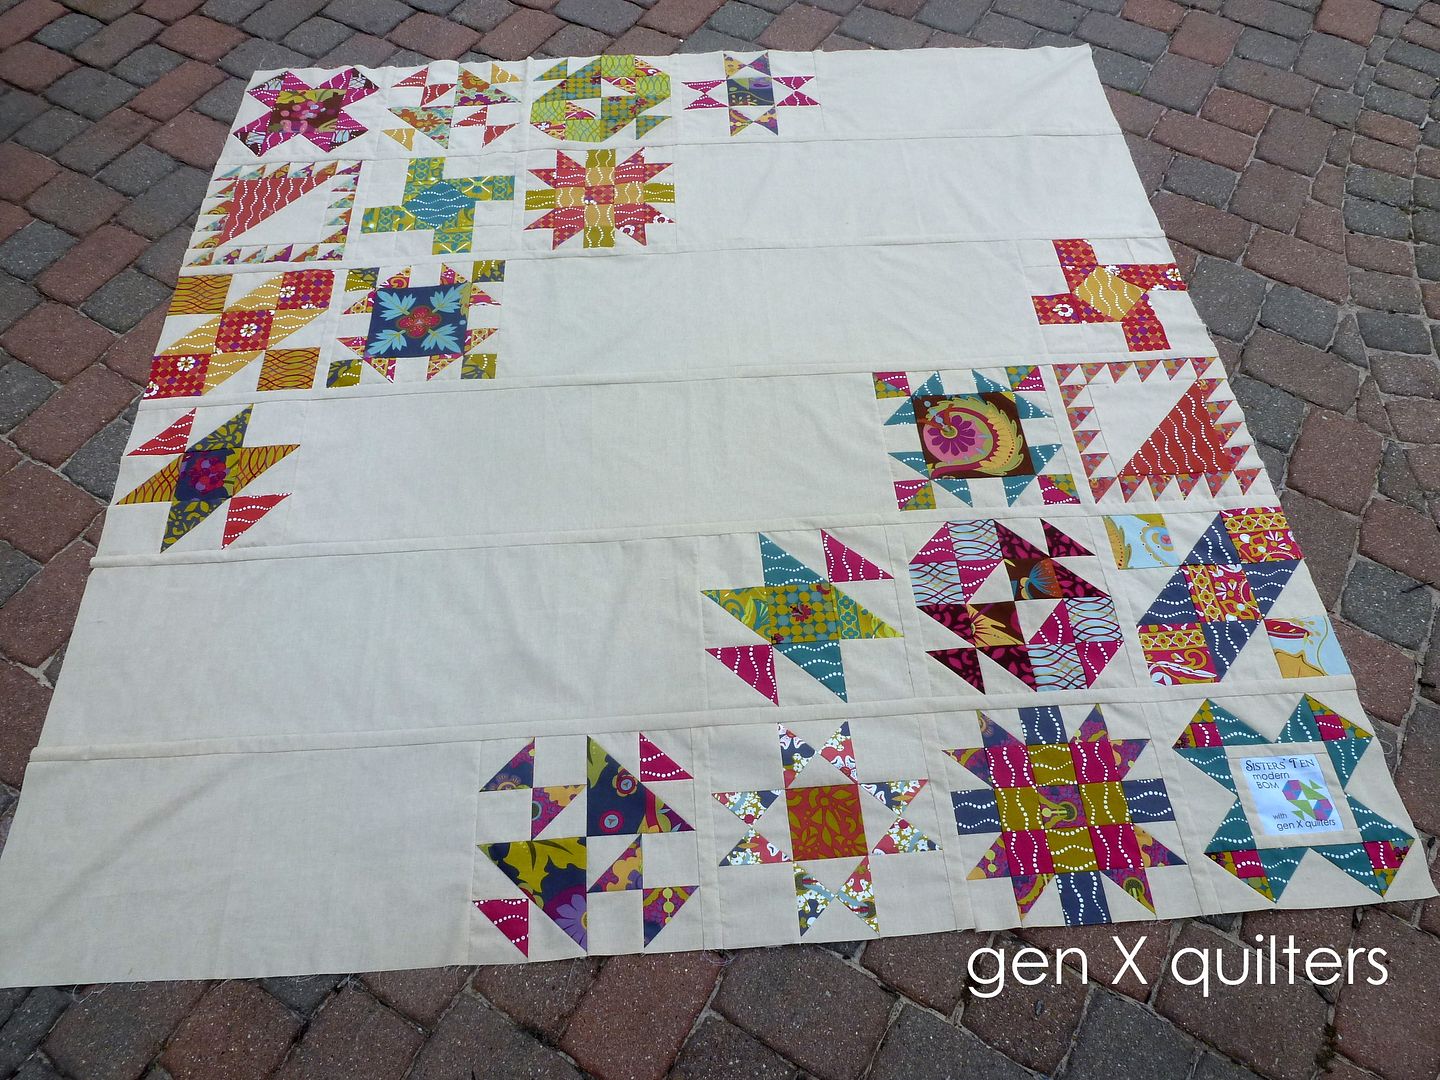
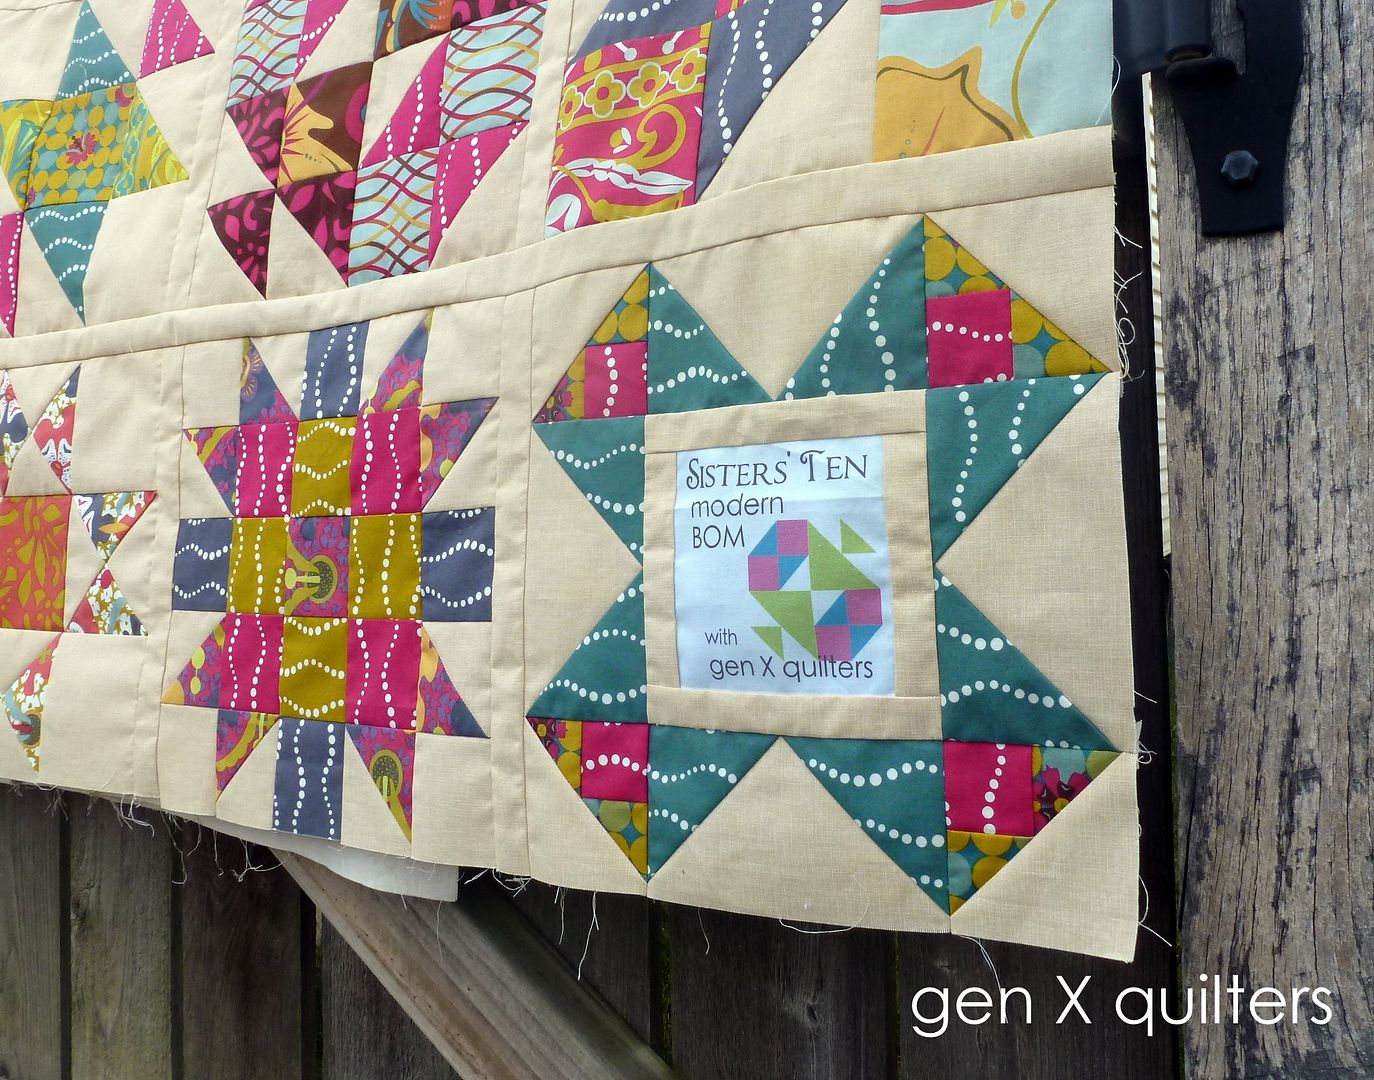
All the blocks are finished! Now it's time to put this bad boy (or should I say "lady") together. Sisters' Ten Modern Block of the Month Club is coming to a close. Can you believe it? I will be so sad to see it end. This month we assemble the quilt top, next month I will show my completed quilt.
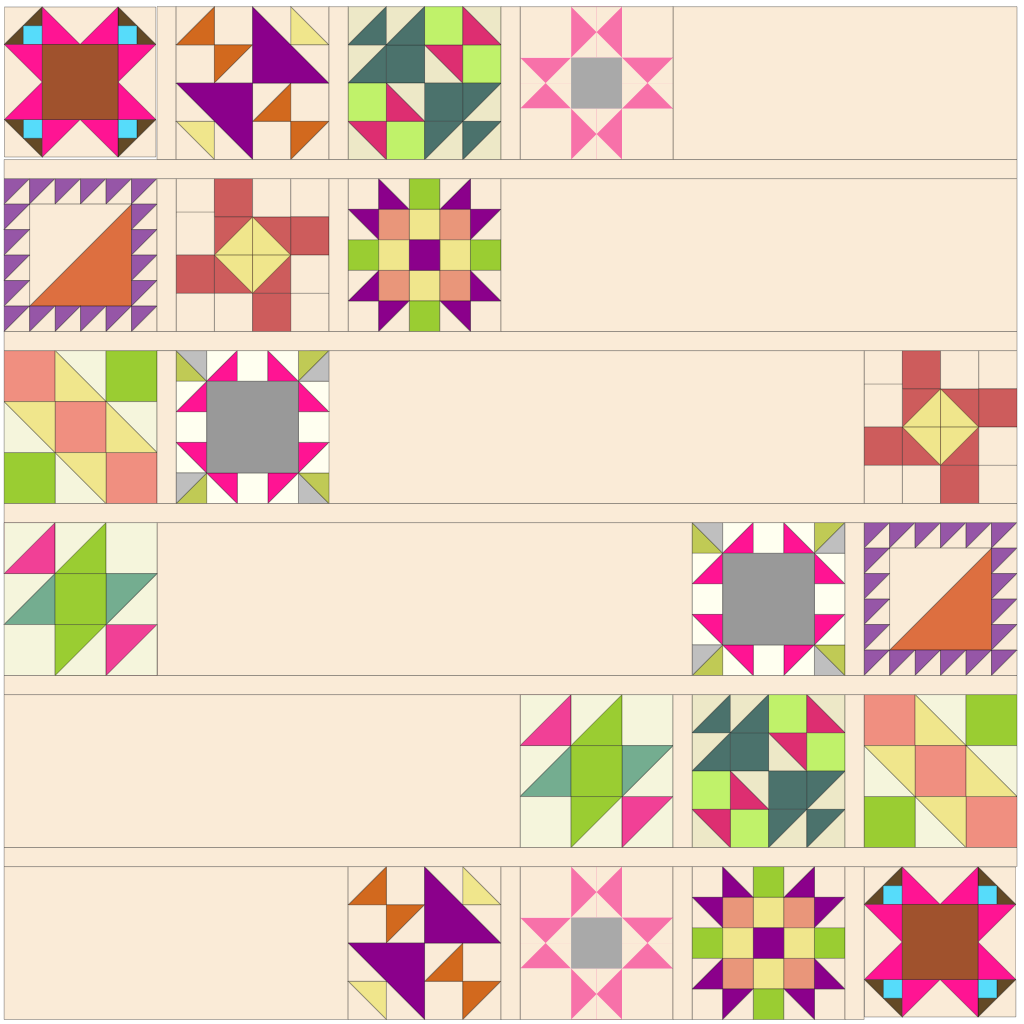
Assemble the Quilt Top
1. Lay out assembled blocks, short sashing strips and long sashing strips in rows, following the Quilt Assembly Diagram. Remember, the background sashing cutting instructions and quantities are here.
For 12" Blocks: For 9" Blocks:
A - 1 1/2" x 12 1/2" A - 1 1/2" x 9 1/2"
B - 12 1/2" x 26 1/2" B - 9 1/2" x 20 1/2"
C - 12 1/2" x 39 1/2" C - 9 1/2" x 30 1/2"
D - 12 1/2" x 40 1/2" D - 9 1/2" x 31 1/2"
E - 1 1/2" x 77 1/2" E - 1 1/2" x 59 1/2"
I encourage you to layout the blocks in an arrangement that suits your color distribution in your blocks. I have sketched the layout I chose below (although I only have one colorway for each block in the diagram) - it is based solely on how I found the blocks visually pleasing. Play with it! Try different arrangements... Try rotating some blocks... Take a picture of each variation to help you decide.
The only preconceived notion I had when laying out my blocks was that I wanted October's Frame block in the corners of the quilt (especially the label block). Believe me, the engineer in me toyed with making everything perfectly symmetrical, but in the end random placement won out. :)
Quilt Assembly Diagram
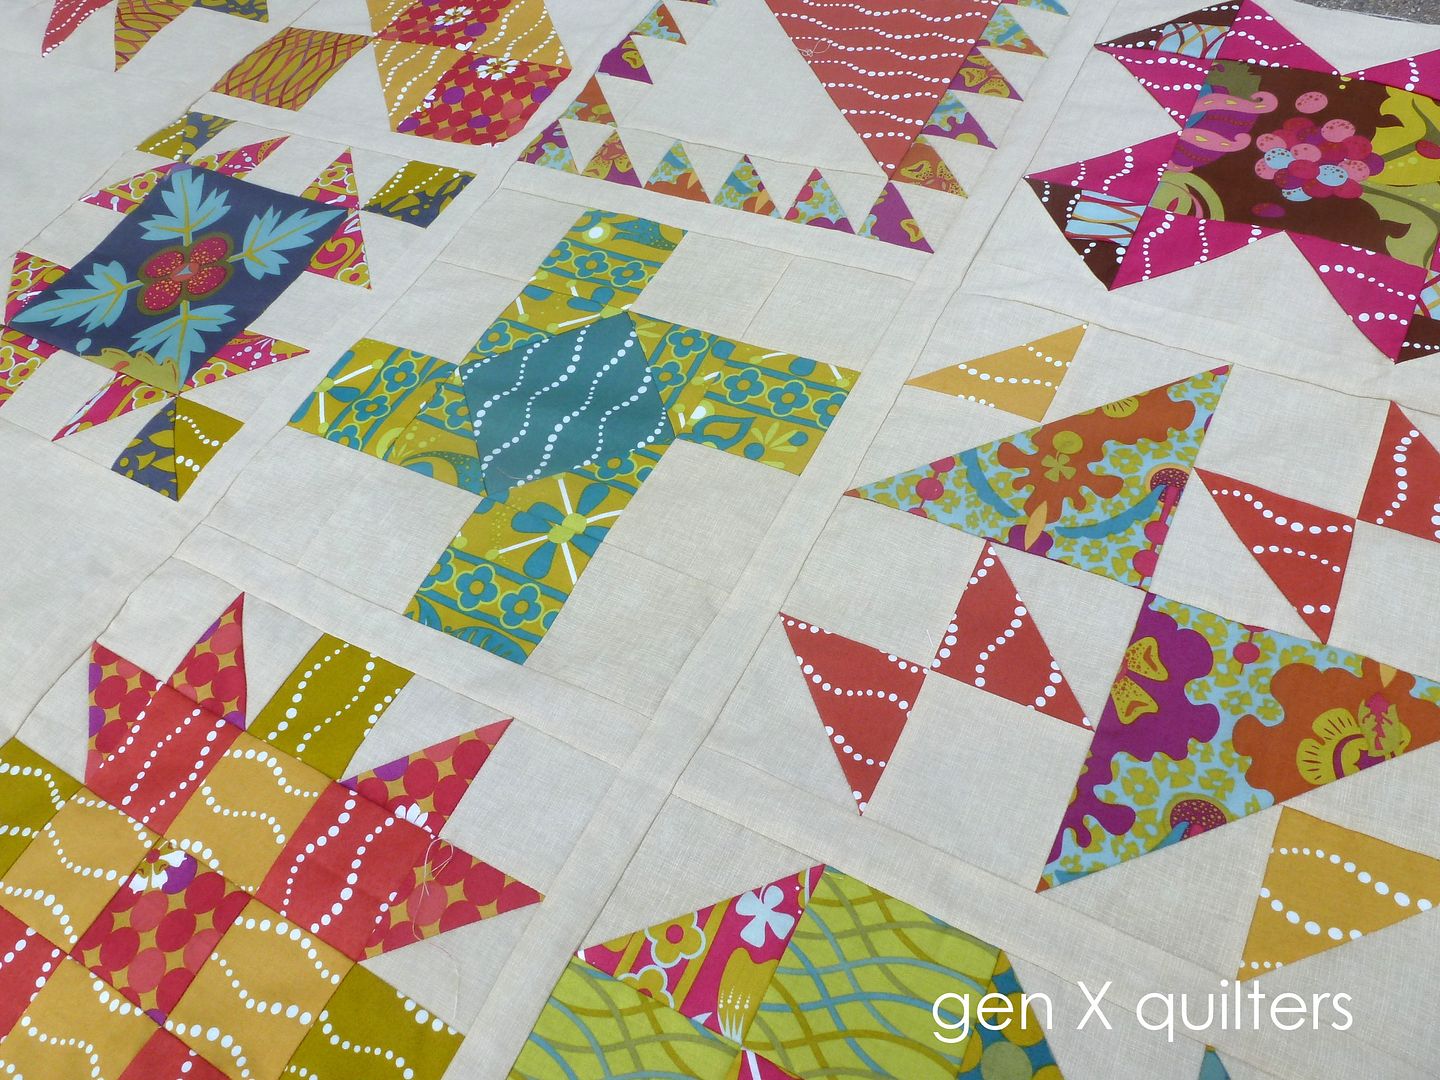
2. Sew each of the six rows together, pressing seams toward the sashing strips.
3. Sew the rows together, making sure to sew a long sashing strip in between the rows. There is NO sashing strip at the top or bottom of the quilt (only in between the rows).
4. The quilt top is now complete!


