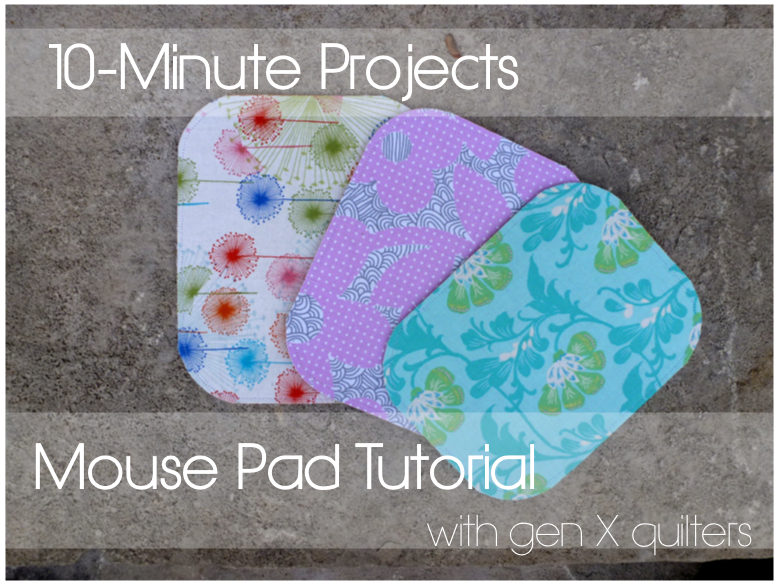
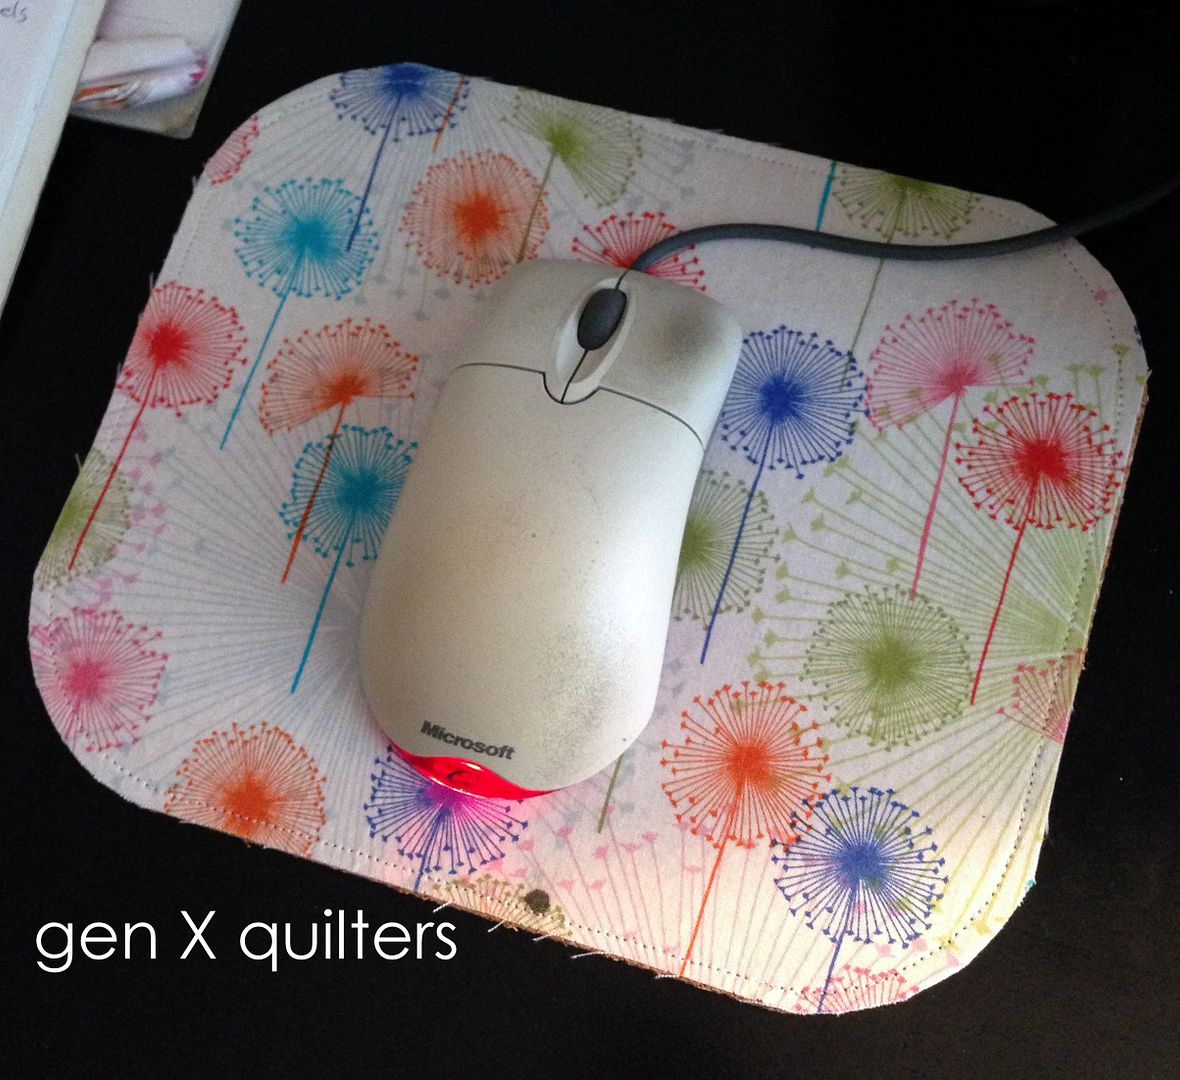
I'm back with the third 10-Minute Project for this year. Just in time for gifting season! I'm not sure if many people use mouse pads anymore with all the wireless and tablet options, but I am a little bit old school perhaps. I do all my blogging from a desktop in the den - and when we bought a new black desk, I decided I needed to revisit the mouse pad. I was afraid something (read: the kids) might scratch the new paint.
I thought I'd do another quick tutorial for you all. The best part about these 10-Minute Projects is that you'll probably spend more time choosing what fabric to use than actually making the project.
Materials.
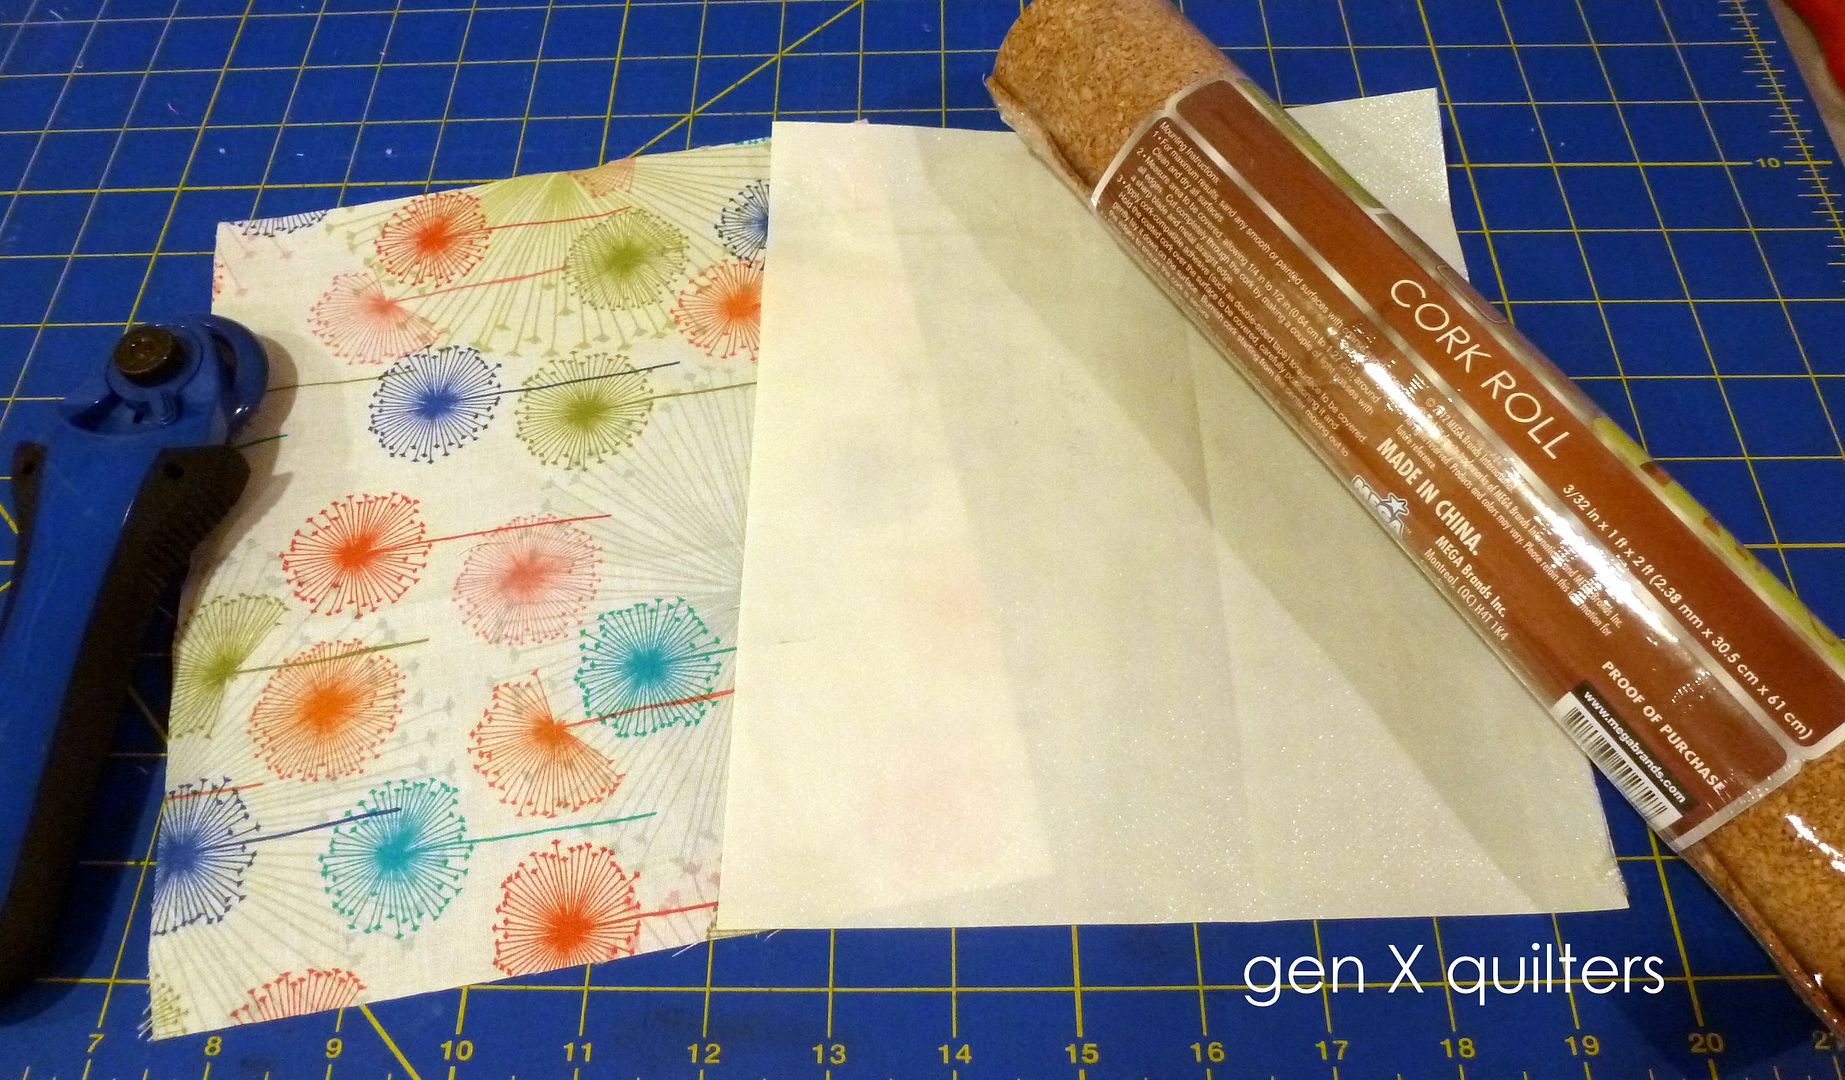
- (1) 7 1/2" x 9" fabric scrap
- (1) 7 1/2" x 9" piece fusible web (I used Heat'n'Bond Lite)
- (1) 7 1/2" x 9" cork
- coordinating thread (optional)
1. Cut the fabric, fusible web and cork all to 7 1/2" x 9" rectangles.
I picked up this cork roll from Joann's for just a couple dollars. It's nice and thin, yet flexible. It came in several sizes. The 1 ft x 2 ft roll yielded 3 mouse pads.
I used my rotary cutter on the cork - and it worked like a charm. But I only did this because my blade was pretty dull and needed to be changed. I wouldn't recommend cutting the cork with a brand new rotary cutter blade since it will dull it for fabric. Scissors work well on cork also.
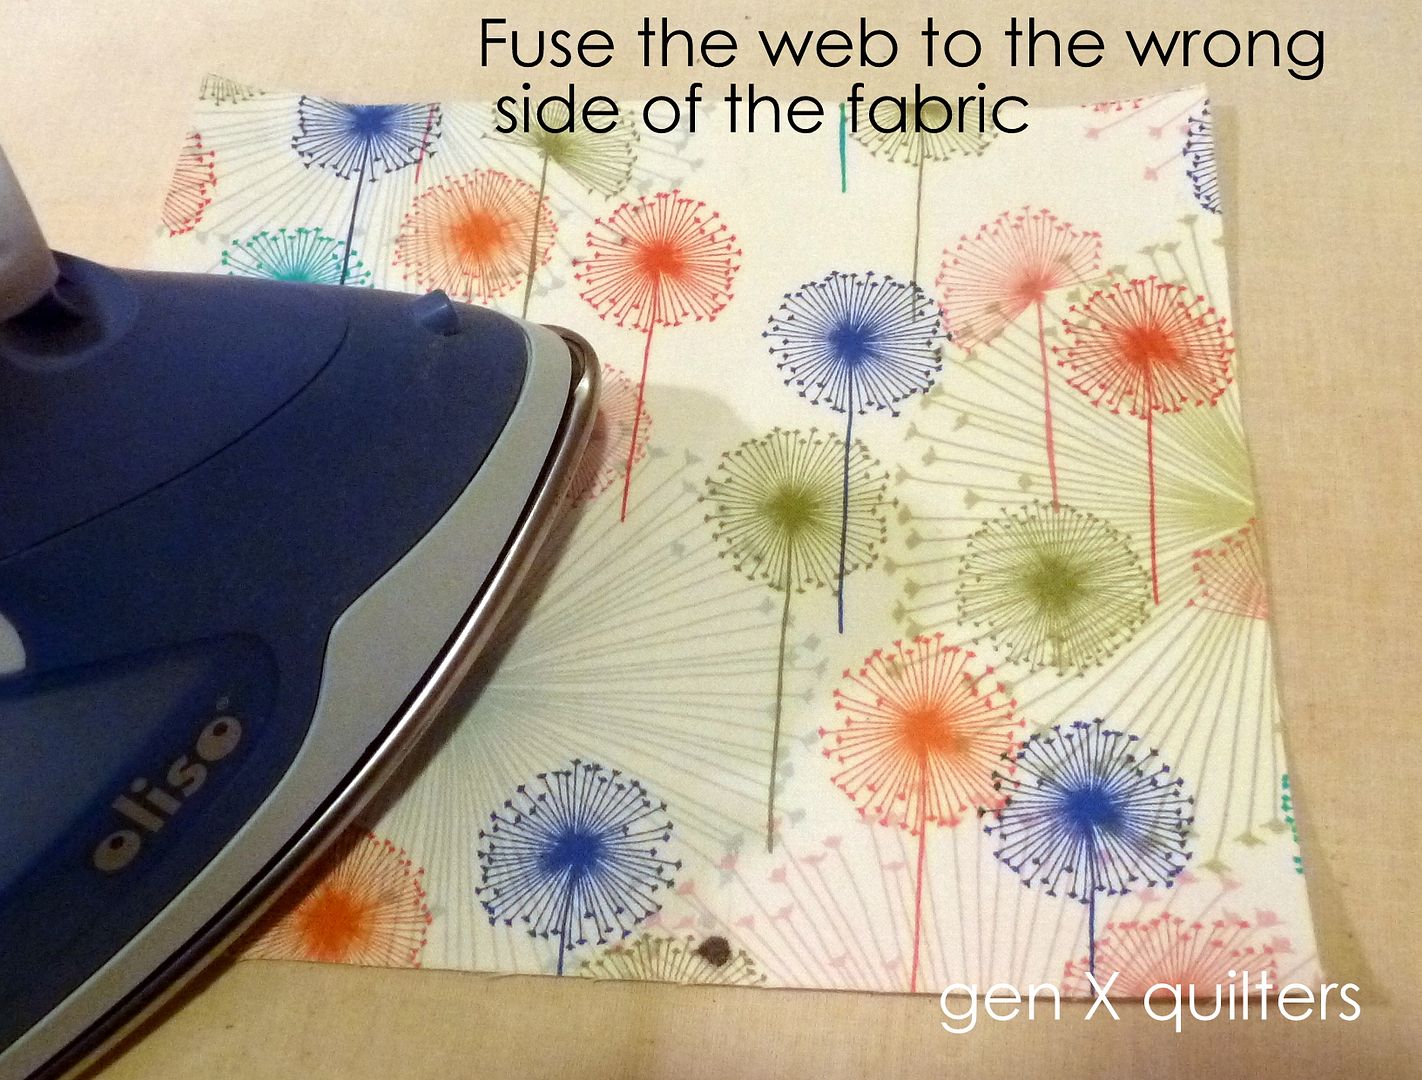
2. Place the fusible web bumpy side on the wrong side of the fabric. Press to fuse the fusible web to the fabric. Make sure to read the manufacturer’s instructions prior to beginning for appropriate heat settings and length of time to press. For Heat 'N' Bond Lite, I usually press for about 8-10 seconds on a low (medium-low) setting.
3. Peel the paper backing off of the fabric. Now your fabric will have the fusible web on the wrong side of the fabric. It is ready to apply to the cork.
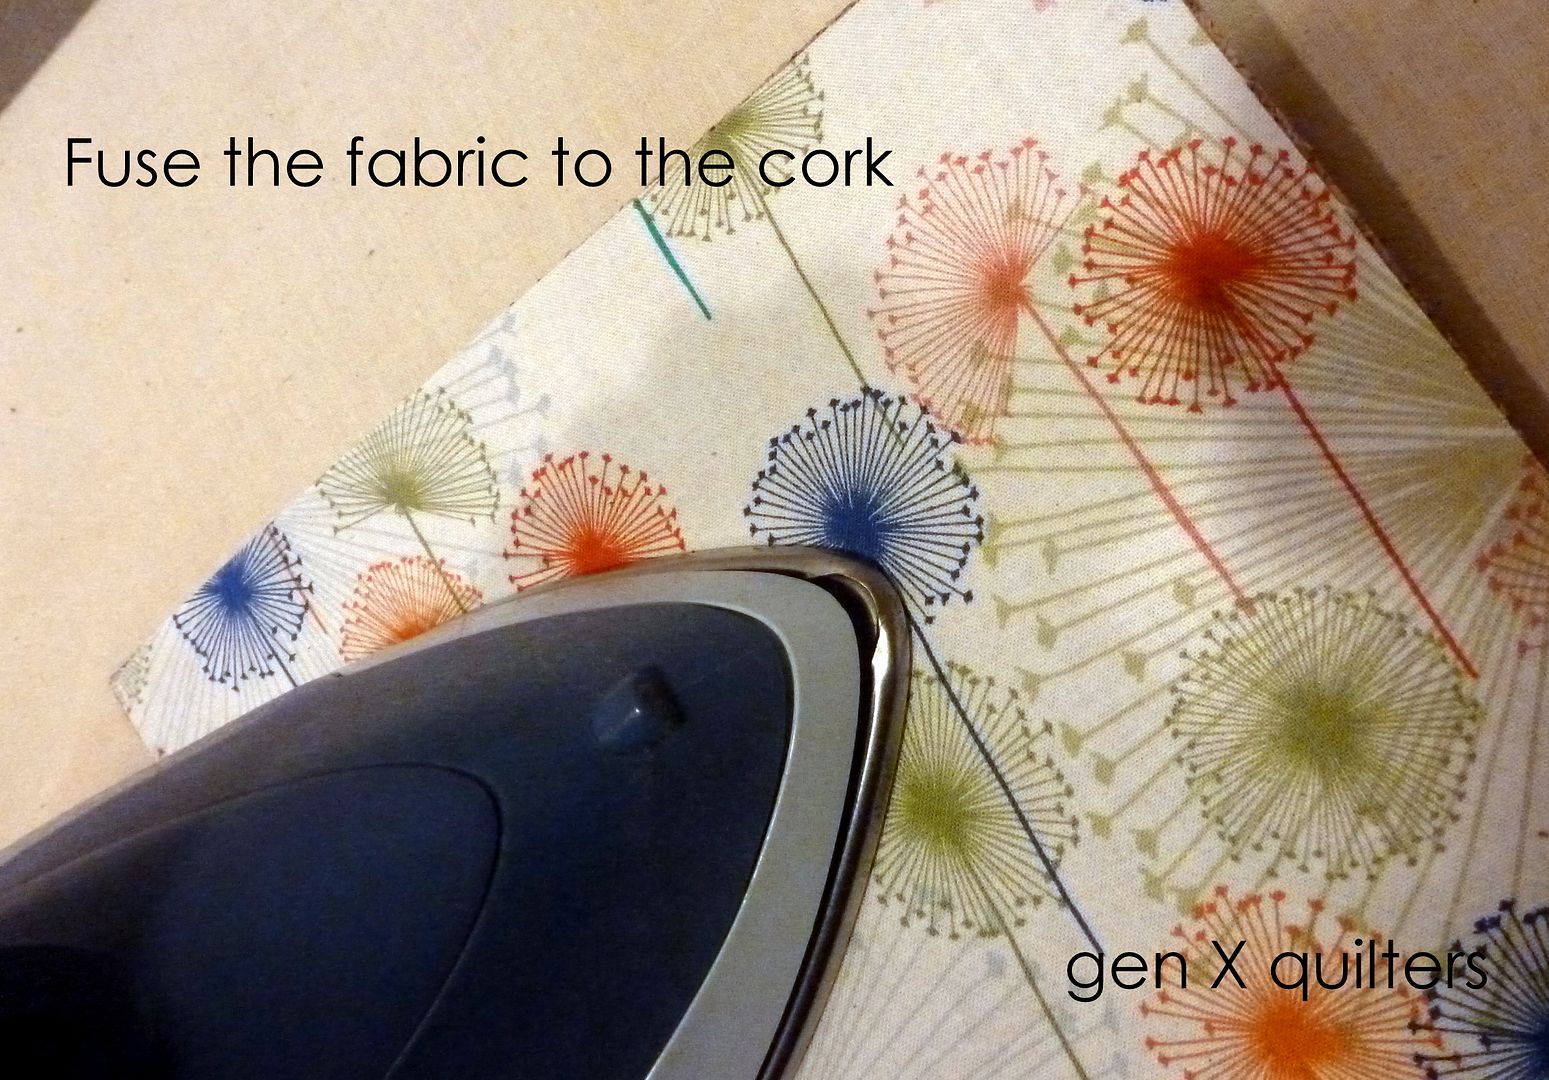
Fuse the fabric (wrong side down) to the cork, making sure to center the shapes on top of each other. Use the same technique and heat settings as step 2.
4. Use a cup or glass to trace a rounded corner profile on each of the four corners on the mouse pad.
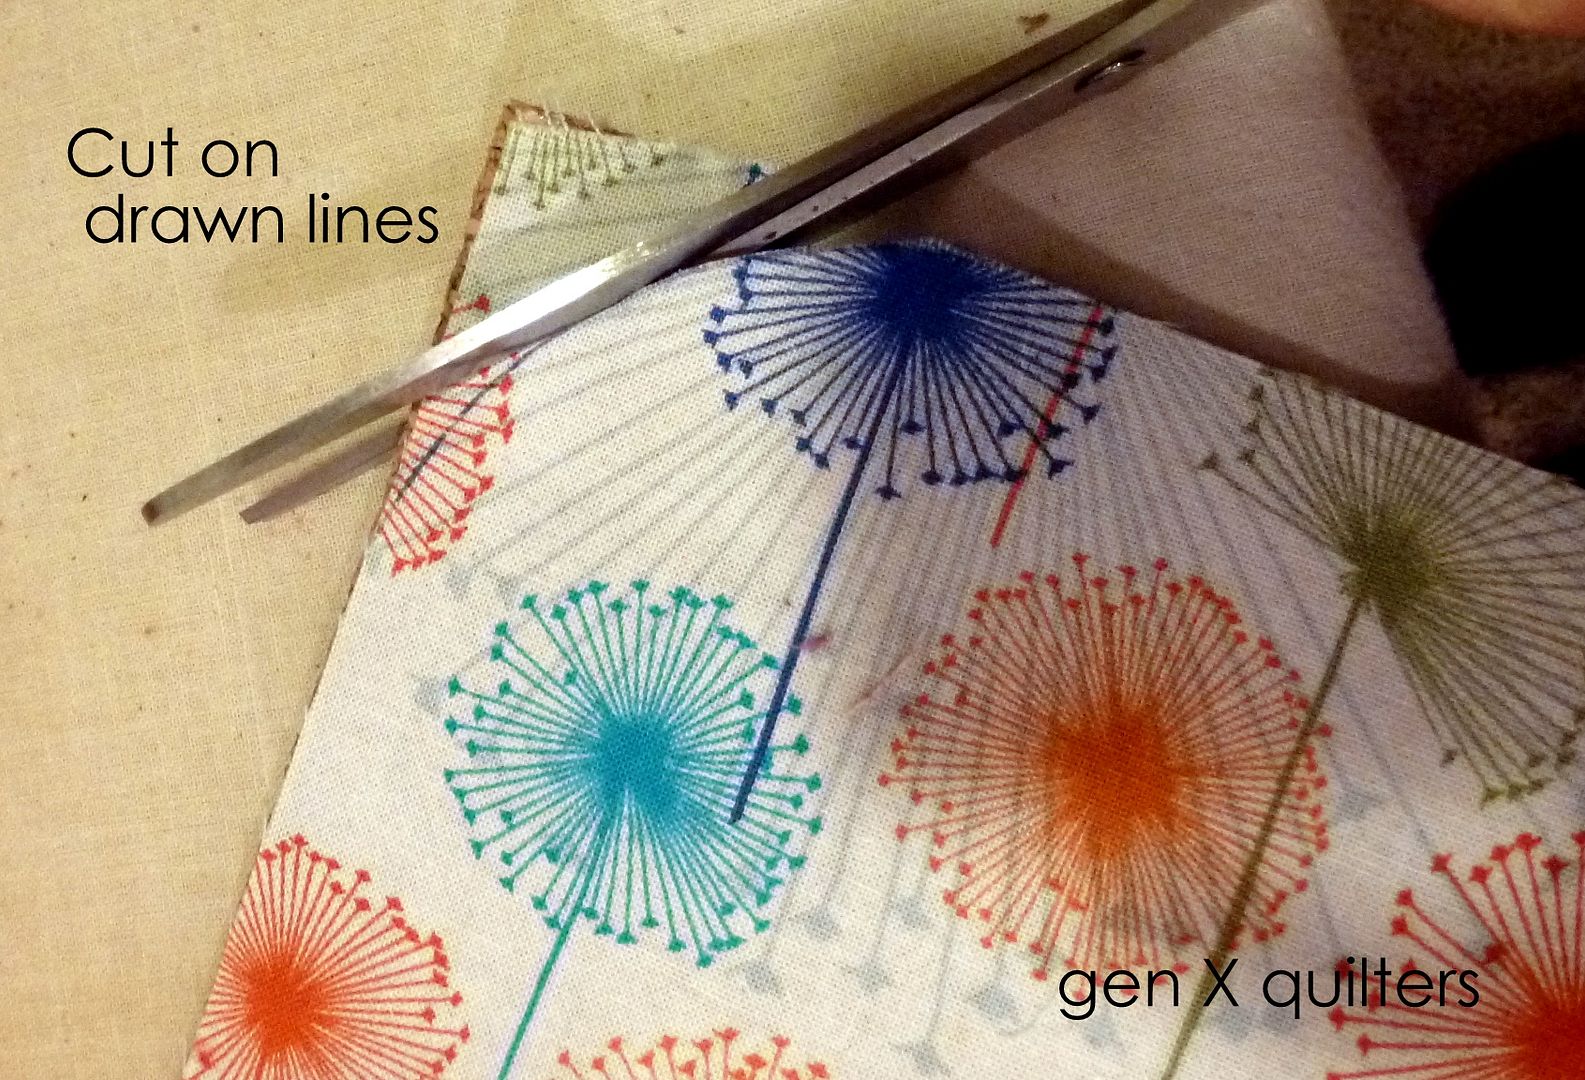
5. Use scissors to cut the rounded corners on the drawn lines. Repeat until all four corners have been trimmed.
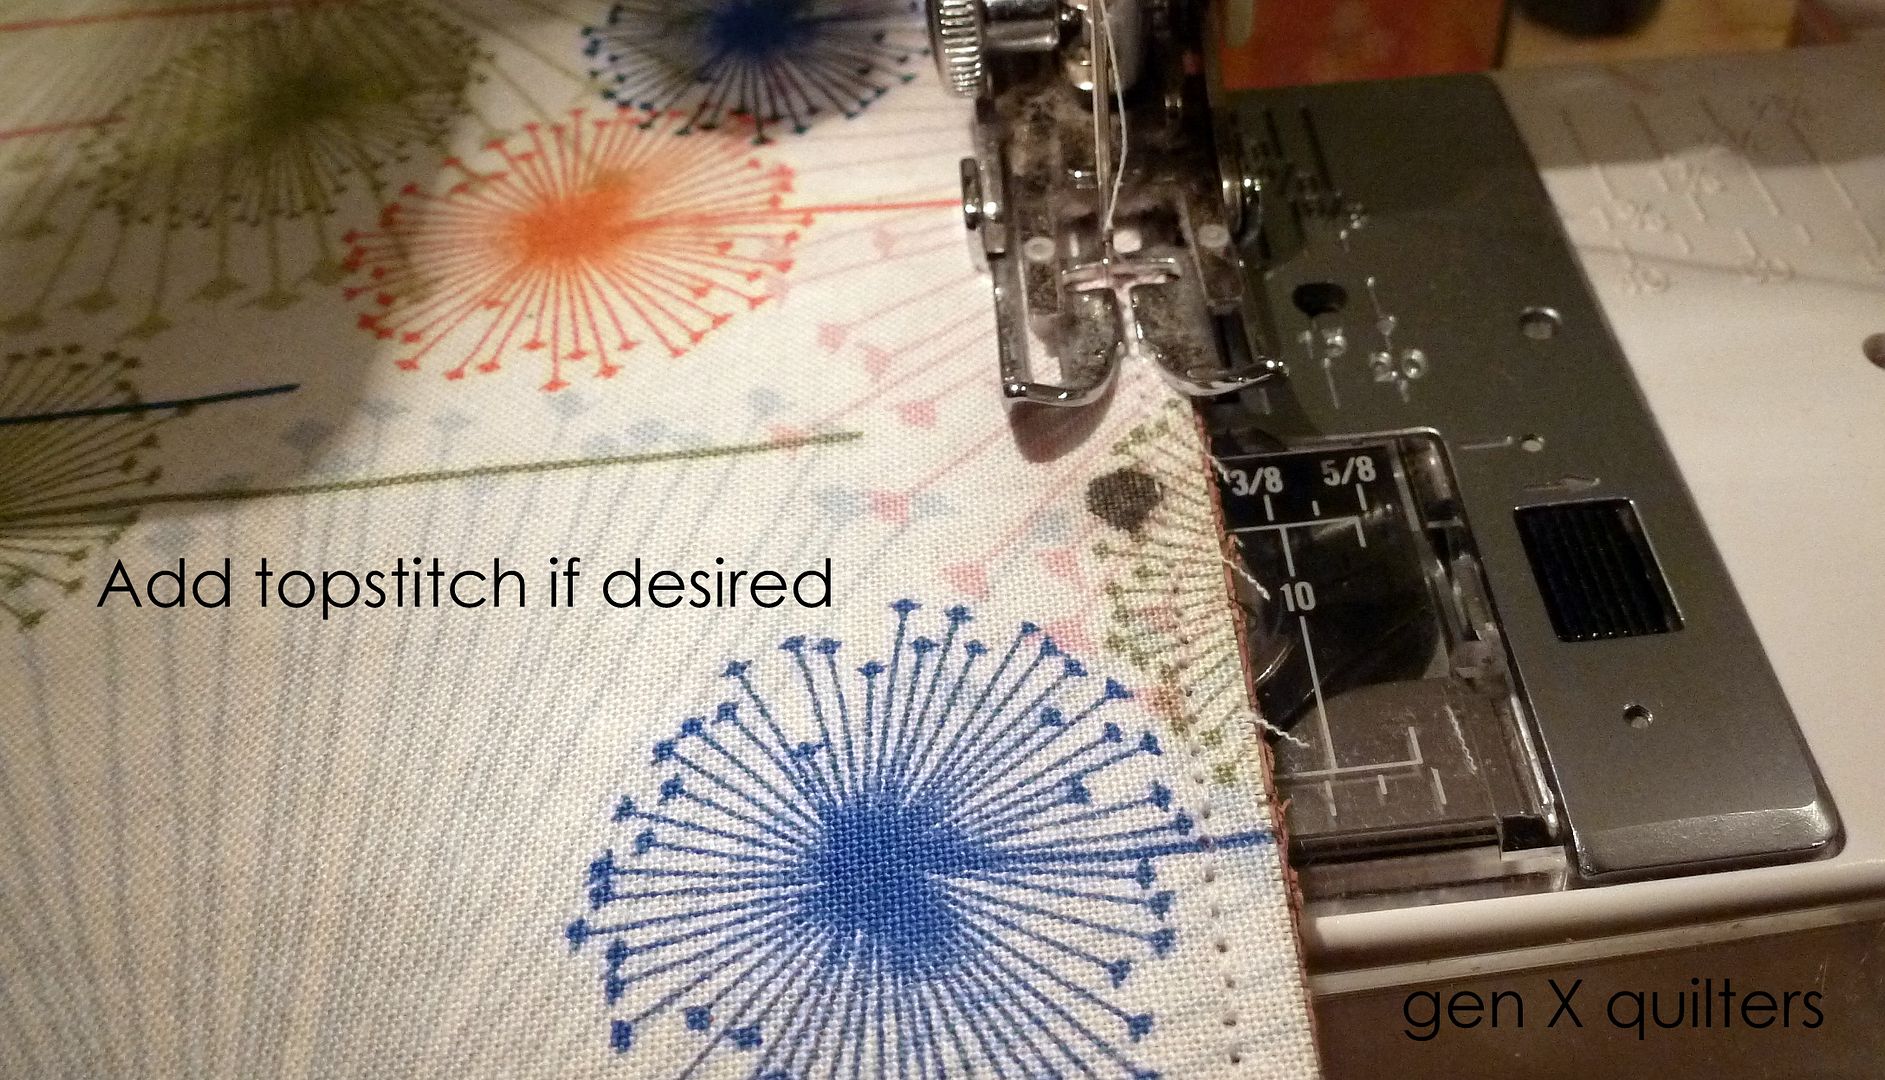
6. (Optional) Add a finished look if desired by topstitching 1/8" away from the edge of the pad all the way around the rounded rectangle. Use a walking foot to help ease the cork through the machine.
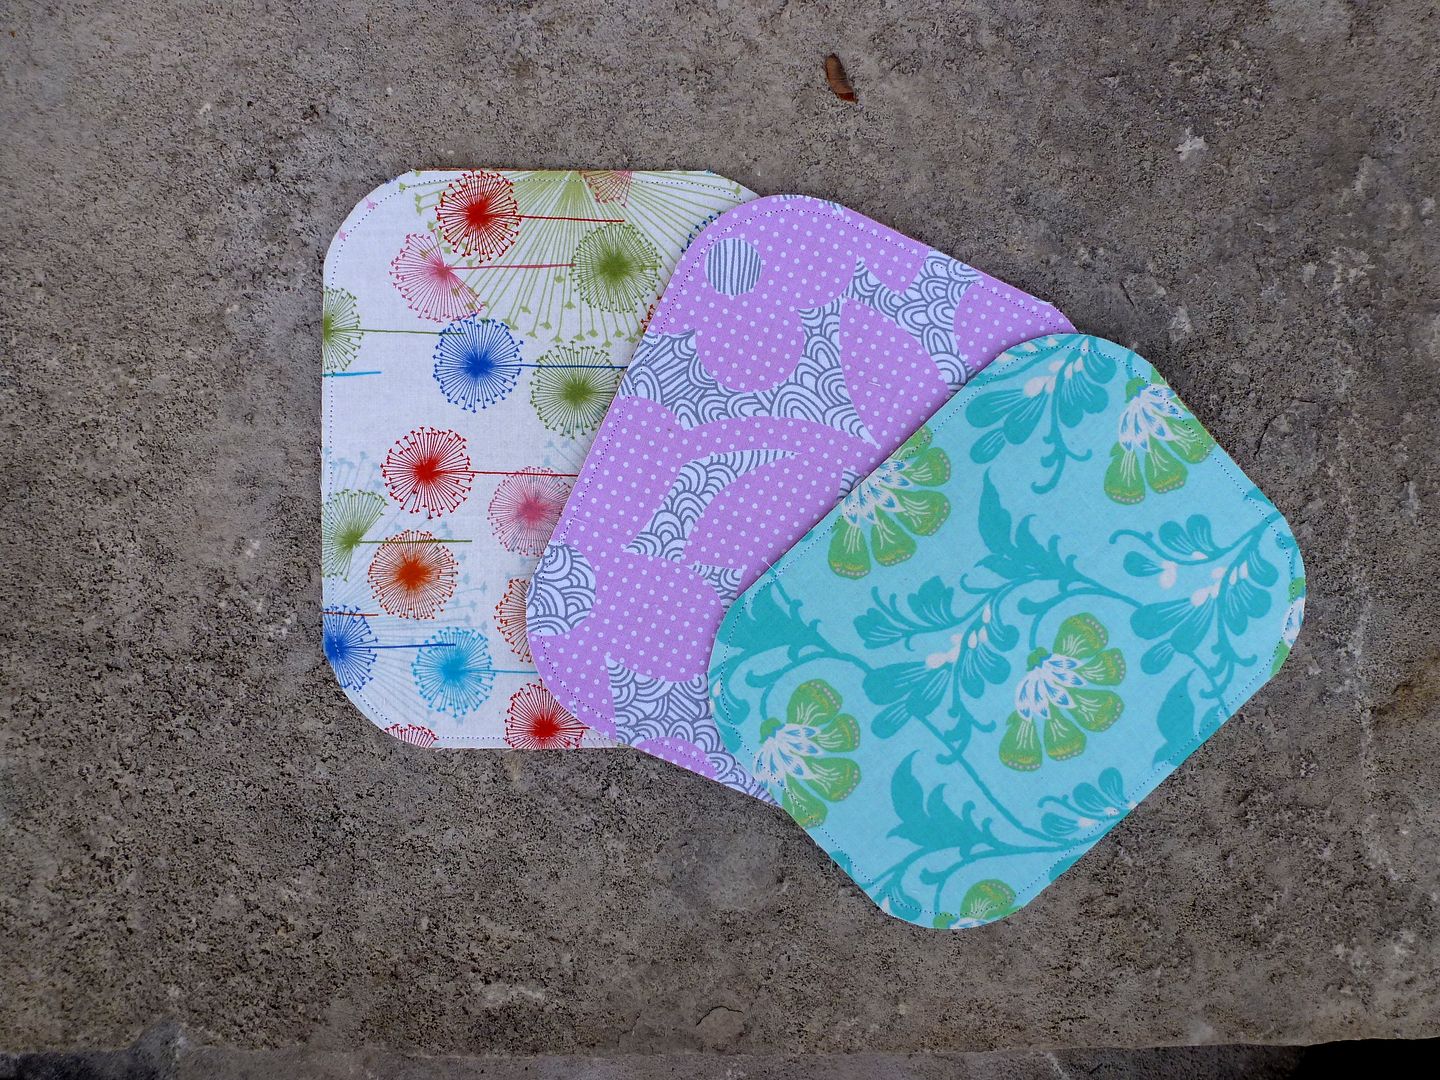
All done!

