Have you tried applique? If not, are you scared of something new? No matter! There are several types of applique, some harder than others. Today I will show you a very easy and basic method of machine applique. I hope this helps get you started.
Materials.
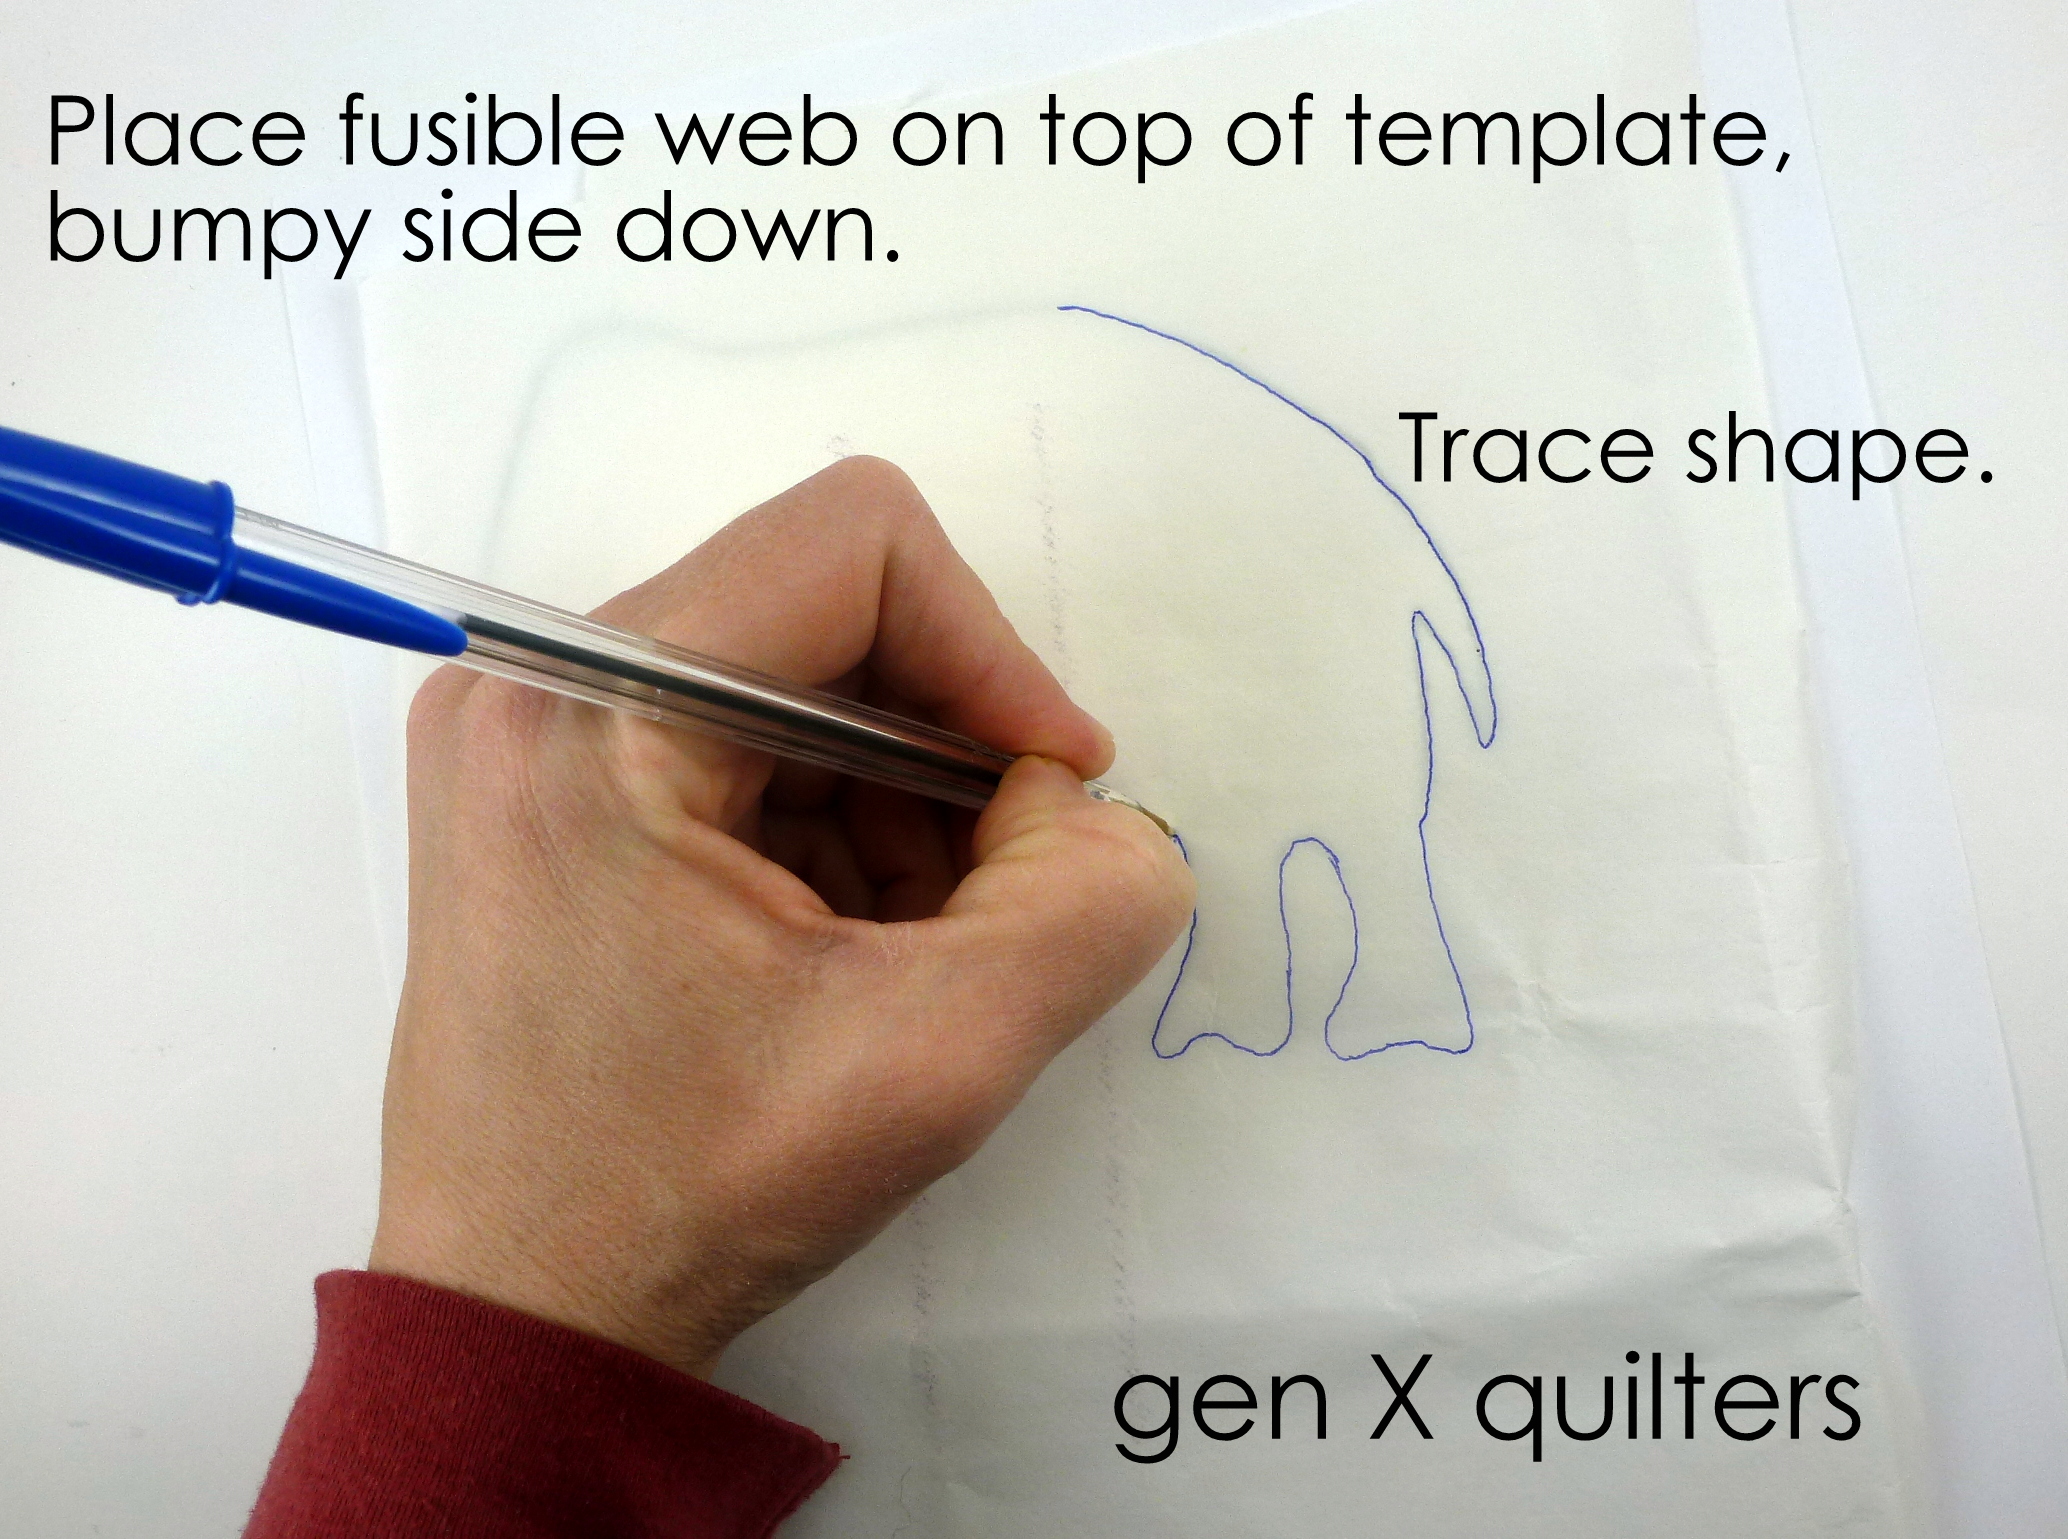
1. Place the fusible web rectangle, bumpy side down, on top of pattern sheet and trace the applique shape.
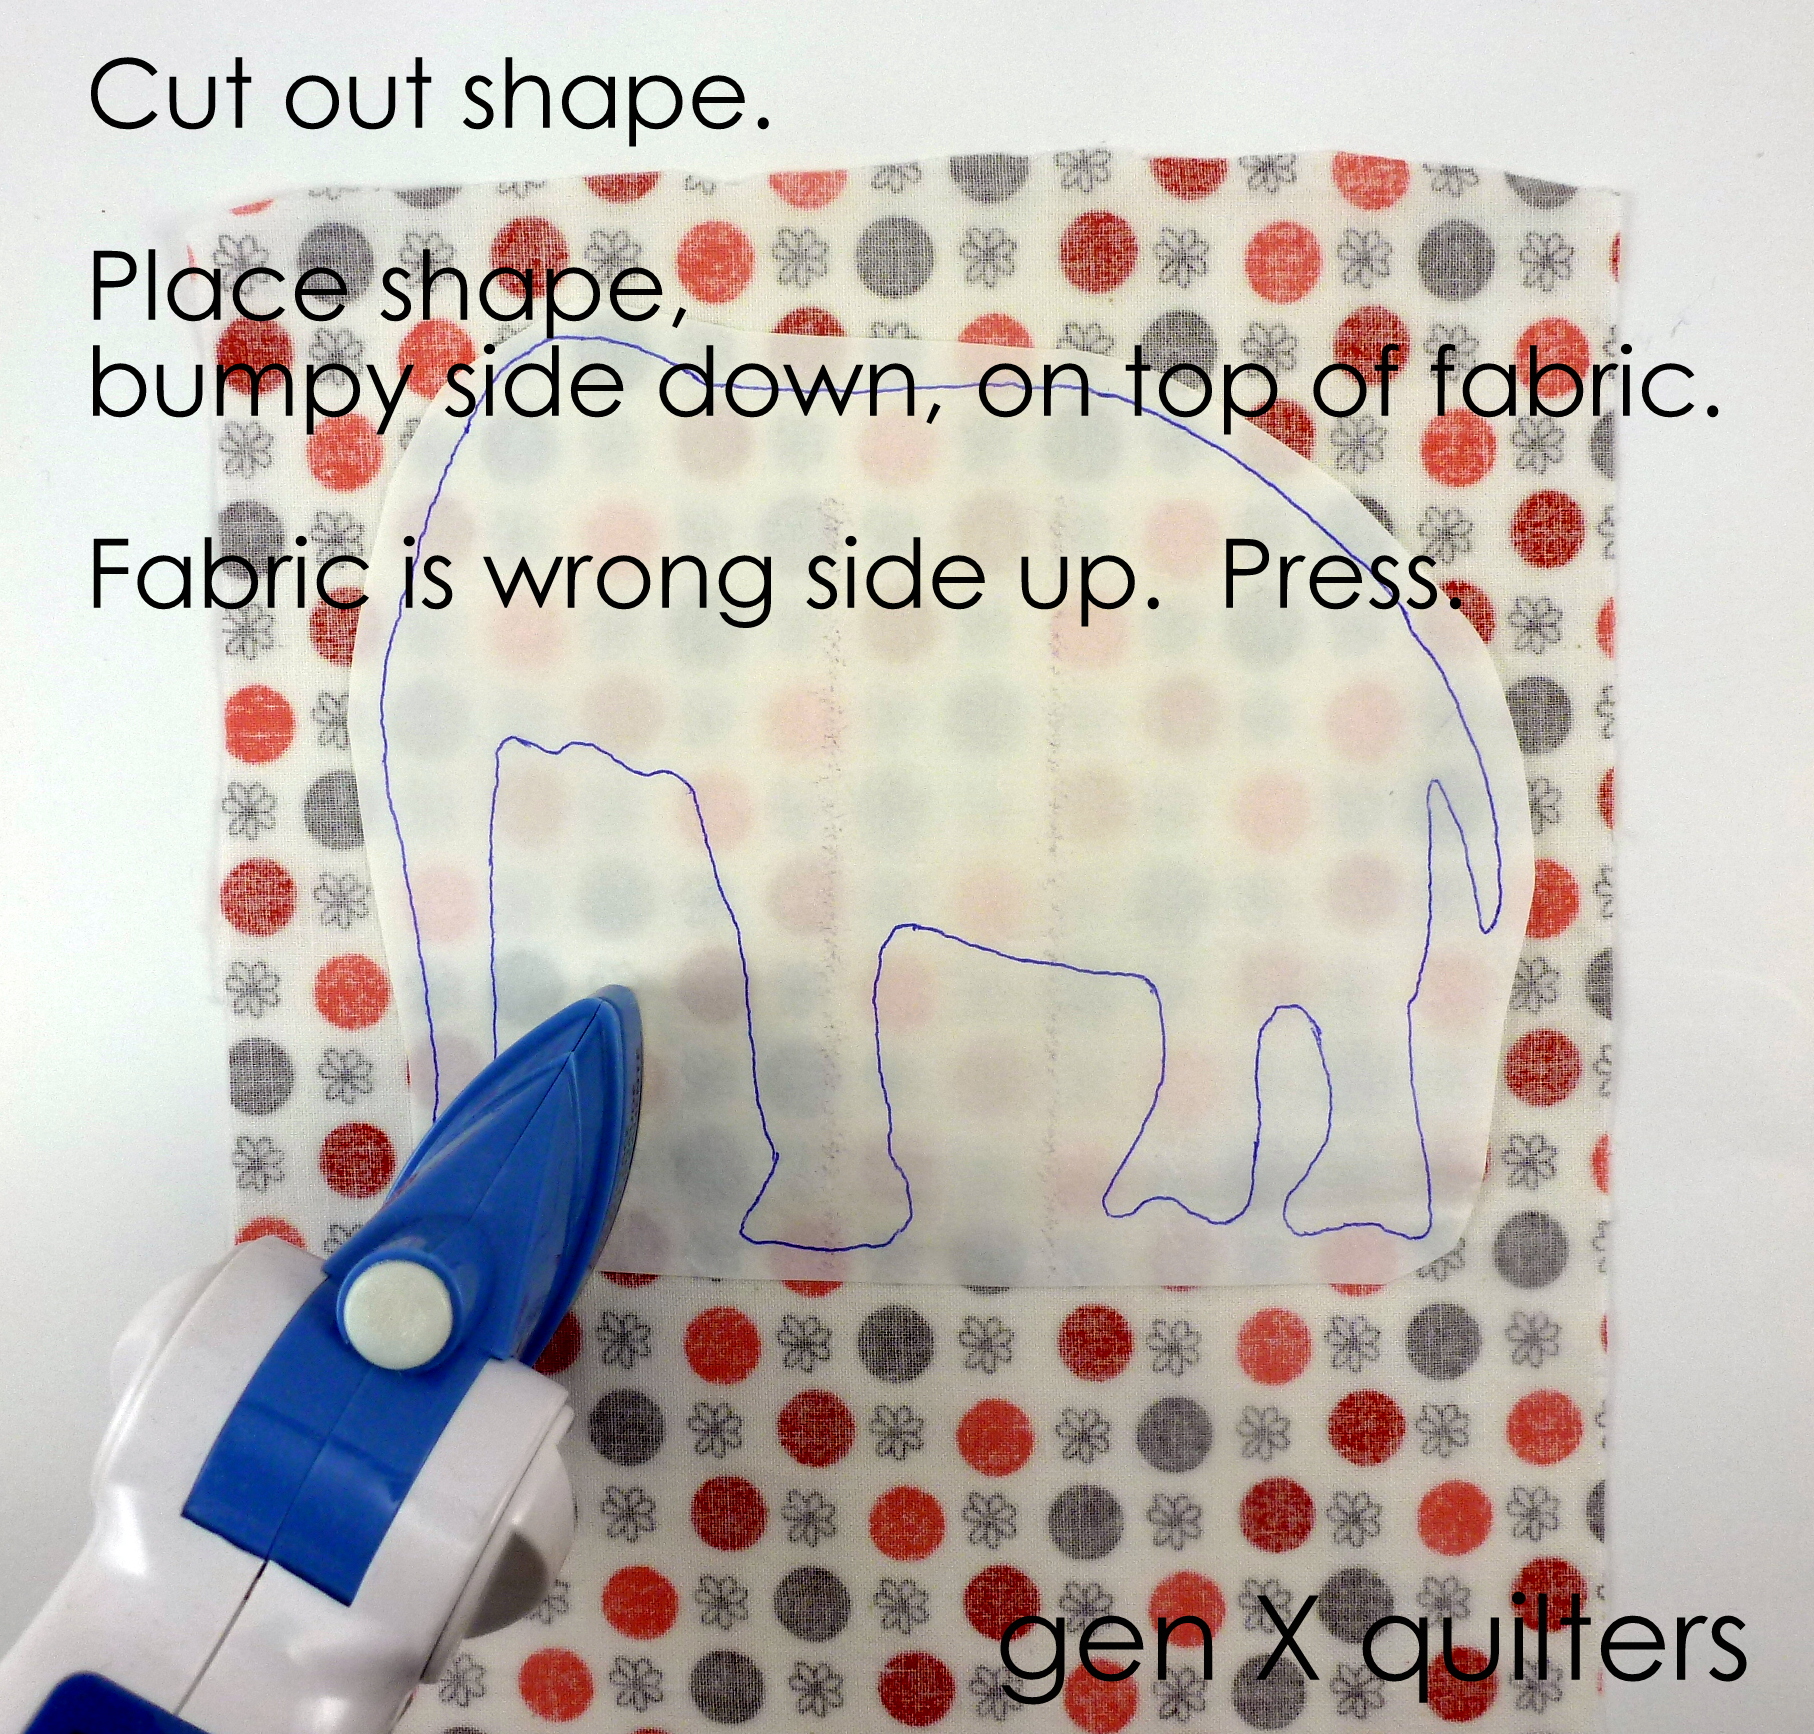
2. Cut out the shape leaving a 1/4” margin around the shape. Place the fusible web with the traced shape bumpy side down on the wrong side of the fabric. Press to fuse the fusible web to the applique fabric. Make sure to read the manufacturer’s instructions prior to beginning for appropriate heat settings and length of time to press. For Heat 'N' Bond Lite, I usually press for about 8-10 seconds on a low (medium-low) setting.
3. Cut out the shape carefully.
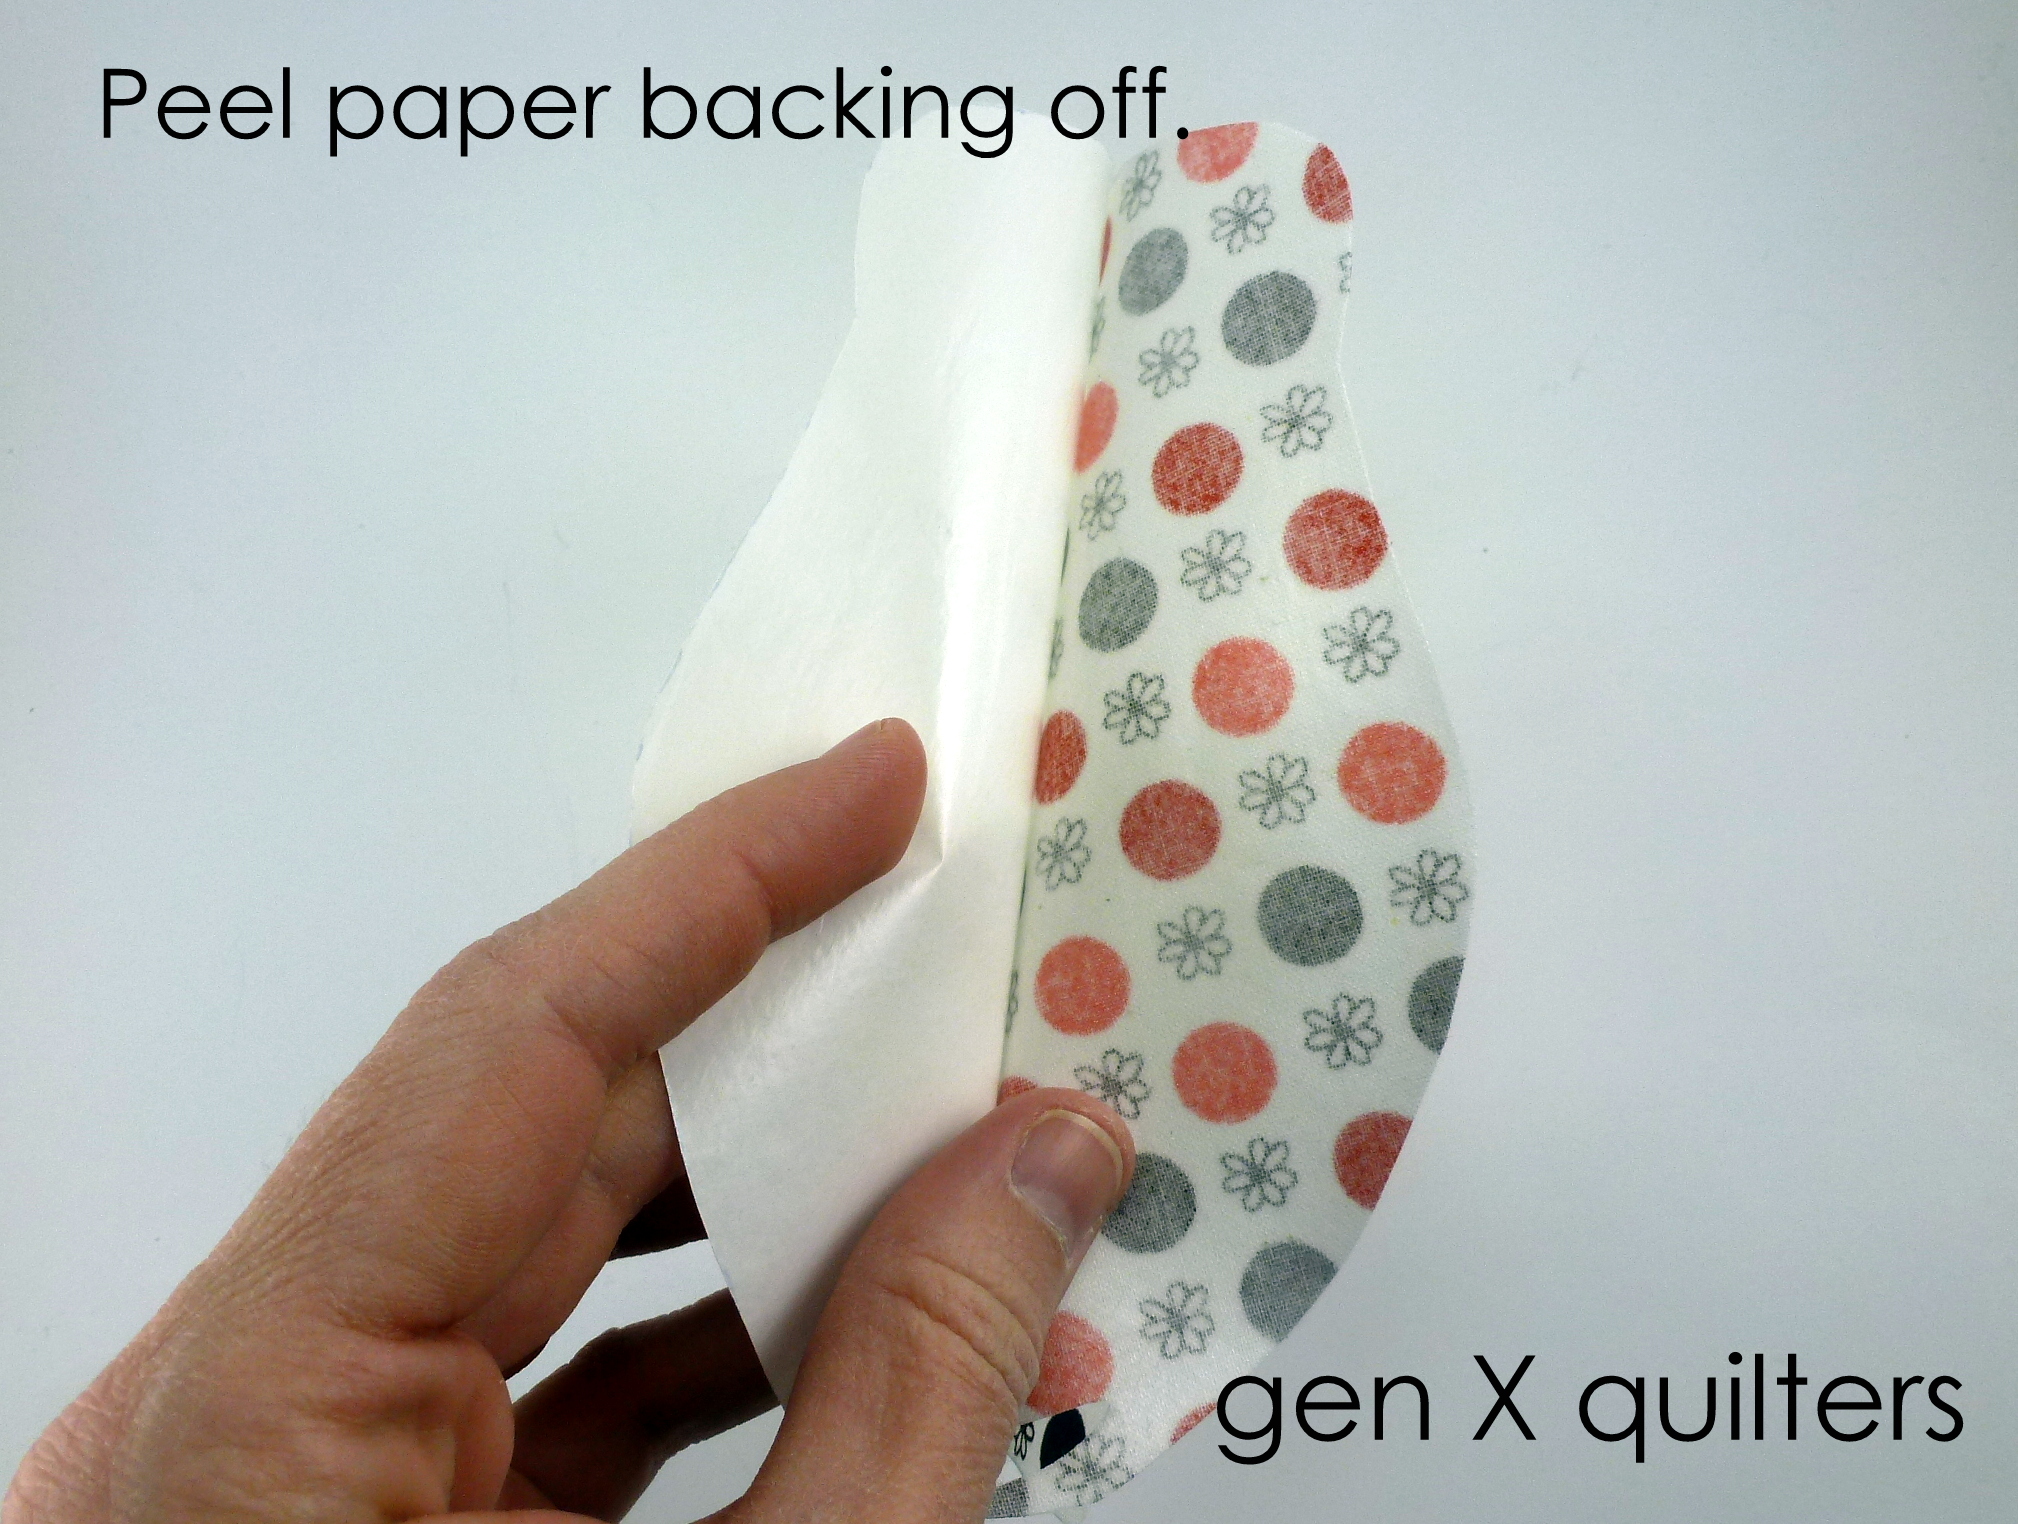
4. Peel the paper backing off of the shape. Now your fabric shape will have the fusible web on the wrong side of the fabric. It is ready to apply to your background.
5. Fuse the shape (wrong side down) to the right side of the background fabric, making sure to center the shape. Use the same technique and settings as step 2.
*Note* If you want to use an interfacing to support the background, now is the time to apply it. Either fuse the interfacing to the background or pin it in place on the wrong side of the background fabric. Honestly, I usually skip this step. Call me lazy - but I have found I don't need it when appliquing for a quilt. The Heat 'N' Bond Lite product gives the applique shape some stiffness. If I am working on a t-shirt though, the interfacing is very helpful.
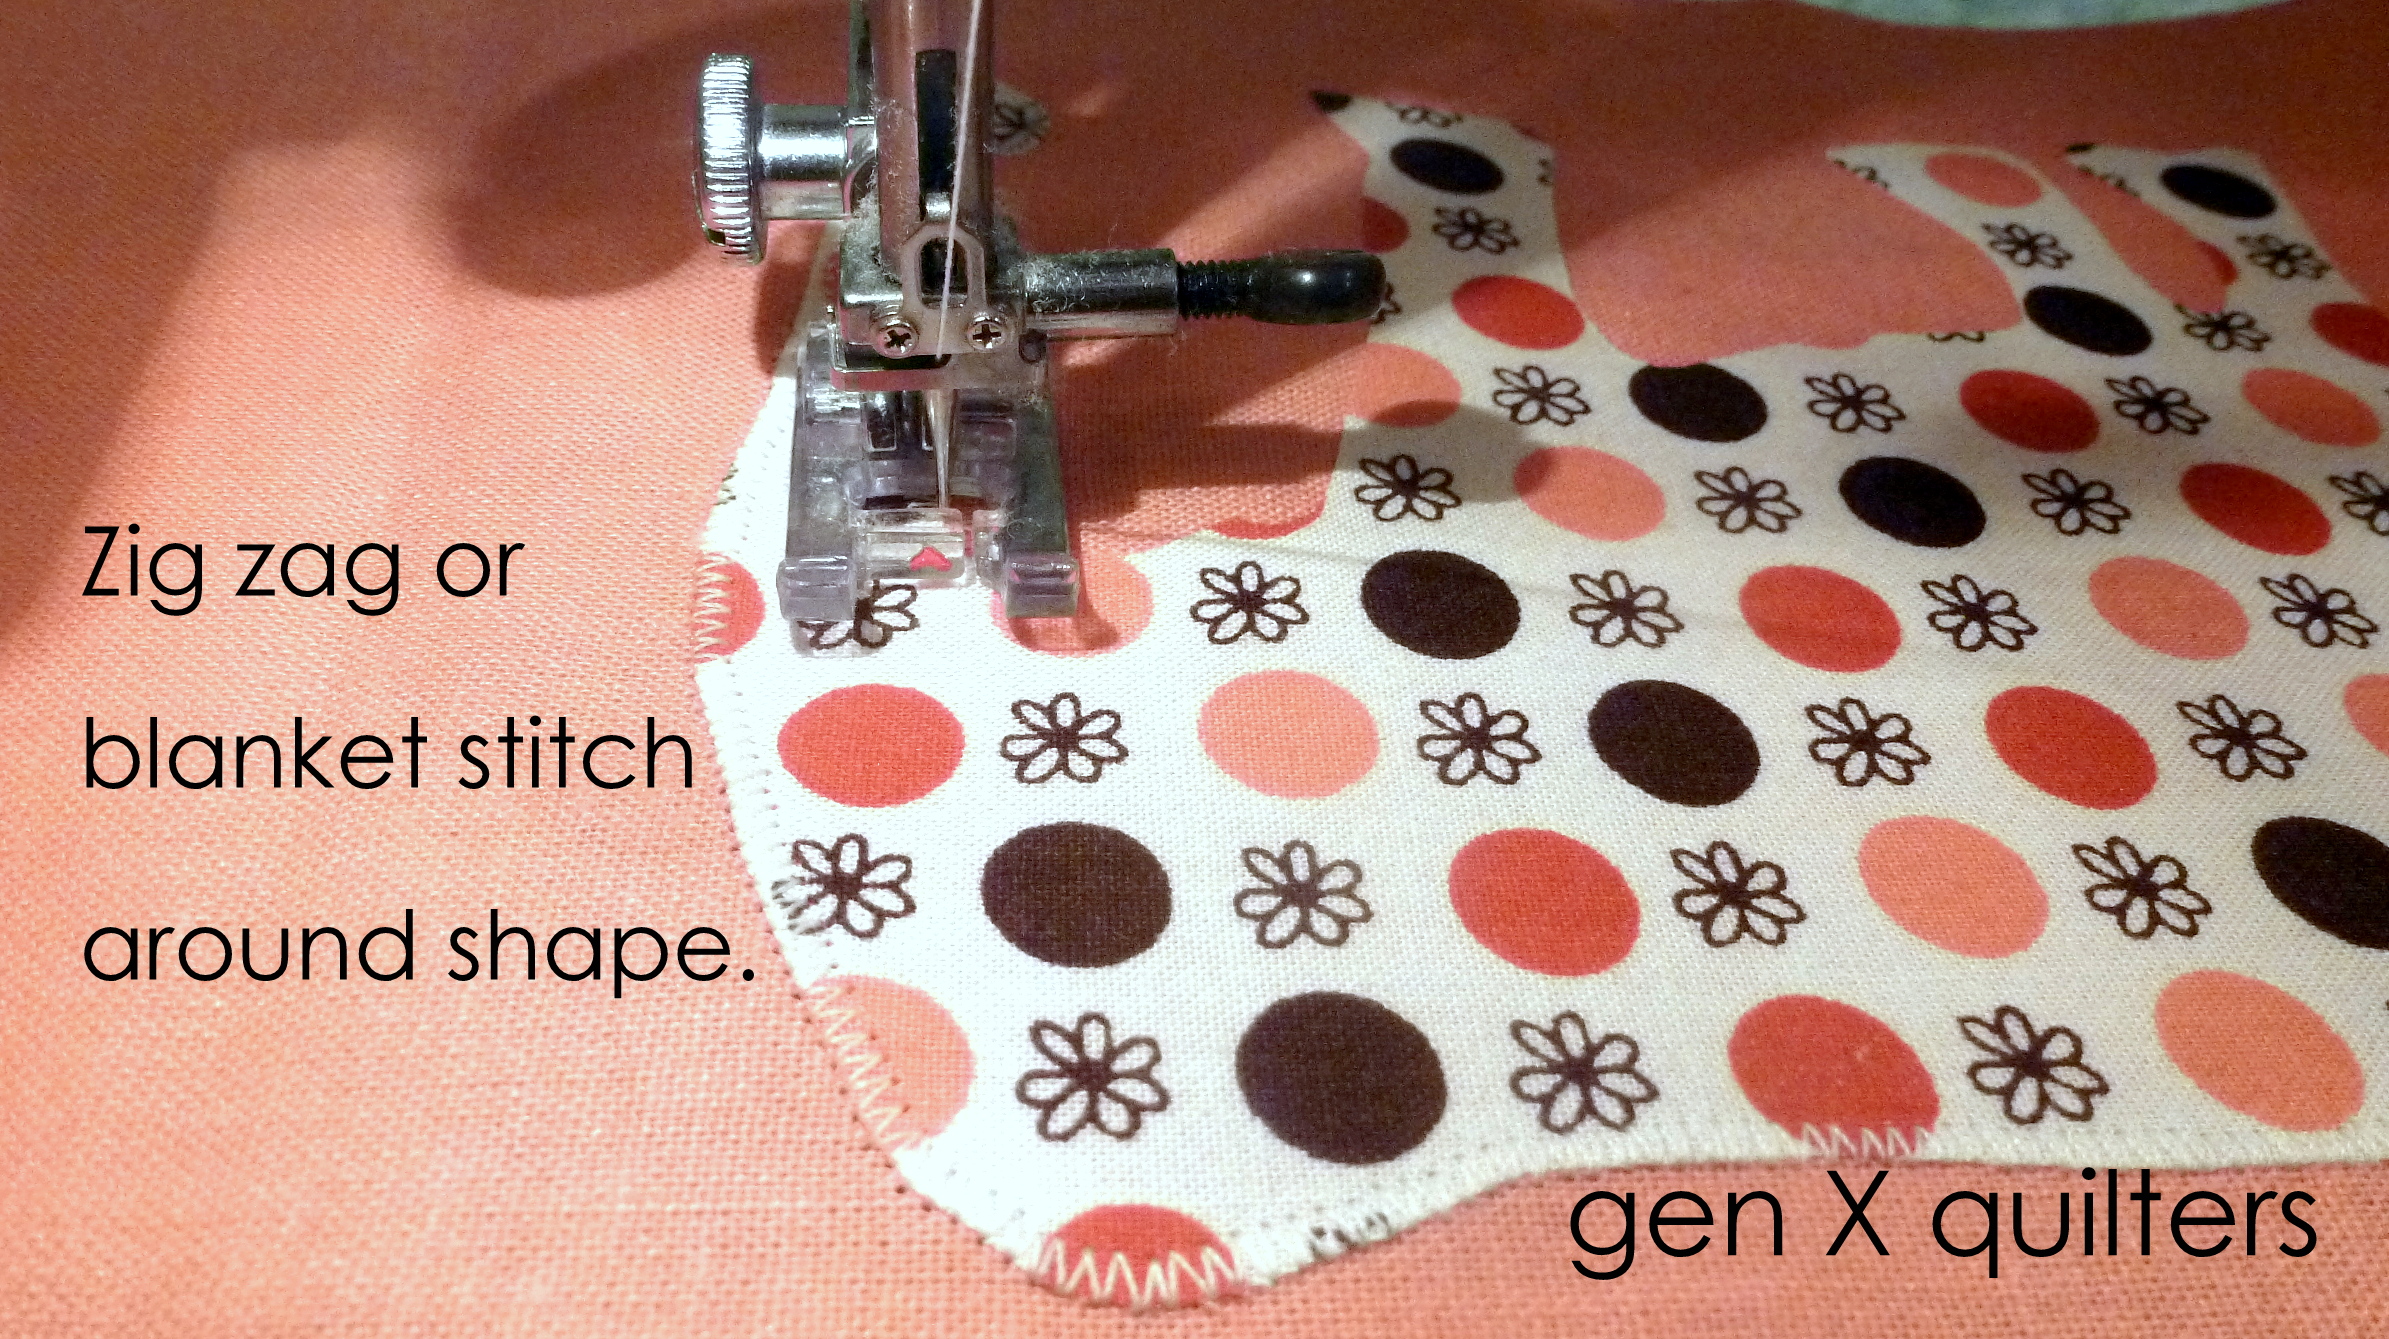
6. Zigzag or blanket stitch around the shape to secure the appliqué. Patience!! Sewing a tight zigzag around a complex shape can take some time, but it is well worth the flair it adds to the piece. Try experimenting with the tightness of your zig zag. Most machines allows you to adjust how close the stitches are. If you are appliquing on clothing, I would choose a tighter zig zag stitch because clothing will be washed repeatedly. You may not need such a tight stitch for other applications, such as a quilt.
Isn't she cute?
And here it is in my quilt top!
Materials.
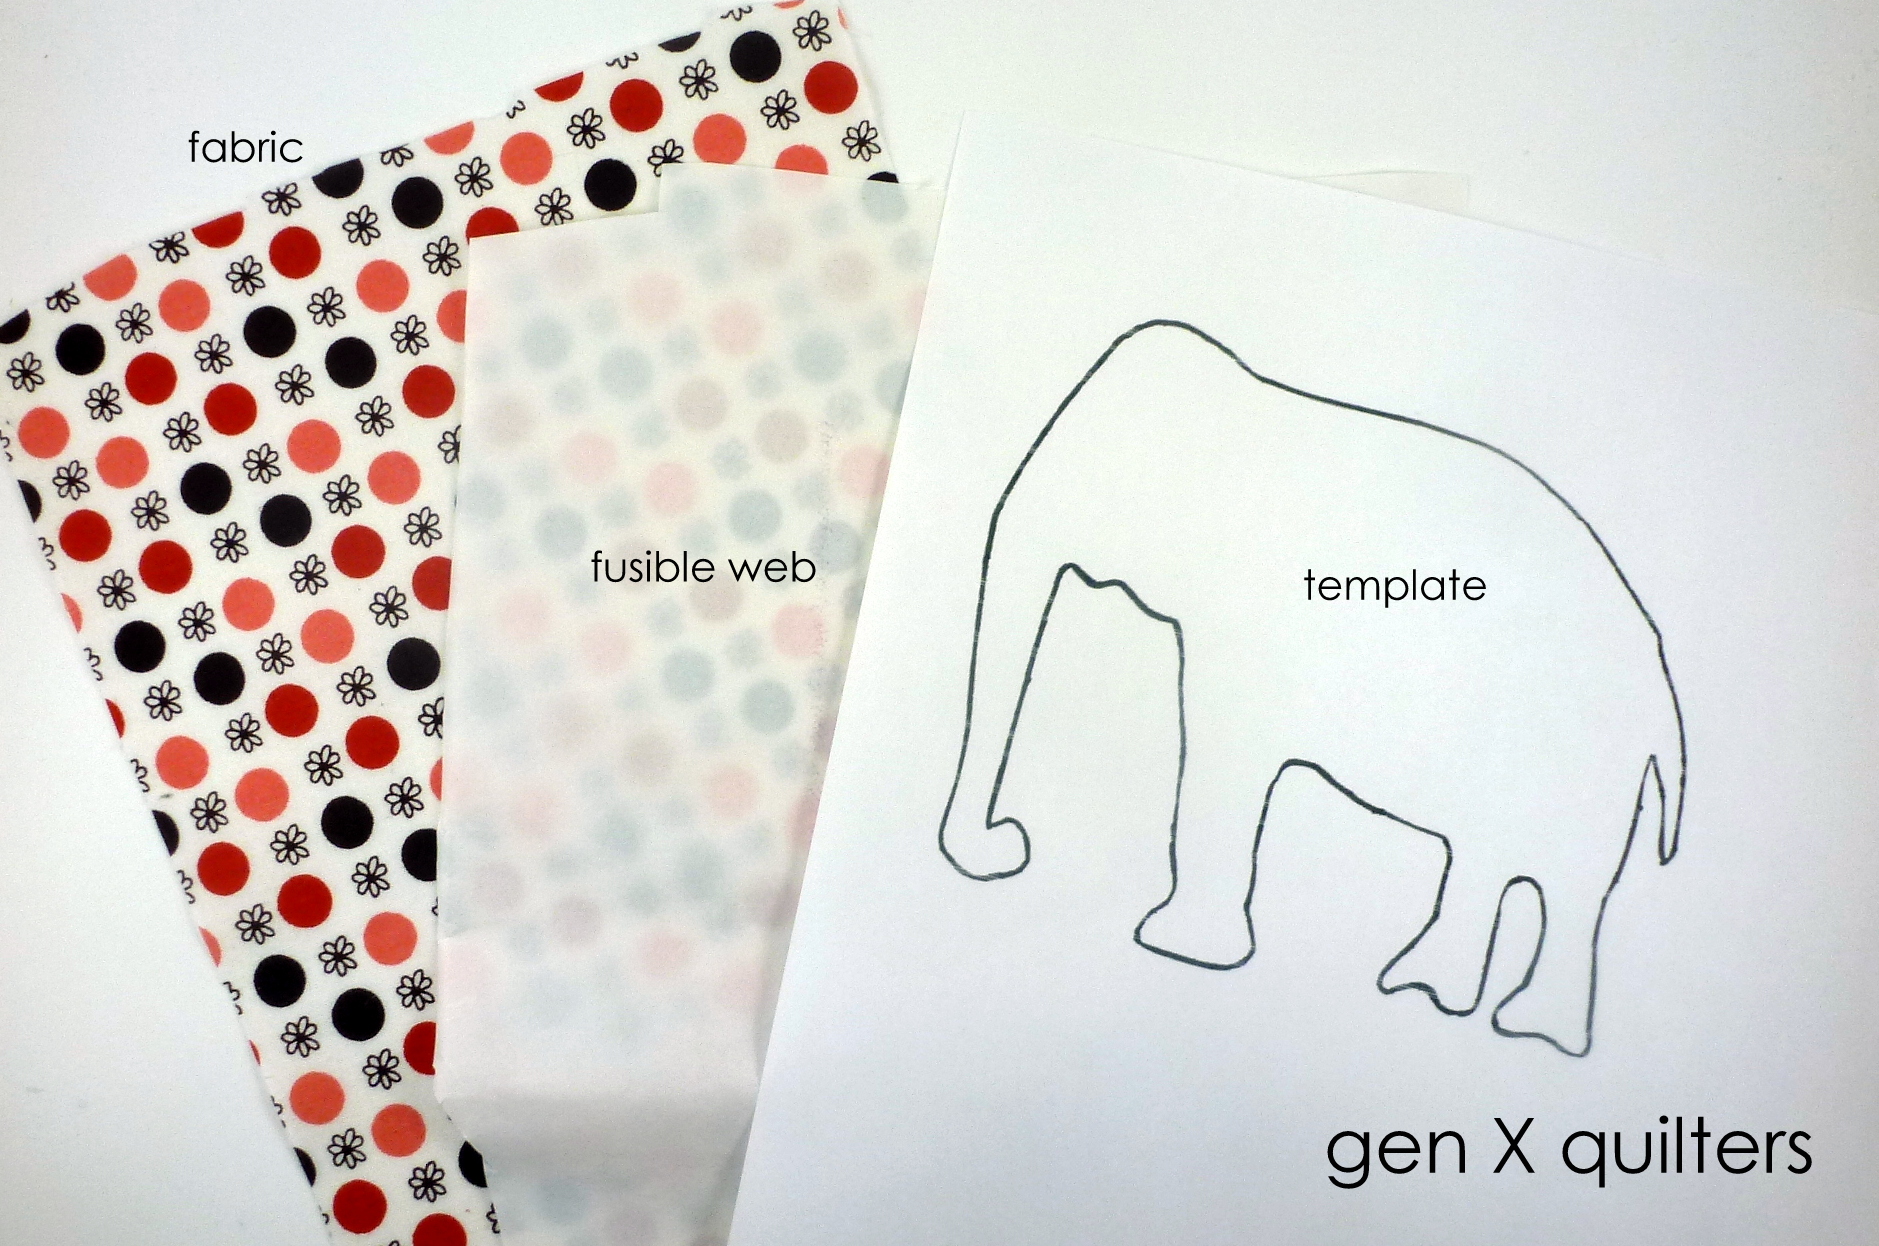
- template - the shape you want to applique. It can be a printout from a pattern or a drawing or something you trace from a coloring book. The possibilities are endless!
- fusible web - there are many common brands of fusible web. Heat 'N' Bond Lite is typically what I use. Steam-A-Seam, MistyFuse, and Pellon Wonder-Under are other brands I have tried. Make sure to get sew-able fusible web. There is a non-sewable version of fusible web and if you try to sew through it, it will gum up your needle with glue. Trust me.
- fabric - a piece slightly larger than your desired applique shape. You will also need a background fabric to fuse your applique shape to. This may be another rectangle for a quilt block, a t-shirt, a bag, a quilt top, etc.
- interfacing or stablizer (optional) - if your background fabric is lightweight or thin, you may want to place interfacing underneath the background fabric to stiffen it.
1. Place the fusible web rectangle, bumpy side down, on top of pattern sheet and trace the applique shape.
2. Cut out the shape leaving a 1/4” margin around the shape. Place the fusible web with the traced shape bumpy side down on the wrong side of the fabric. Press to fuse the fusible web to the applique fabric. Make sure to read the manufacturer’s instructions prior to beginning for appropriate heat settings and length of time to press. For Heat 'N' Bond Lite, I usually press for about 8-10 seconds on a low (medium-low) setting.
3. Cut out the shape carefully.
4. Peel the paper backing off of the shape. Now your fabric shape will have the fusible web on the wrong side of the fabric. It is ready to apply to your background.
5. Fuse the shape (wrong side down) to the right side of the background fabric, making sure to center the shape. Use the same technique and settings as step 2.
*Note* If you want to use an interfacing to support the background, now is the time to apply it. Either fuse the interfacing to the background or pin it in place on the wrong side of the background fabric. Honestly, I usually skip this step. Call me lazy - but I have found I don't need it when appliquing for a quilt. The Heat 'N' Bond Lite product gives the applique shape some stiffness. If I am working on a t-shirt though, the interfacing is very helpful.
6. Zigzag or blanket stitch around the shape to secure the appliqué. Patience!! Sewing a tight zigzag around a complex shape can take some time, but it is well worth the flair it adds to the piece. Try experimenting with the tightness of your zig zag. Most machines allows you to adjust how close the stitches are. If you are appliquing on clothing, I would choose a tighter zig zag stitch because clothing will be washed repeatedly. You may not need such a tight stitch for other applications, such as a quilt.

Isn't she cute?
 |
| Finished Applique Shape |


