DIY Men's Leather Bi-Fold Wallet - A Tutorial


Men.  Man, they are SO hard to buy for.  Even MORE difficult to sew for.  If you'd like to gift a little something to a special man in your life, this wallet could be just the thing.  

This bi-fold wallet is made with leftover leather scraps I had from making a bag.  If you don't have any leather in your sewing stash, you can think about upcycling an old purse you don't use anymore or perhaps that 80s leather jacket in the front hall closet.  You could also try searching scrap leather on etsy or I purchased mine (as a full hide) at Tandy.

Materials.
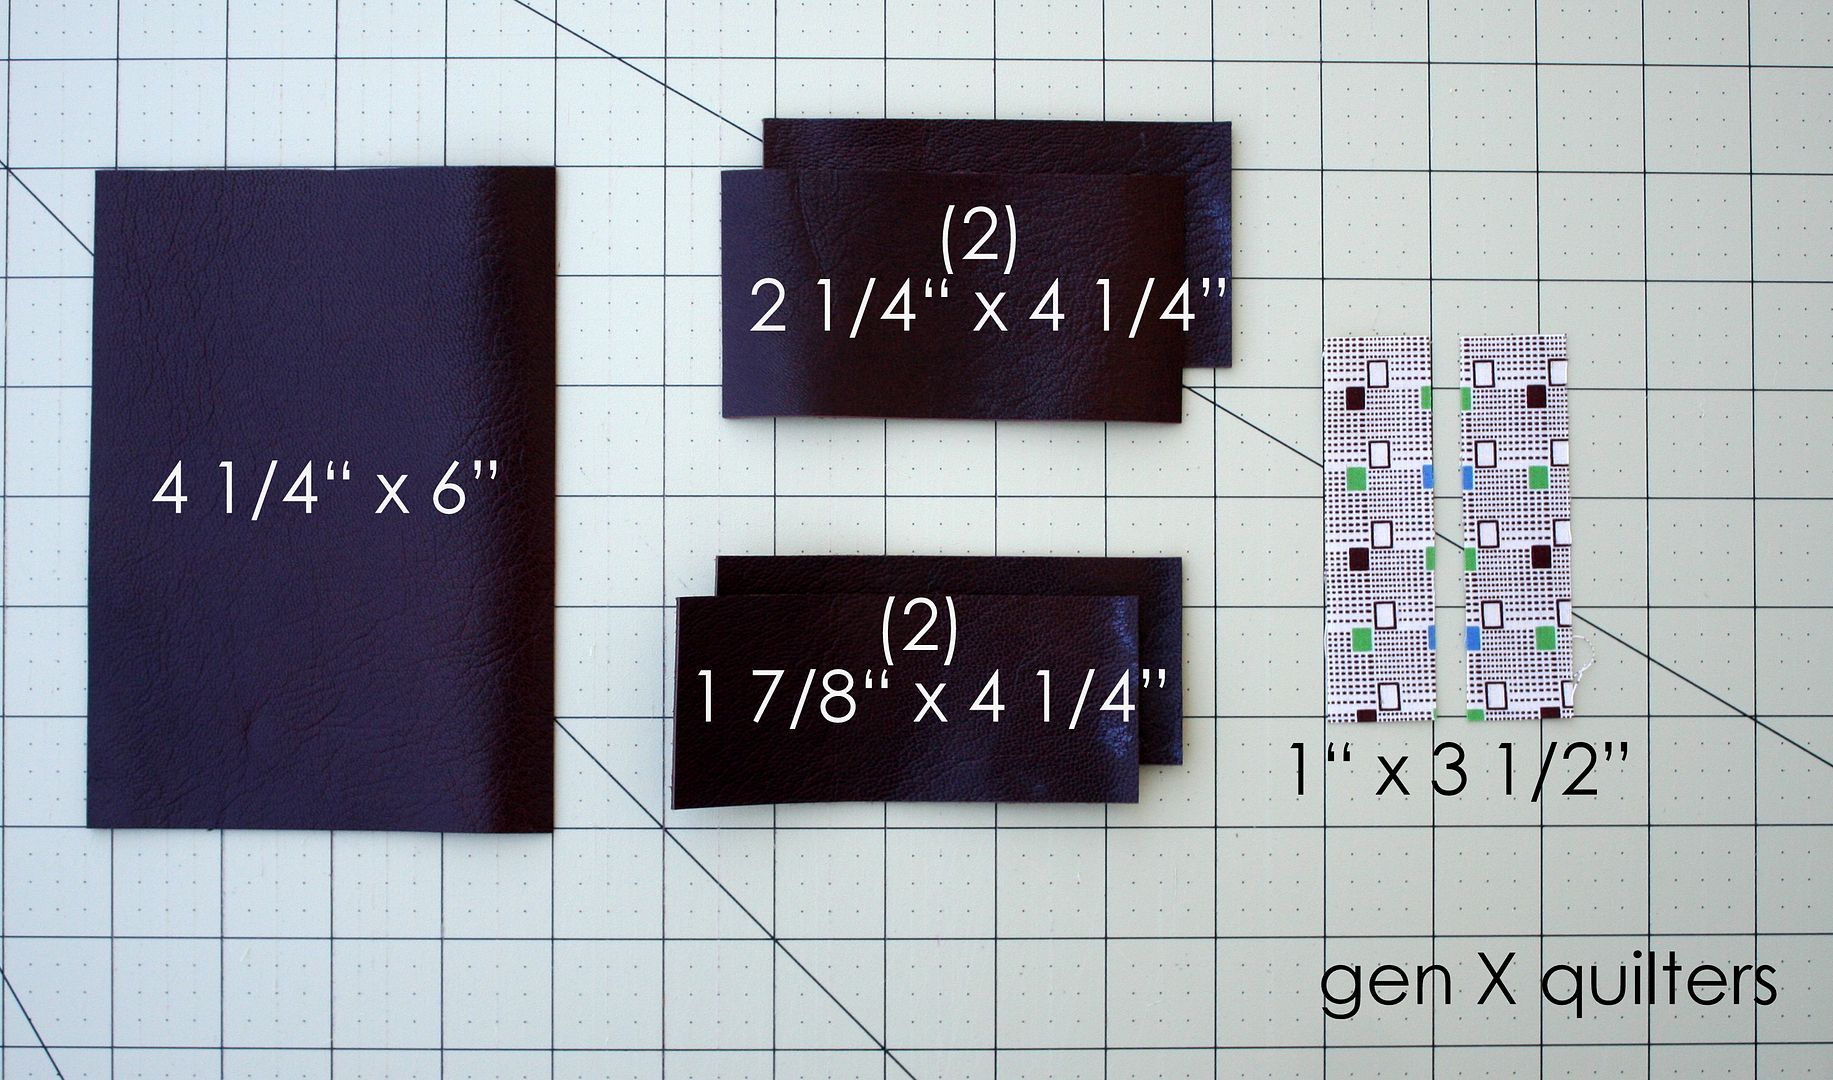
  • (1) 4 1/4" x 6" rectangle leather (back)
  • (2) 2 1/4" x 4 1/4" rectangles leather (pocket 1)
  • (2) 1 7/8" x 4 1/4" rectangles leather (pocket 2)
  • (2) 1" x 3 1/2" rectangles cotton (fabric accent)
  • coordinating thread
  • leather needle for your sewing machine
  • walking foot (suggested)

Instructions.
1. Begin by cutting all pieces to size as called out in the Materials section.

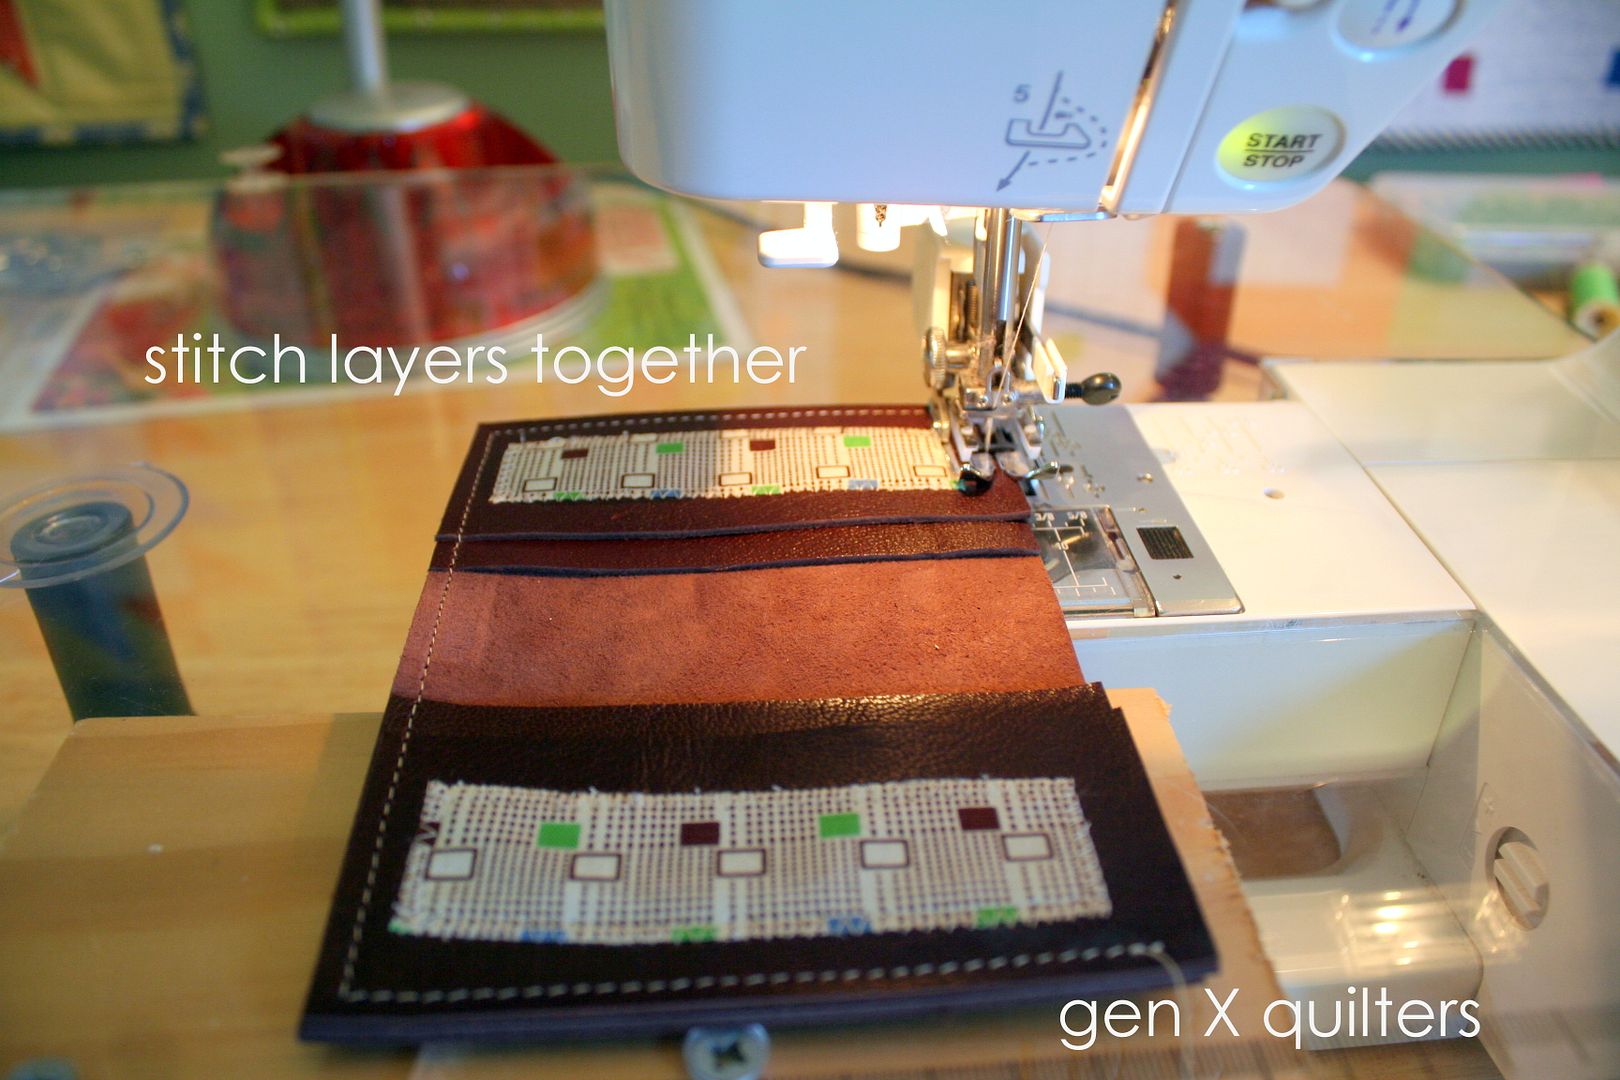
2.  Sew the 1" x 3 1/2" fabric accents right side up to the right side of the 1 7/8" x 4 1/4" pocket 2 pieces.  Sew these with a wide zig zag stitch and sew around all four sides of the fabric accent rectangles.  Once leather is pierced, the hole remains, so my advice is to sew slowly.  I also do not pin because I do not want any additional holes in the leather.  You may tack the fabric to the pocket piece using a little bit of glue from a glue stick.  I did not, but this may help the fabric from slipping while you sew.  (In the next photo you can see my fabric accent slipped a little while I was sewing.  This was due to haste.  Sew slowly!)

3.  To prepare to stitch all 3 layers together, lay the back wrong side up.  Next lay the pocket 1 piece (2 1/4" x 4 1/4") right side up on top of the back.  Then lay the pocket 2 piece on top of the pocket 1 piece.  Align all 3 layers with the right side of the back, and also aligning all layers top to bottom.  Repeat for the pocket pieces on the left hand side.  Binding clips can help secure the layers.

4. Before you begin to sew, lengthen the stitch length on your machine.  Most machines default to a small stitch length - primarily used for sewing cottons.  To stitch through leather, we do not want to create too many holes too close together as it will weaken the leather.  My machine's default stitch length is 2.2.  I changed it to 3.0 for this project.

I also highly recommend using a walking foot.  The walking foot feed dogs will help feed all layers through evenly.

5. Stitch all layers together 1/8" from the edge using a walking foot.  Back stitch at the beginning and end.  Again, sew slowly and carefully!  Square up and trim any excess as needed.  Done!

I made this wallet for my husband for his birthday.  He moved into it immediately.  I hadn't even taken my bloggy photos yet - so I had to steal it back to get some shots.  


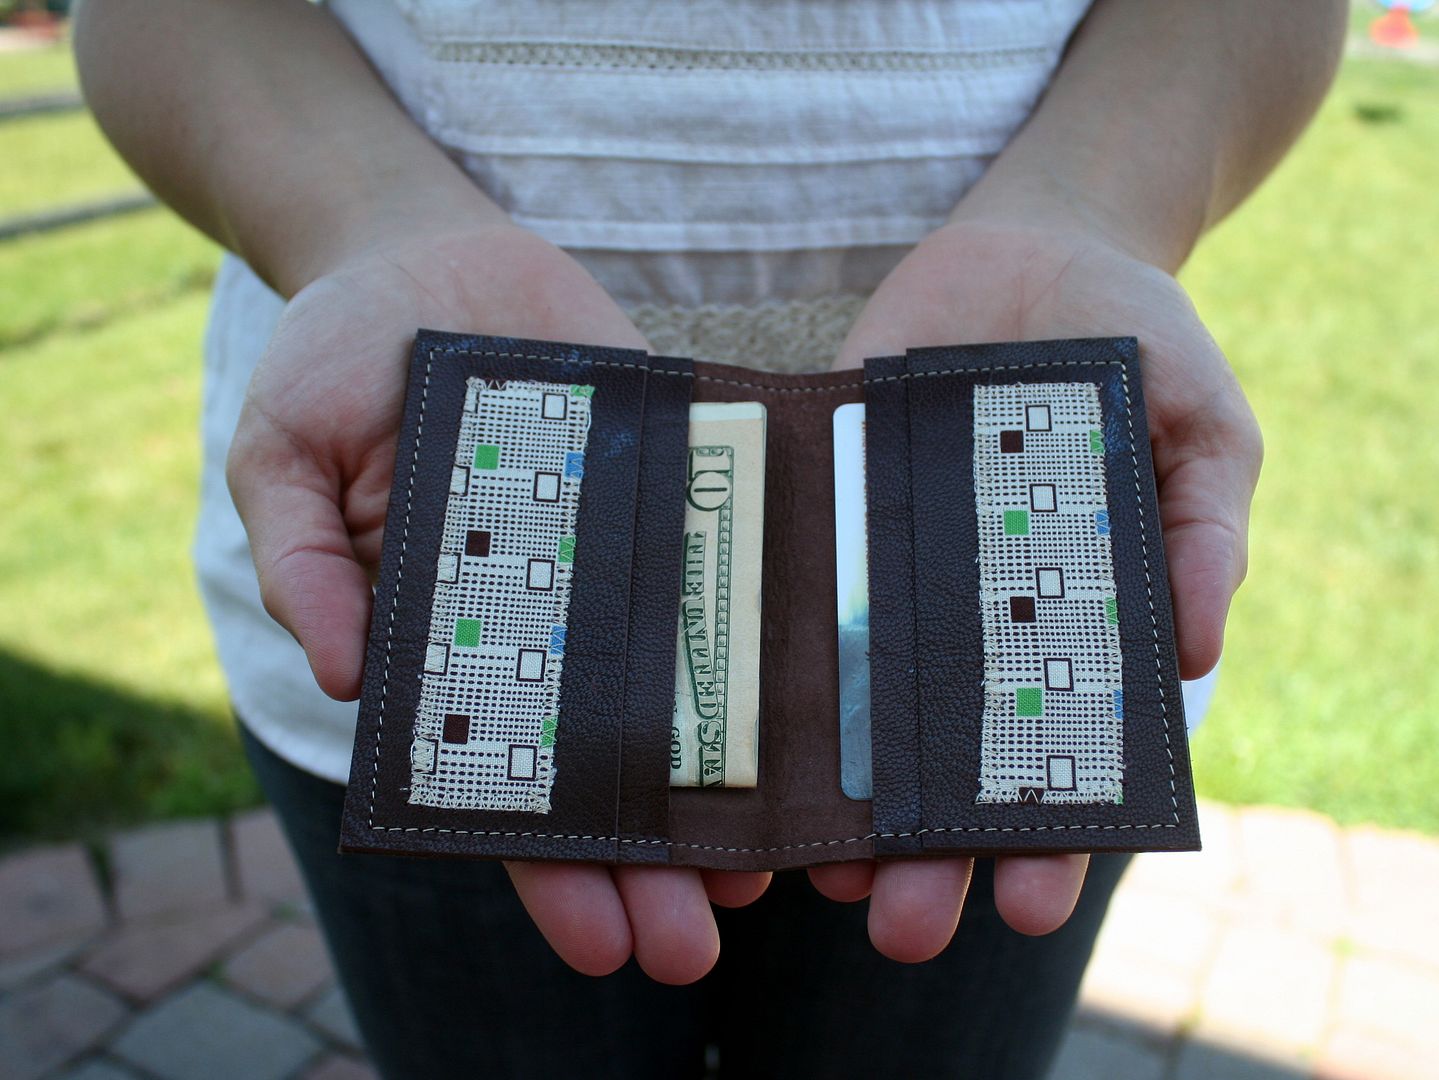
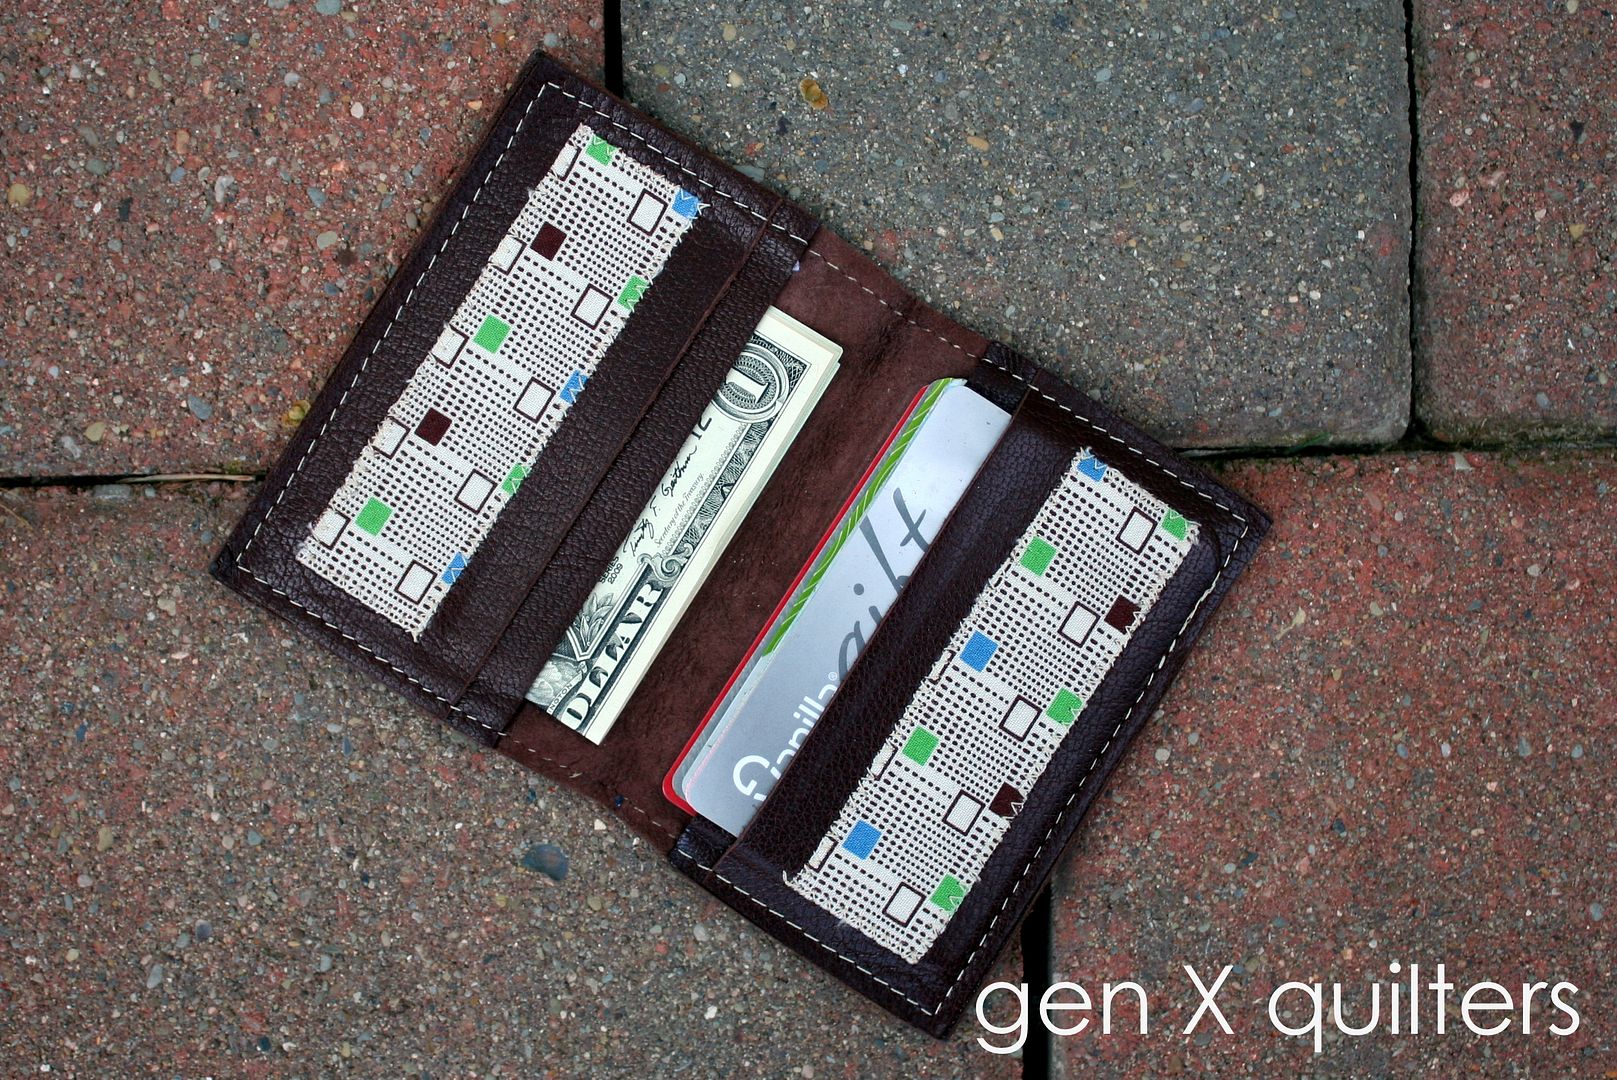
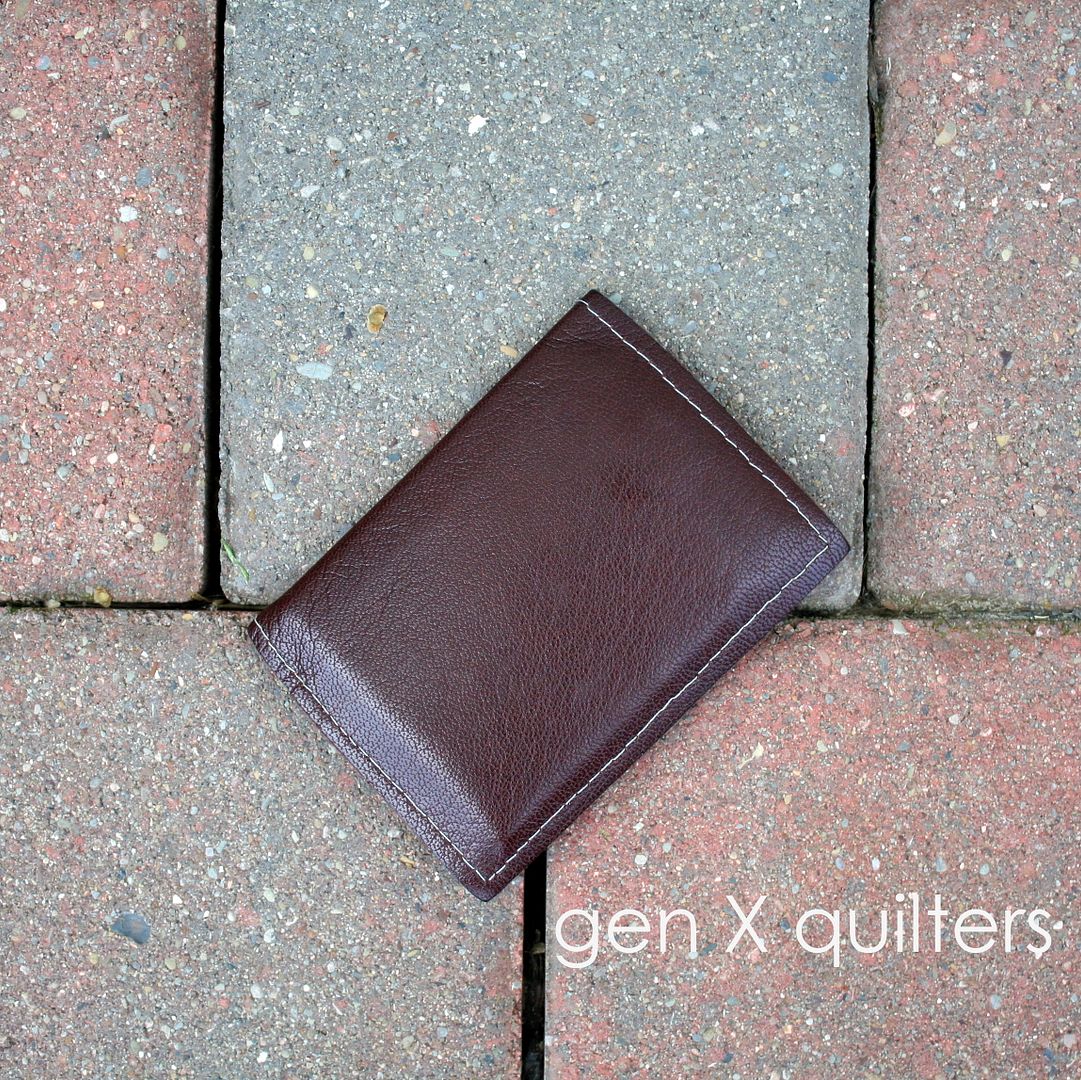
Men's Bi-fold Leather Wallet

Hubs had a birthday recently - and I wanted to share the leather wallet I made for him with you.  He's pretty particular about his wallet.  I don't blame him.  I know I'm the same way about mine.  He's a bi-fold man, tried and true.
I wanted to gift him a wallet with the leftover leather I had from bag making.  I figured out the dimensions for his favorite bi-fold and made sure each side had 2 sleeves.  And just because I couldn't sew something without fabric - I cut into a fresh 1/2 yard of this Katie Jump Rope print because it was the PERFECT accent for this wallet.  I tried my best to explain to him the rarity of this print - and how much I must really love him to cut into it for 2 tiny pieces.

It's just simple and plain on the outside.  Nothing to call too much attention to it.  Not sure he's up for explaining to anybody at work that his wife made him a wallet.  Well, I guess most of them know how crazy I am with the sewing anyway...... :)

It was good to use up these scraps!
Do you sew with leather?
Do you have any other small projects to make with leather scraps?

TUTORIAL FOR MEN'S BI-FOLD LEATHER WALLET.

10-Minute Project: Leather Wrap Bracelet

 photo LeatherWrapsTutorialCover_zps0846861a.jpg
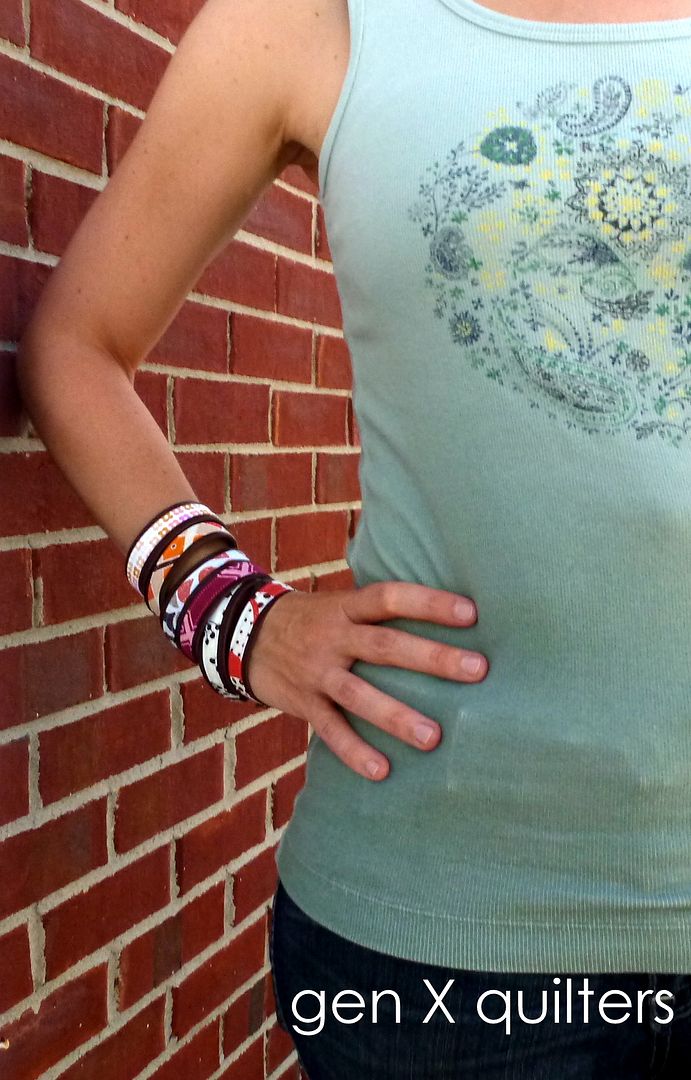
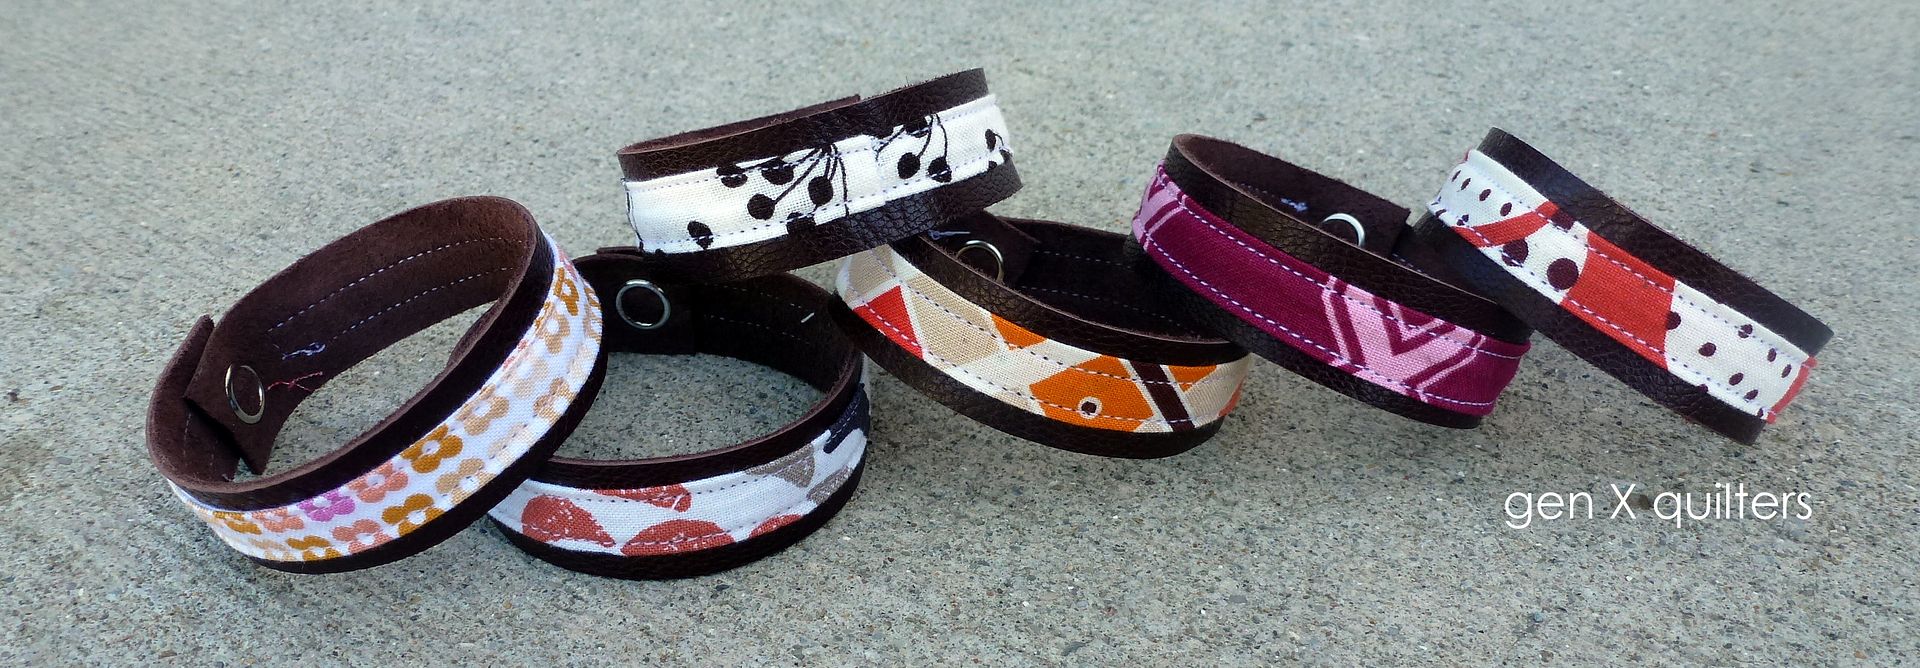
Ok , here it is!  A tutorial by popular demand...  These bracelets are hip and fun.  My husband actually commented "Did you make that?  That's nice." upon seeing them in his Facebook feed AND asked me to make him a manly one.  Can you see the possibilities?  An easy gift for men, women, teens, etc.  What's not to love?

The Leather Wrap Bracelet Tutorial 

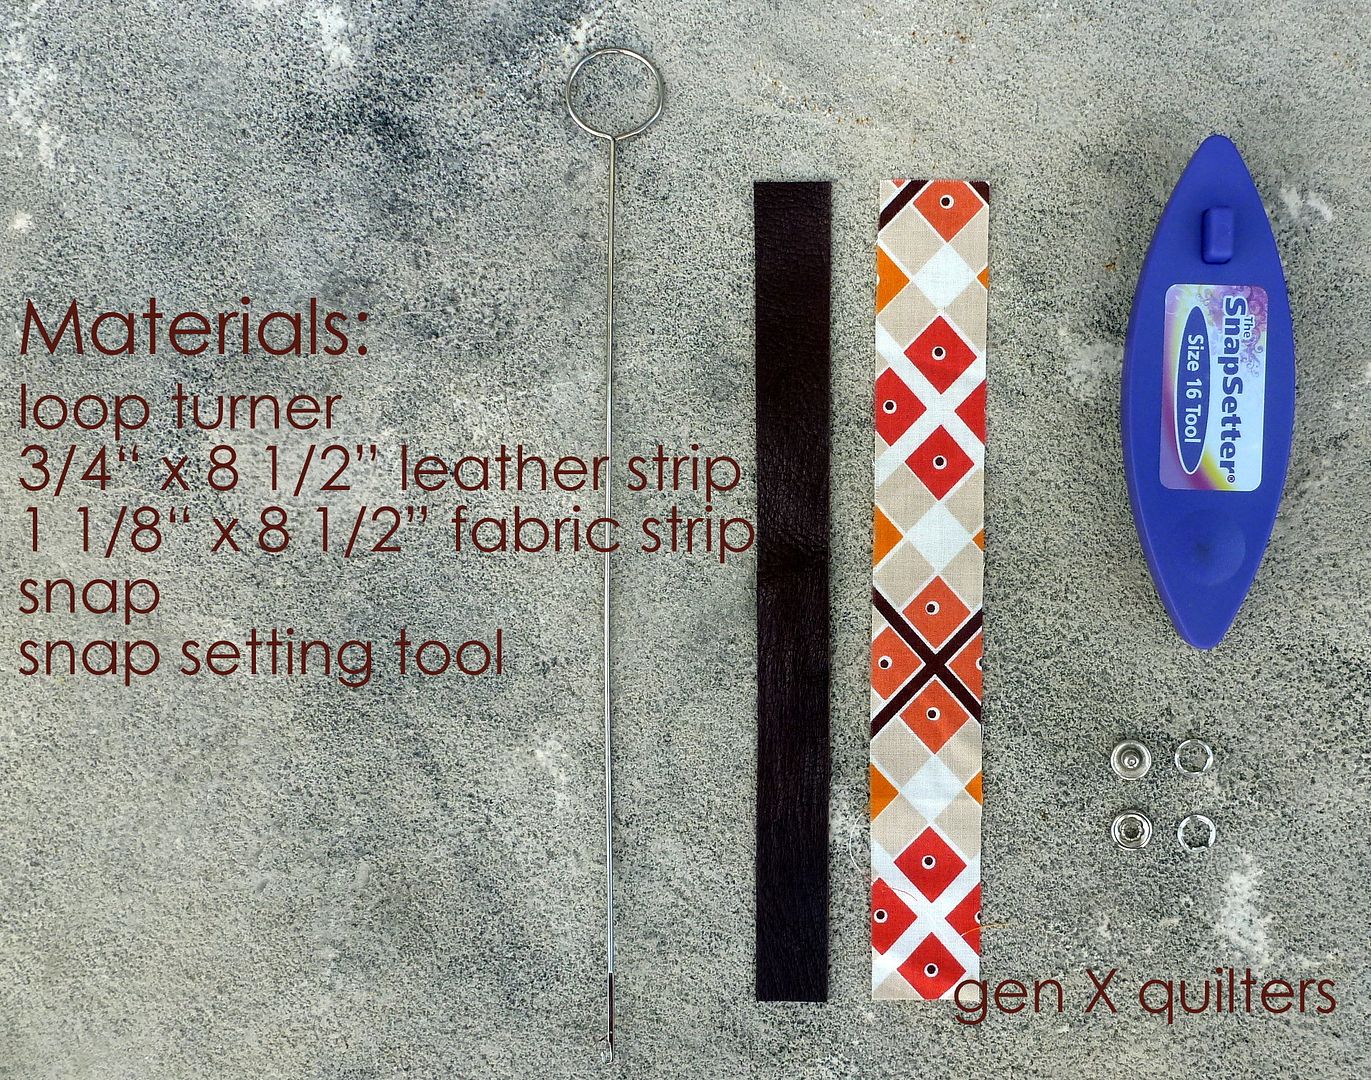
This is a great simple project and even better if you can use scraps.  I happen to have leftover leather from a bag-making project.  If you don't have scrap leather pieces in your stash, you could always consider upcycling something you already have but don't use anymore.  Old bags, belts, etc.  If it's in your Goodwill pile, you may be able to have some fun with it, cutting it up and reusing the leather.

 photo 1_zps5f761e8a.jpg
*loop turner is optional.  You could also use a safety pin.

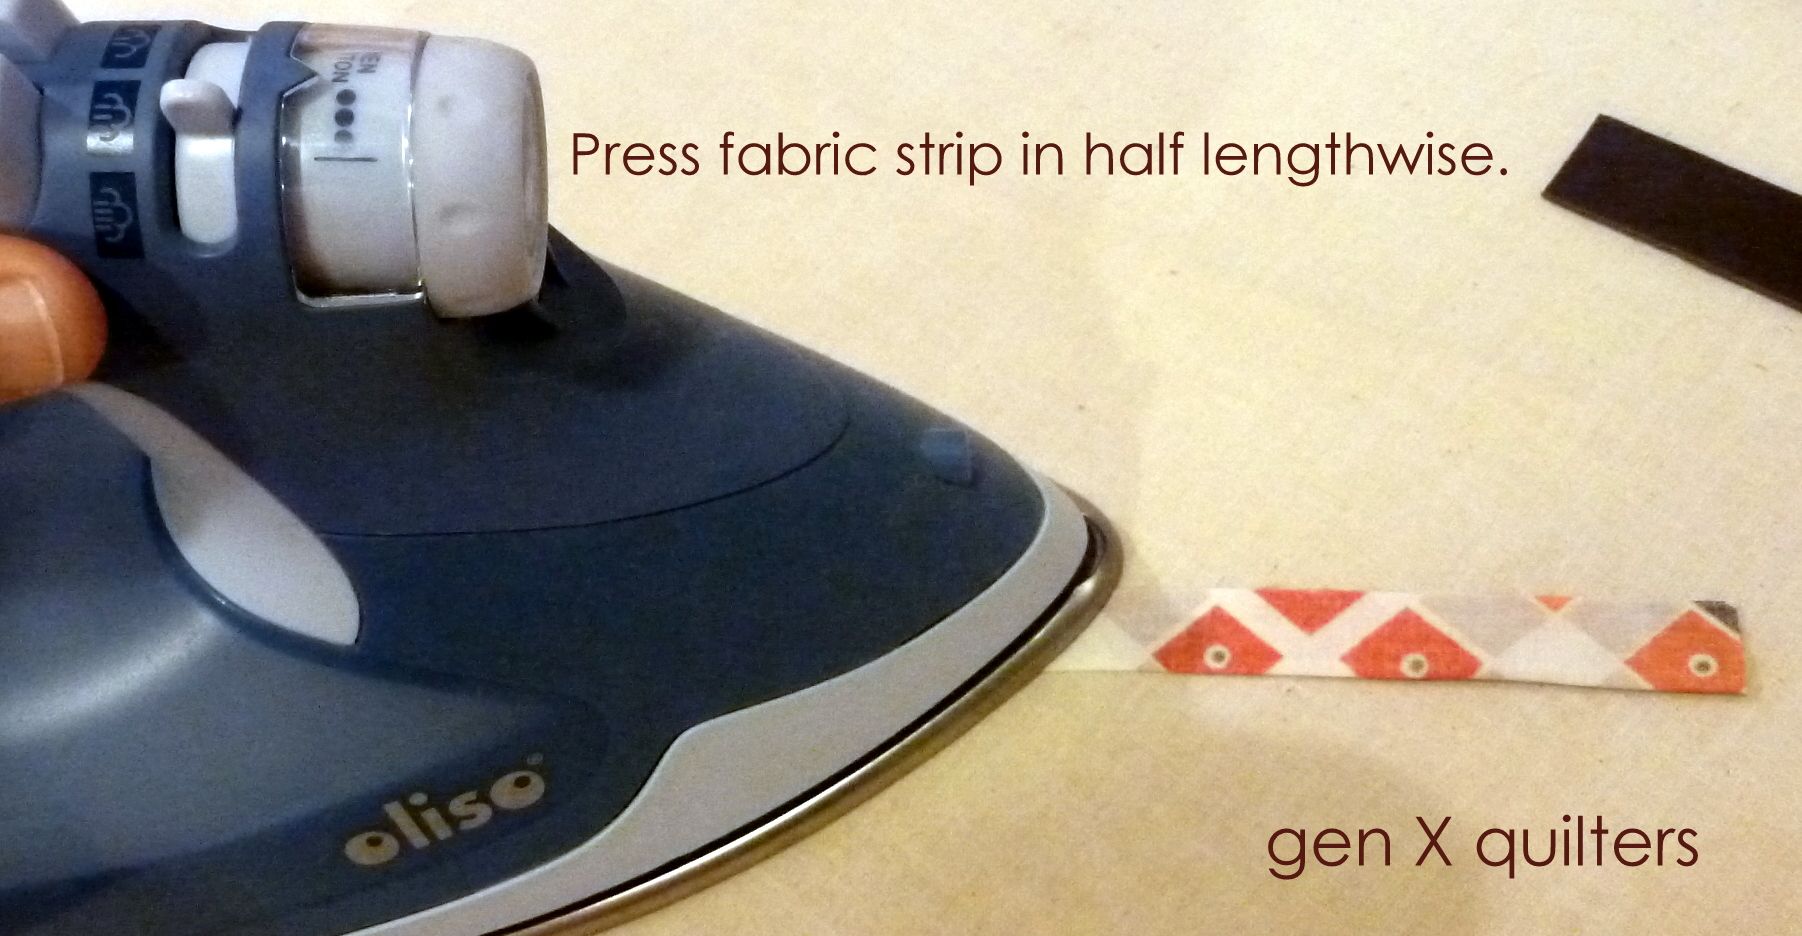
1.  Fold the fabric strip in half lengthwise, right sides together and press.
 photo 2_zps6d264703.jpg

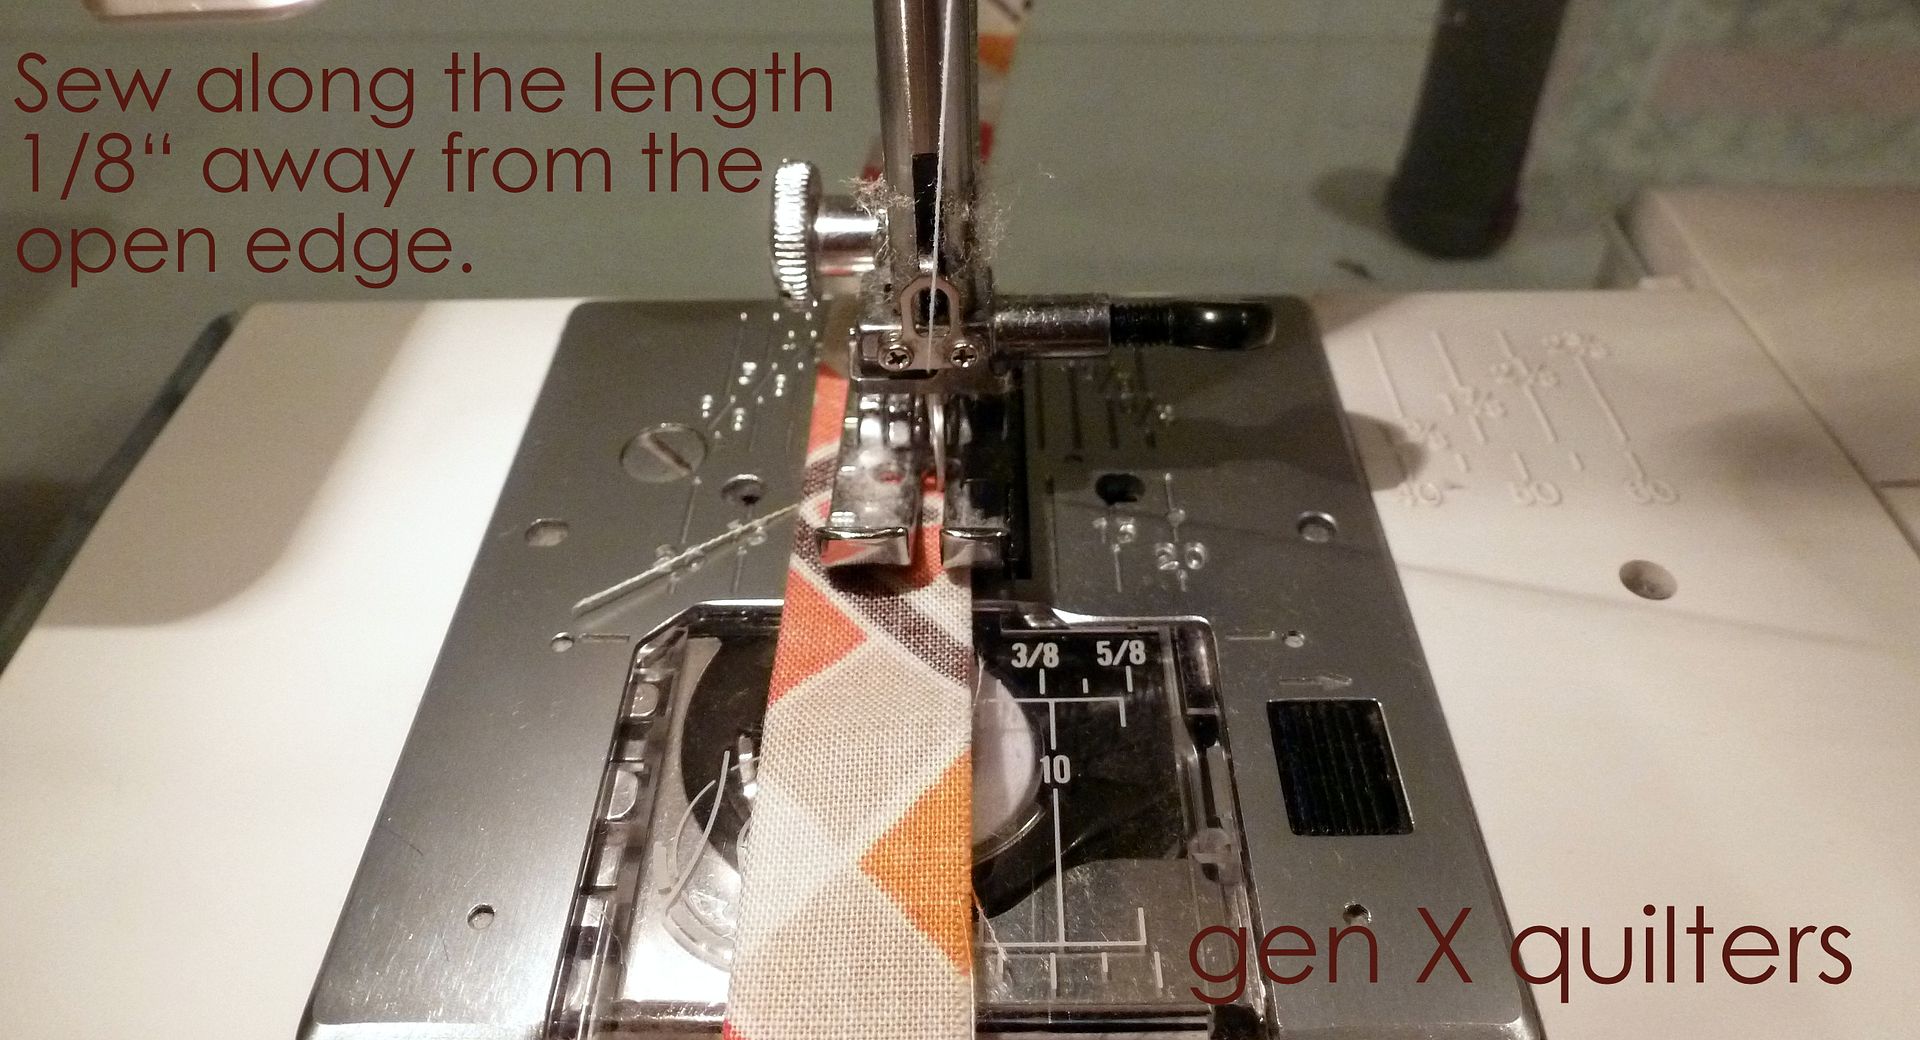
2.  Sew along the length of the fabric strip 1/8" away from the open edges.  This will create your inside out sleeve.
 photo 3_zpsad3df1fc.jpg

3.  Use a loop turner or safety pin to turn the sleeve right sides out. Press.
 photo 4_zpsfc016c50.jpg

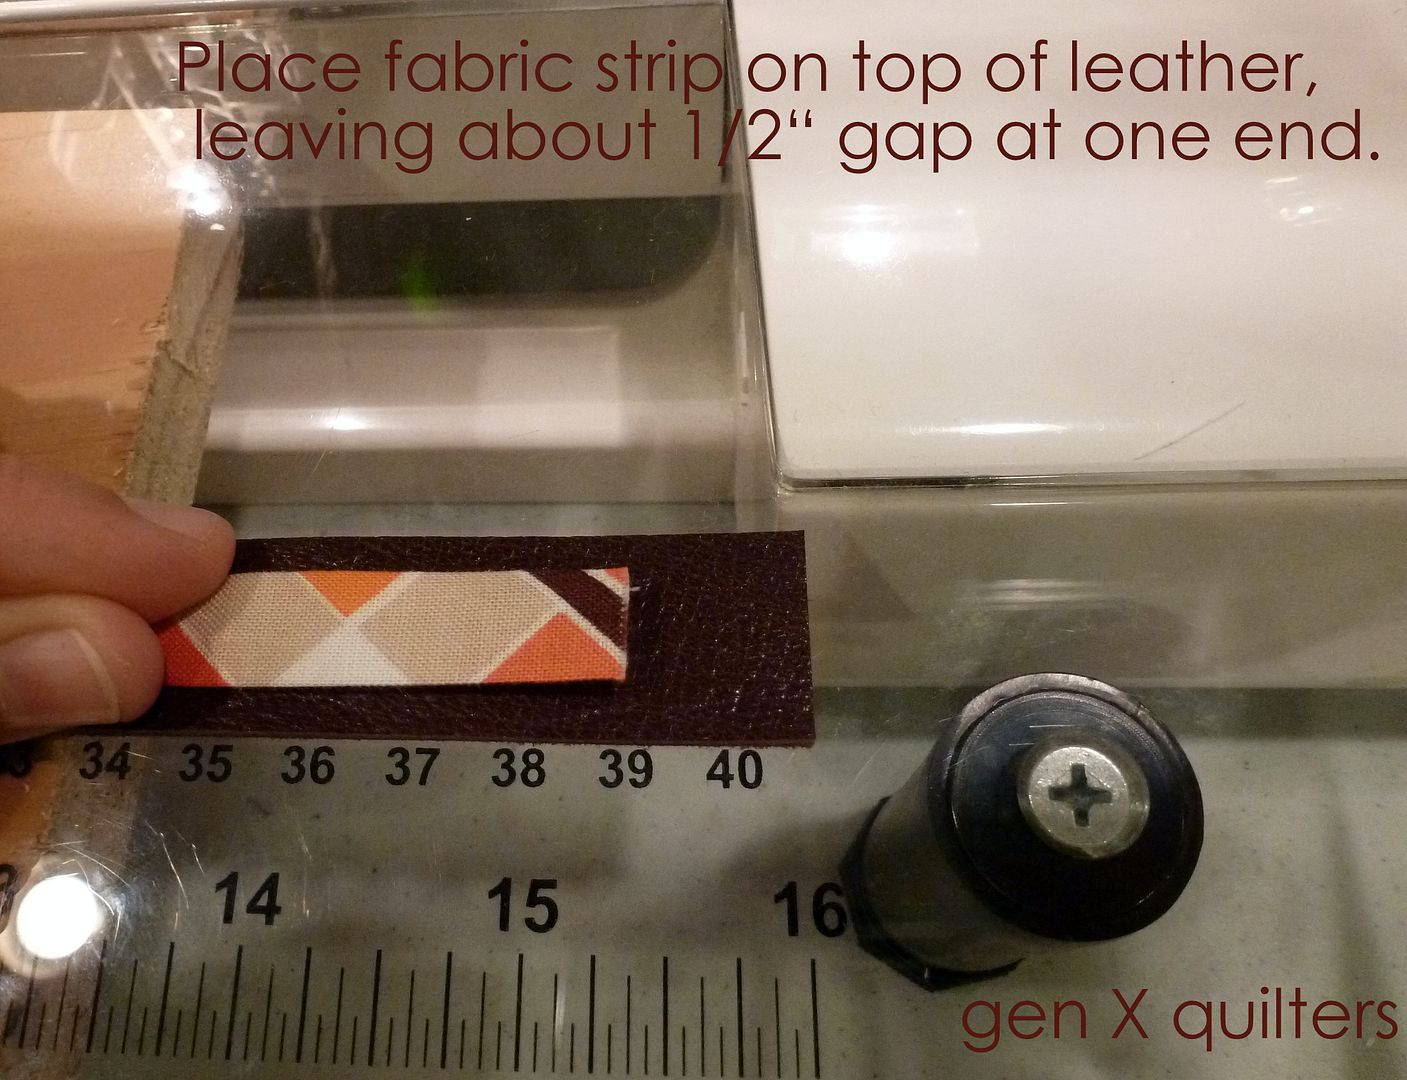
4.  Place the fabric sleeve on top of the right side of the leather strip.  Leave about a 1/2" space at the end of the leather strap to place the snap later.
 photo 5_zps5ef0372e.jpg

5.  Sew a 1/8" topstitch around all four sides of the fabric sleeve to secure it to the leather strap.  **Use a walking foot if you have one.  It will make it much easier to feed the leather through the feed dogs.**
 photo 6_zps34596d43.jpg

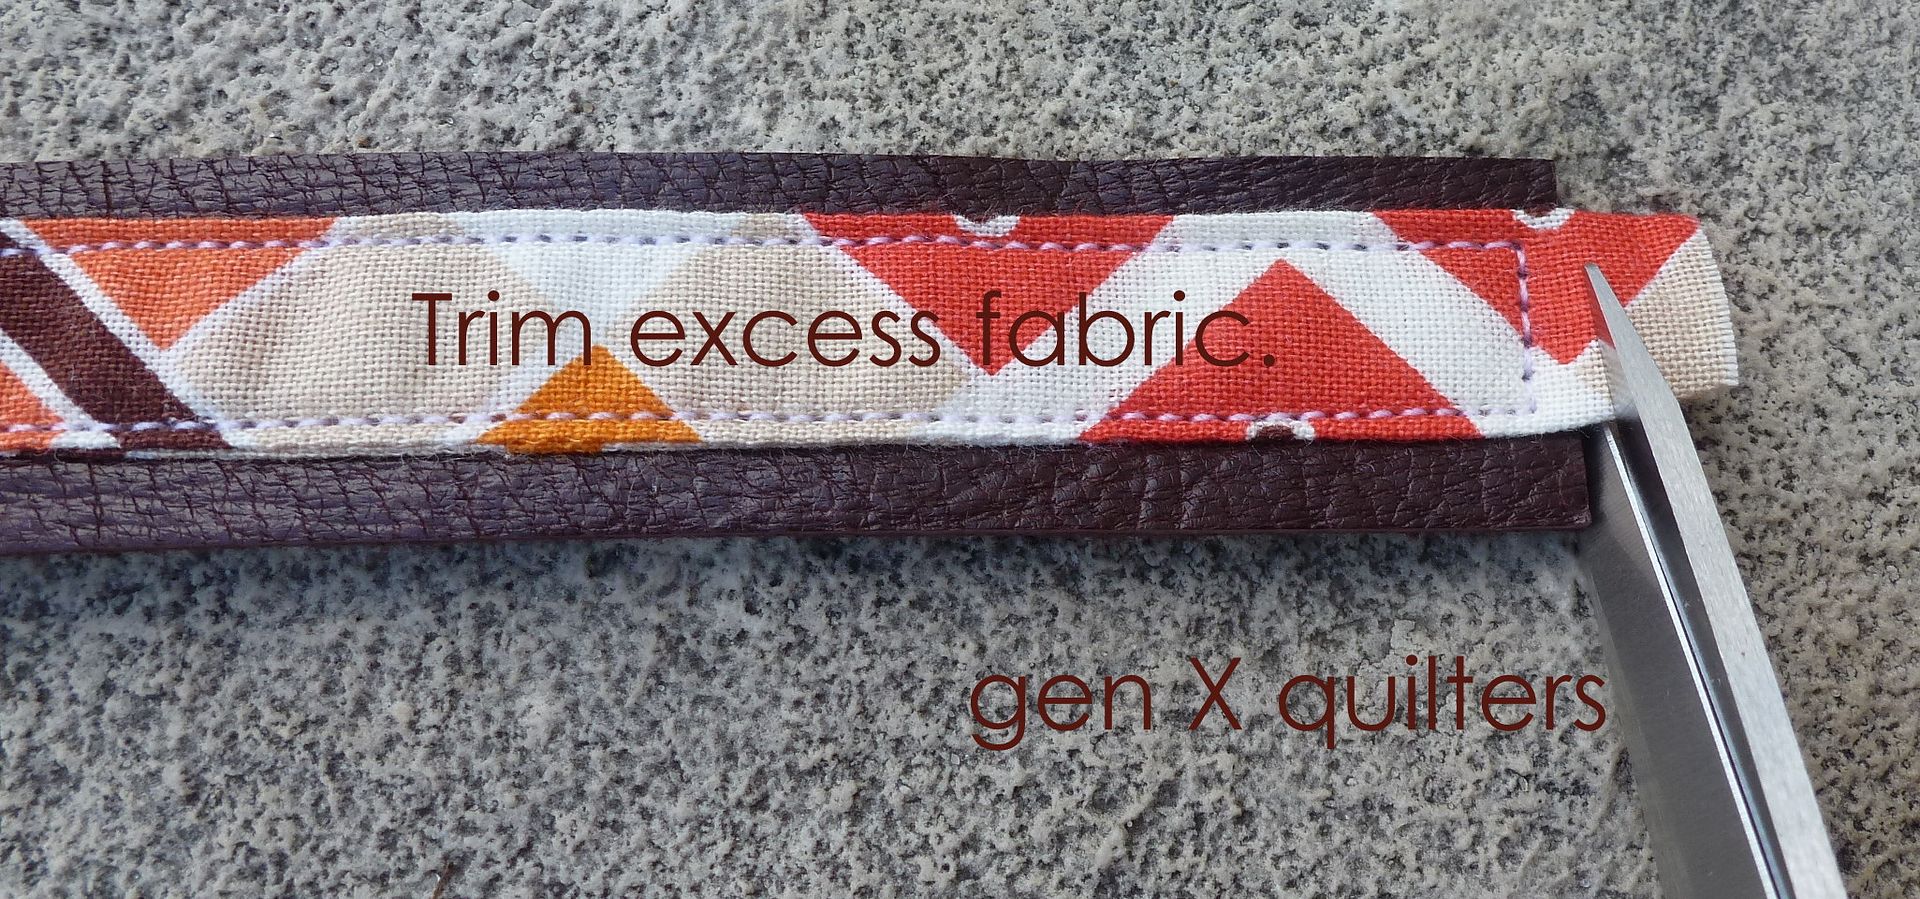
6.  At one end of the leather strap, there will be a small amount of fabric hanging over the leather strap.  Trim as needed.
 photo 7_zps568771b5.jpg

Here is what the piece looks like before adding the snap.  Boy, does that look bowed?  It doesn't matter wrapped around my wrist.
 photo 8_zps0b0d843b.jpg

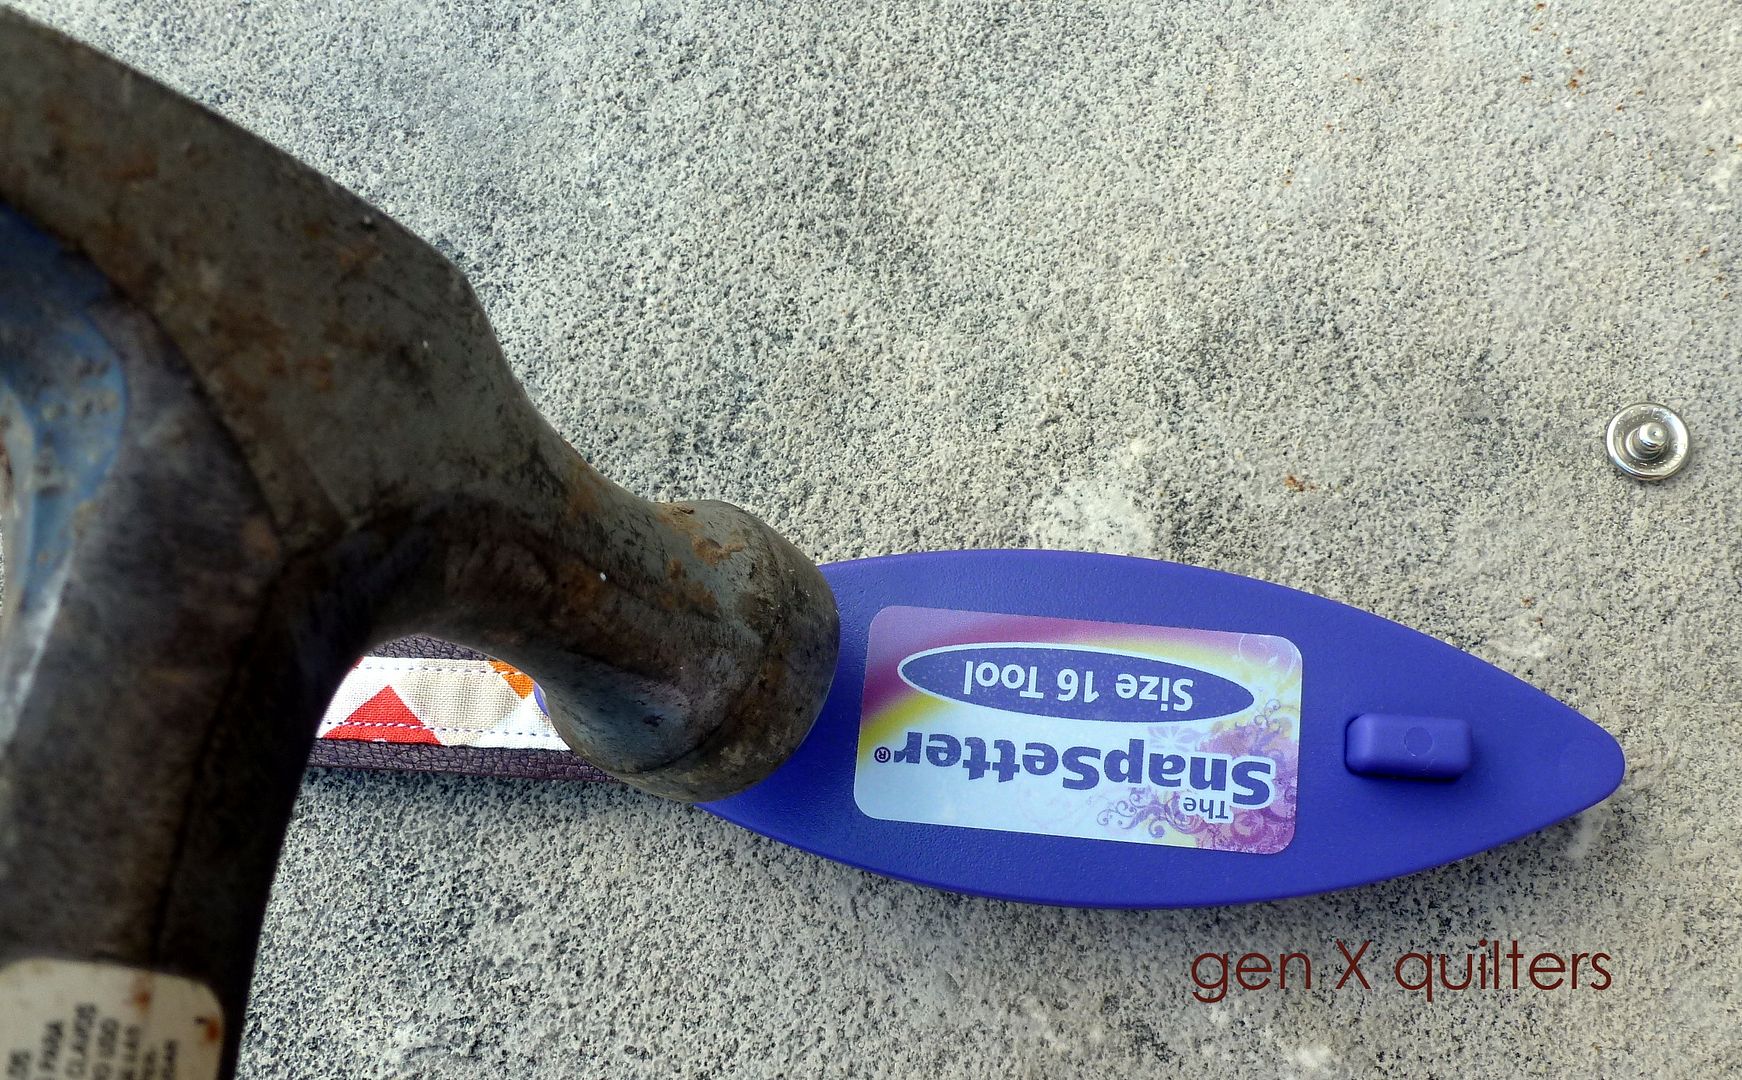
7.  Follow the manufacturer's instructions to add both the male and female snap components to the bracelet.  Remember that the female part of the snap should go on the right side of the leather strip and the male part of the snap should go on the wrong side of the leather strap.  I suggest practicing on a test piece if you're not familiar with the snap setting tool.

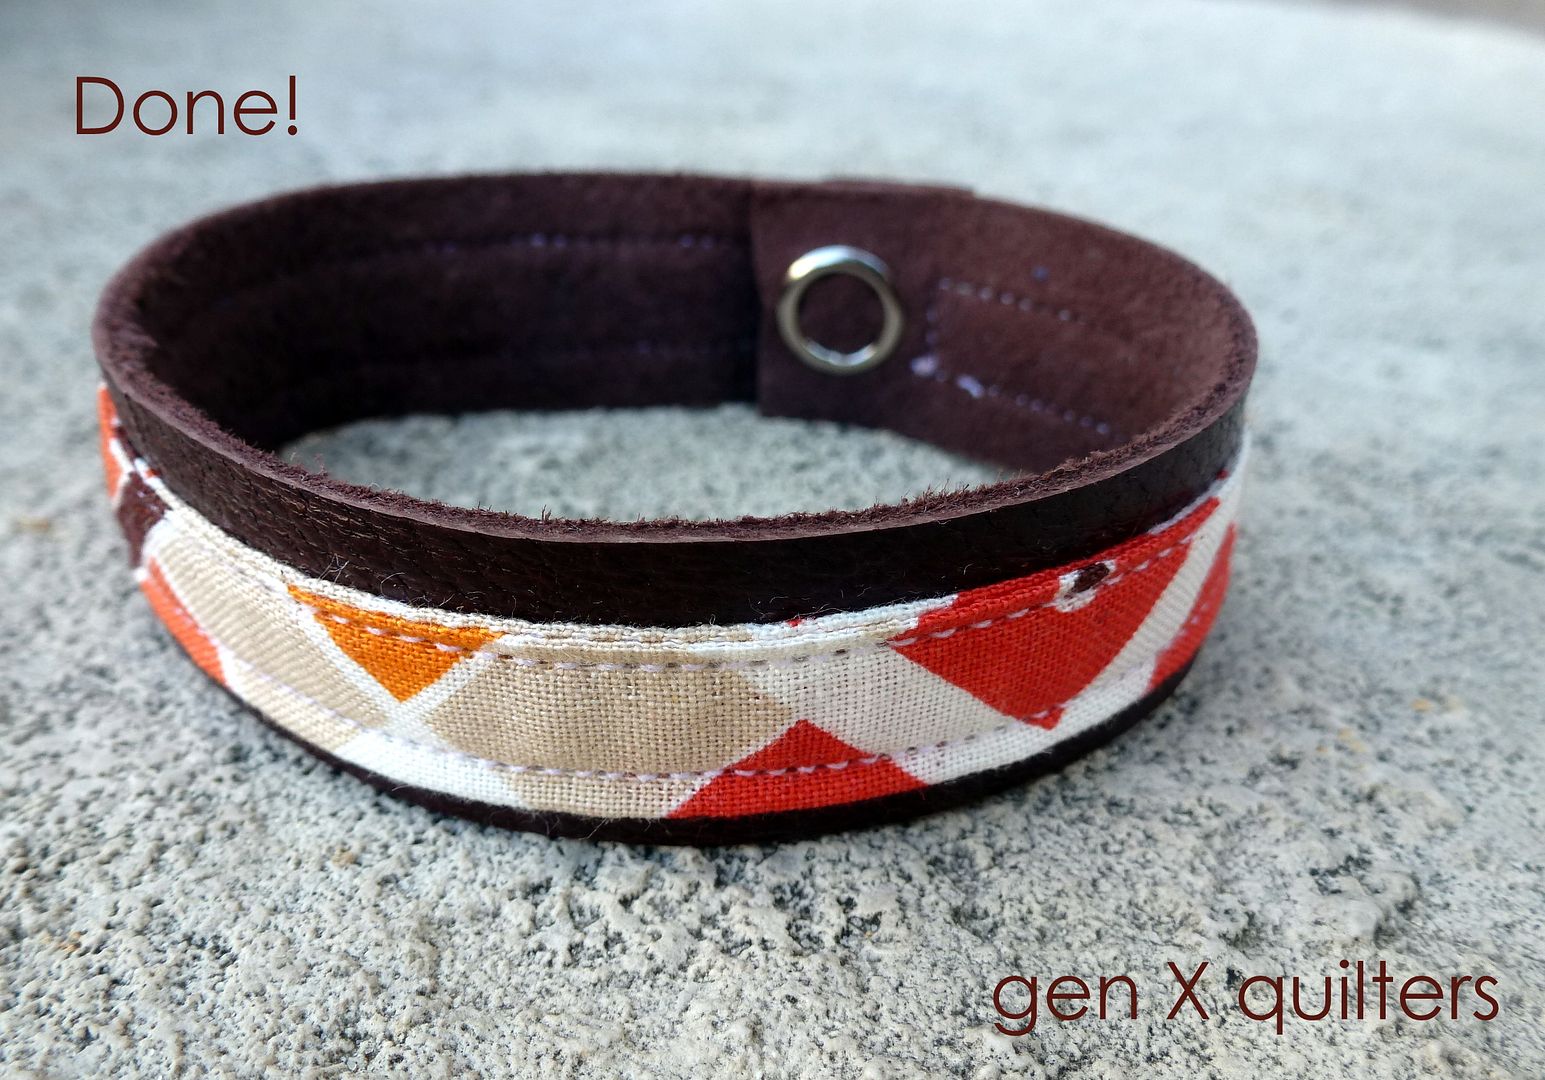
8.  Ready, set, wear!
 photo 9_zps4b6c7250.jpg

 photo mewearingleatherwrapbracelets_zps1f22058f.jpg

 photo 6leatherwrapbraclets2_zps0ac52c28.jpg