DIY Men's Leather Bi-Fold Wallet - A Tutorial


Men.  Man, they are SO hard to buy for.  Even MORE difficult to sew for.  If you'd like to gift a little something to a special man in your life, this wallet could be just the thing.  

This bi-fold wallet is made with leftover leather scraps I had from making a bag.  If you don't have any leather in your sewing stash, you can think about upcycling an old purse you don't use anymore or perhaps that 80s leather jacket in the front hall closet.  You could also try searching scrap leather on etsy or I purchased mine (as a full hide) at Tandy.

Materials.
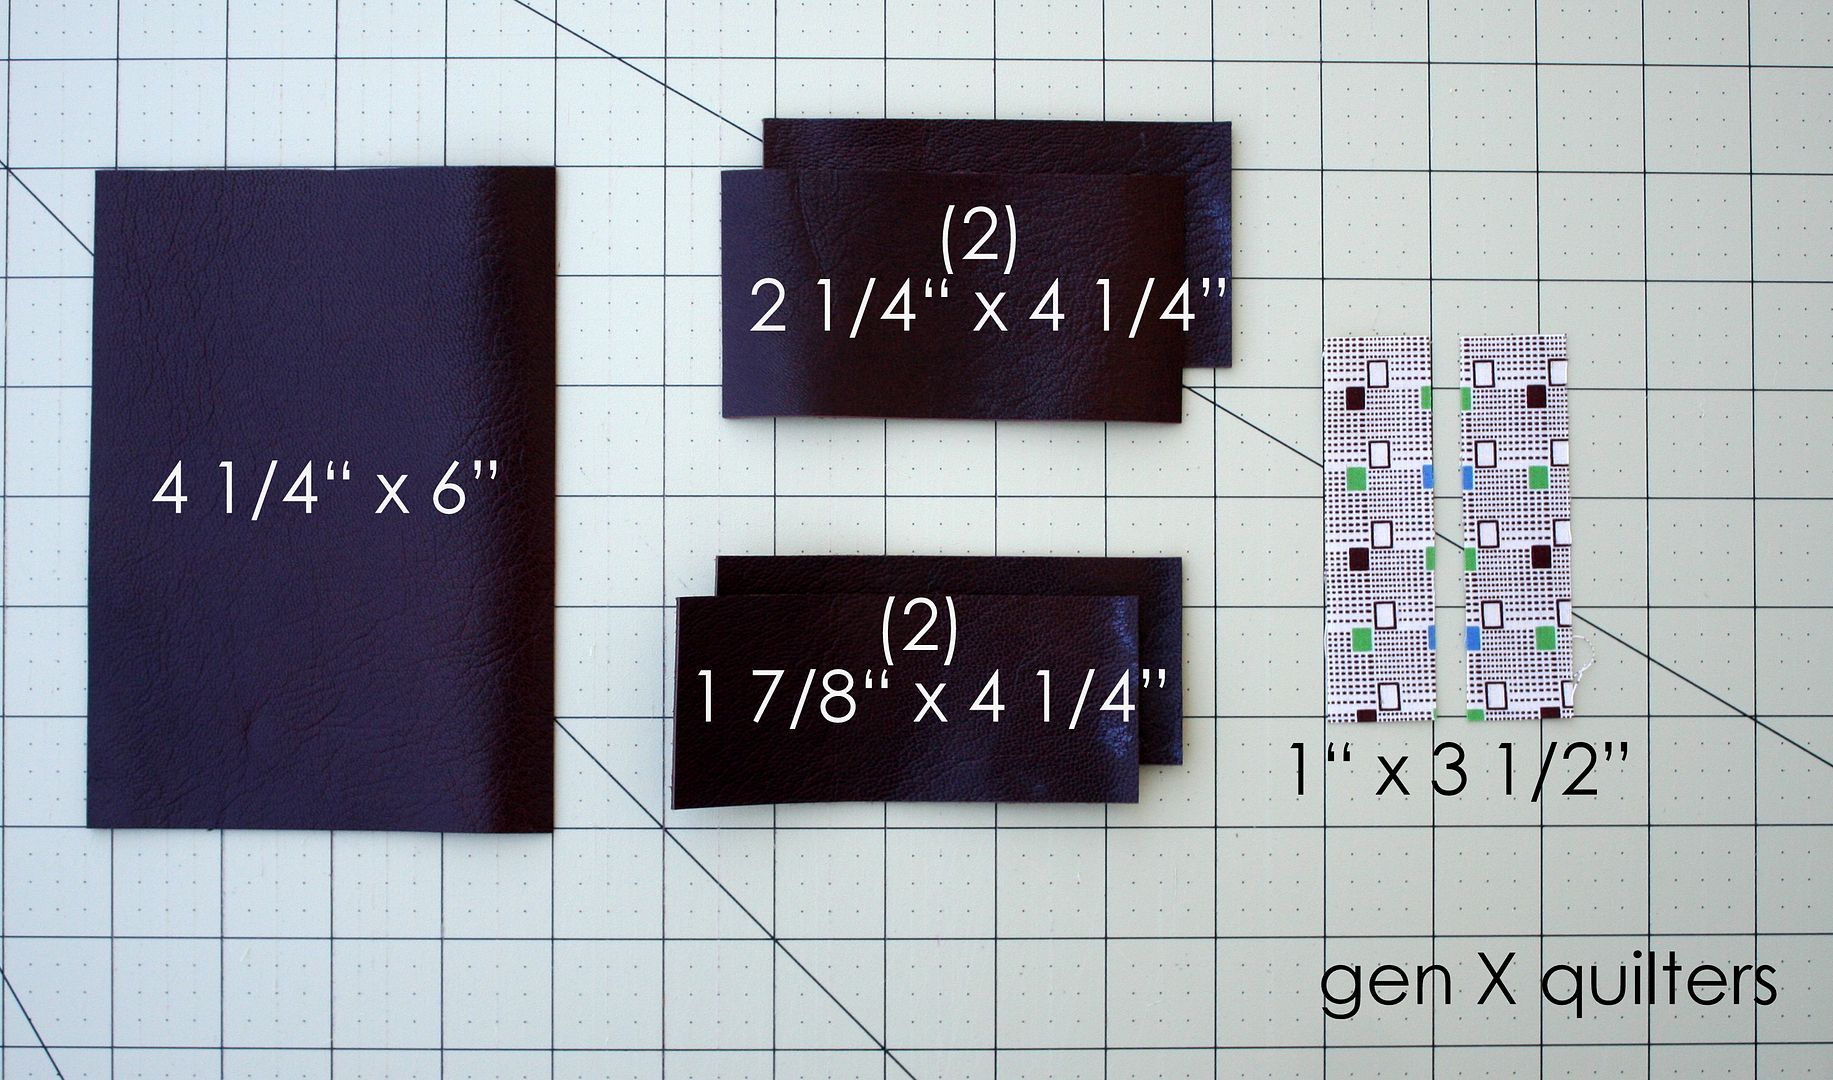
  • (1) 4 1/4" x 6" rectangle leather (back)
  • (2) 2 1/4" x 4 1/4" rectangles leather (pocket 1)
  • (2) 1 7/8" x 4 1/4" rectangles leather (pocket 2)
  • (2) 1" x 3 1/2" rectangles cotton (fabric accent)
  • coordinating thread
  • leather needle for your sewing machine
  • walking foot (suggested)

Instructions.
1. Begin by cutting all pieces to size as called out in the Materials section.

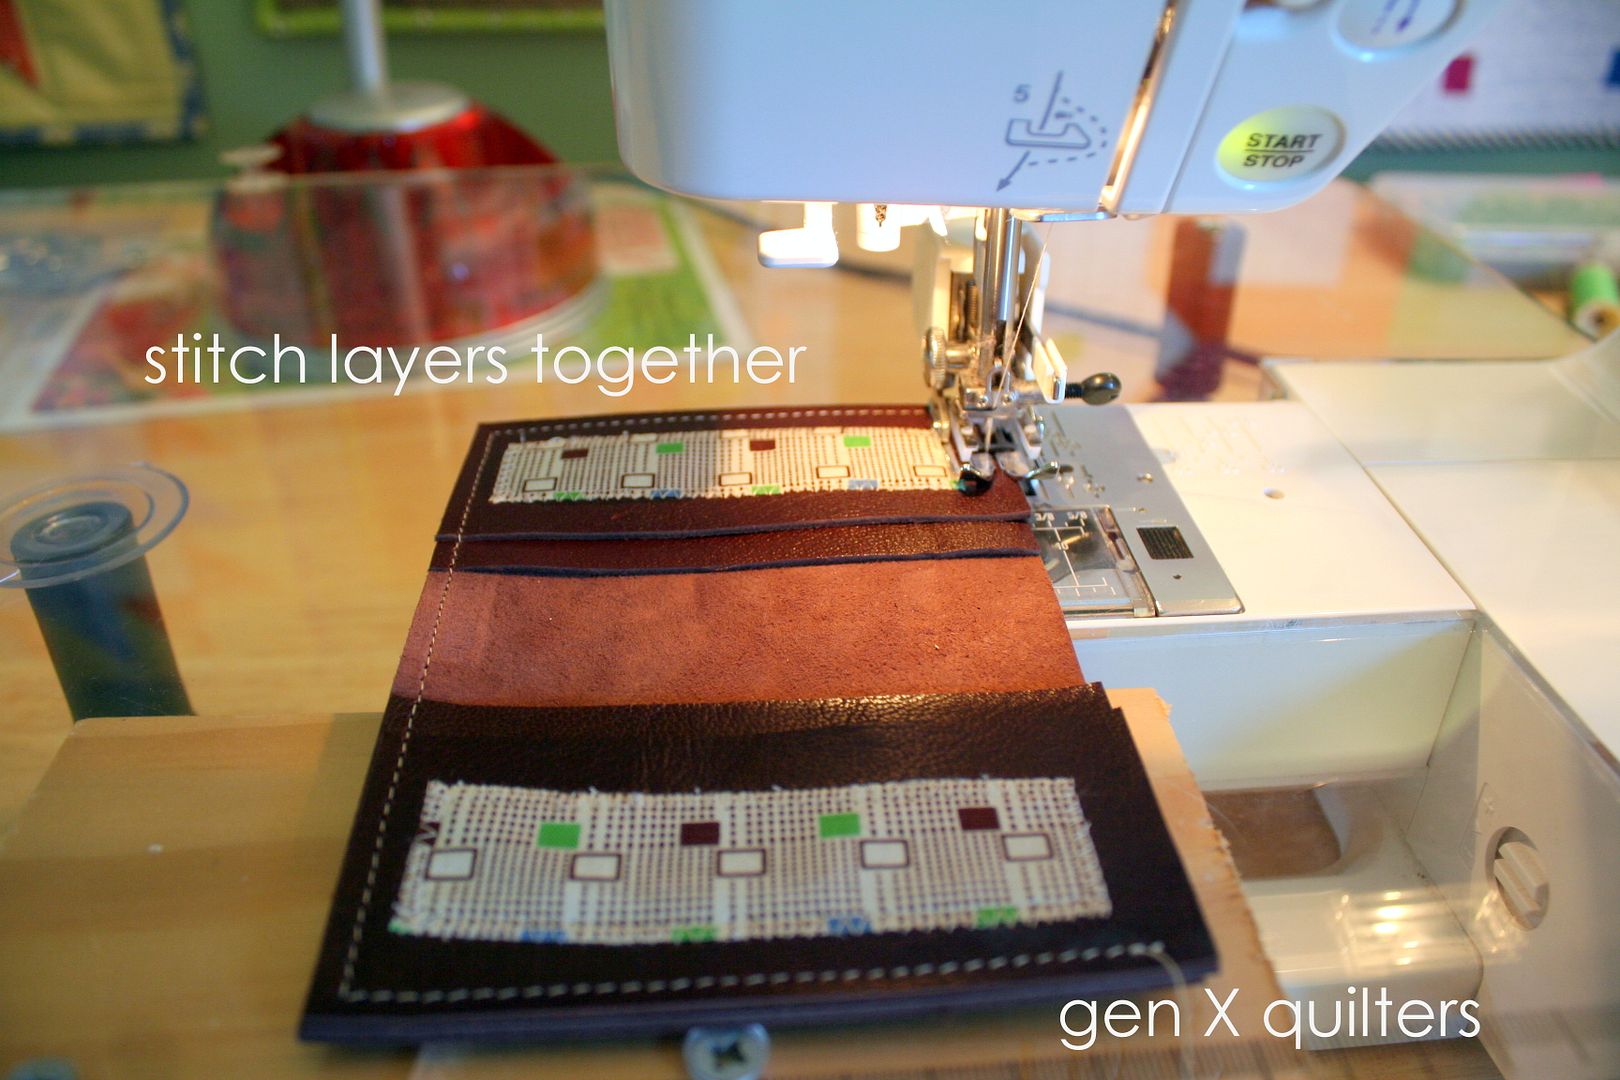
2.  Sew the 1" x 3 1/2" fabric accents right side up to the right side of the 1 7/8" x 4 1/4" pocket 2 pieces.  Sew these with a wide zig zag stitch and sew around all four sides of the fabric accent rectangles.  Once leather is pierced, the hole remains, so my advice is to sew slowly.  I also do not pin because I do not want any additional holes in the leather.  You may tack the fabric to the pocket piece using a little bit of glue from a glue stick.  I did not, but this may help the fabric from slipping while you sew.  (In the next photo you can see my fabric accent slipped a little while I was sewing.  This was due to haste.  Sew slowly!)

3.  To prepare to stitch all 3 layers together, lay the back wrong side up.  Next lay the pocket 1 piece (2 1/4" x 4 1/4") right side up on top of the back.  Then lay the pocket 2 piece on top of the pocket 1 piece.  Align all 3 layers with the right side of the back, and also aligning all layers top to bottom.  Repeat for the pocket pieces on the left hand side.  Binding clips can help secure the layers.

4. Before you begin to sew, lengthen the stitch length on your machine.  Most machines default to a small stitch length - primarily used for sewing cottons.  To stitch through leather, we do not want to create too many holes too close together as it will weaken the leather.  My machine's default stitch length is 2.2.  I changed it to 3.0 for this project.

I also highly recommend using a walking foot.  The walking foot feed dogs will help feed all layers through evenly.

5. Stitch all layers together 1/8" from the edge using a walking foot.  Back stitch at the beginning and end.  Again, sew slowly and carefully!  Square up and trim any excess as needed.  Done!

I made this wallet for my husband for his birthday.  He moved into it immediately.  I hadn't even taken my bloggy photos yet - so I had to steal it back to get some shots.  


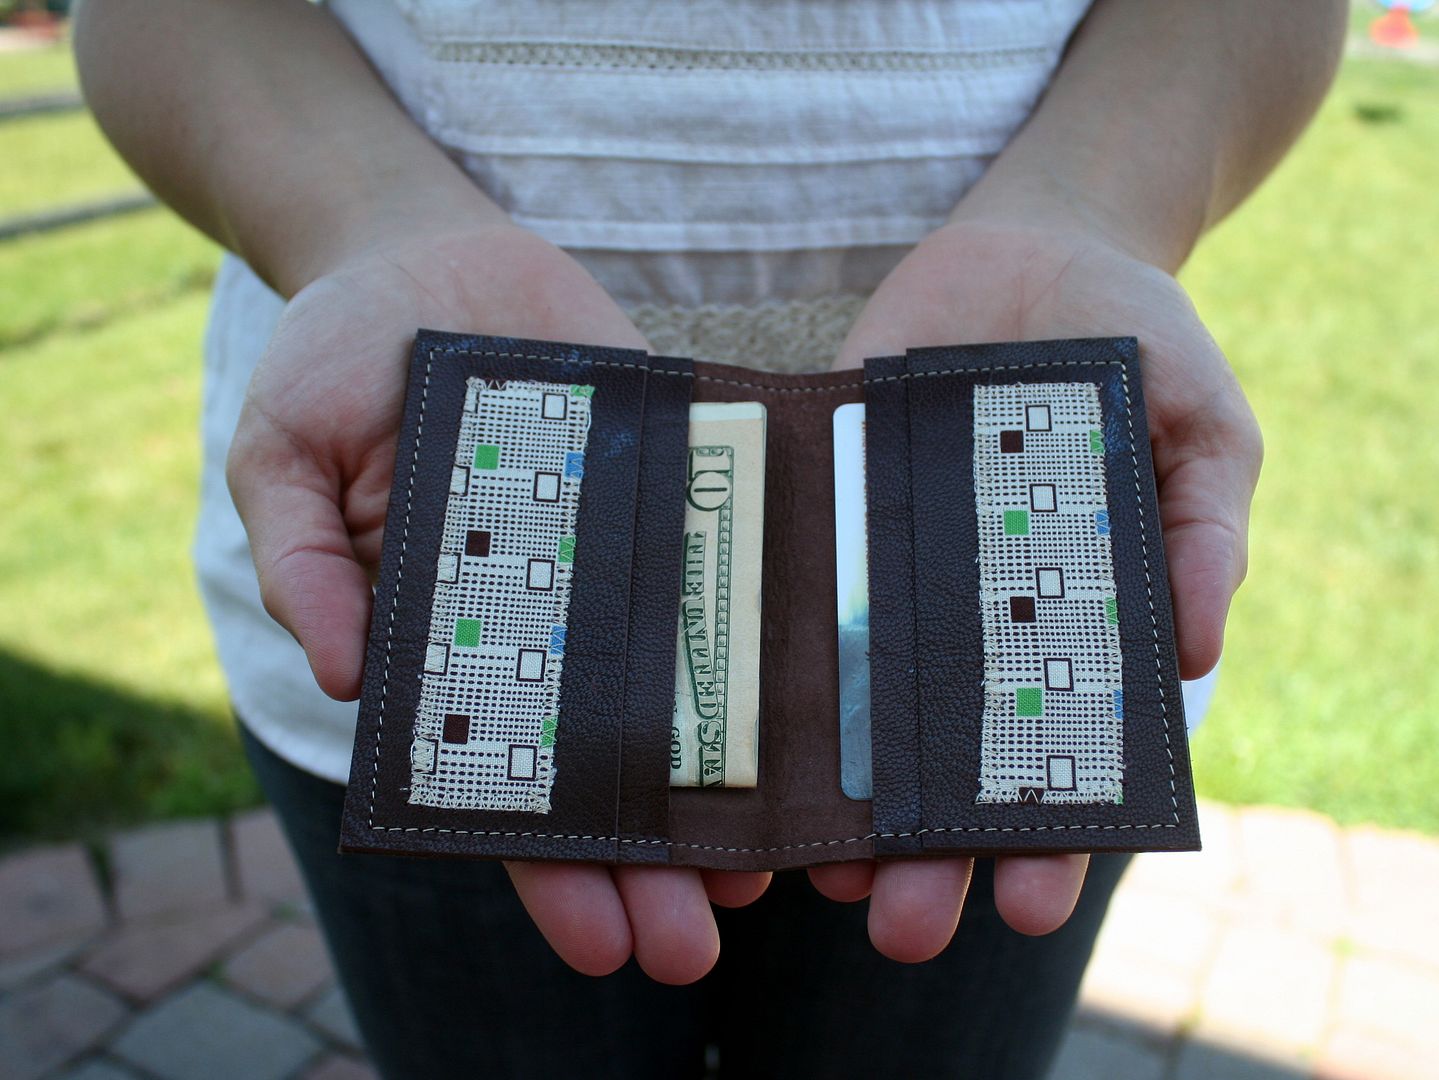
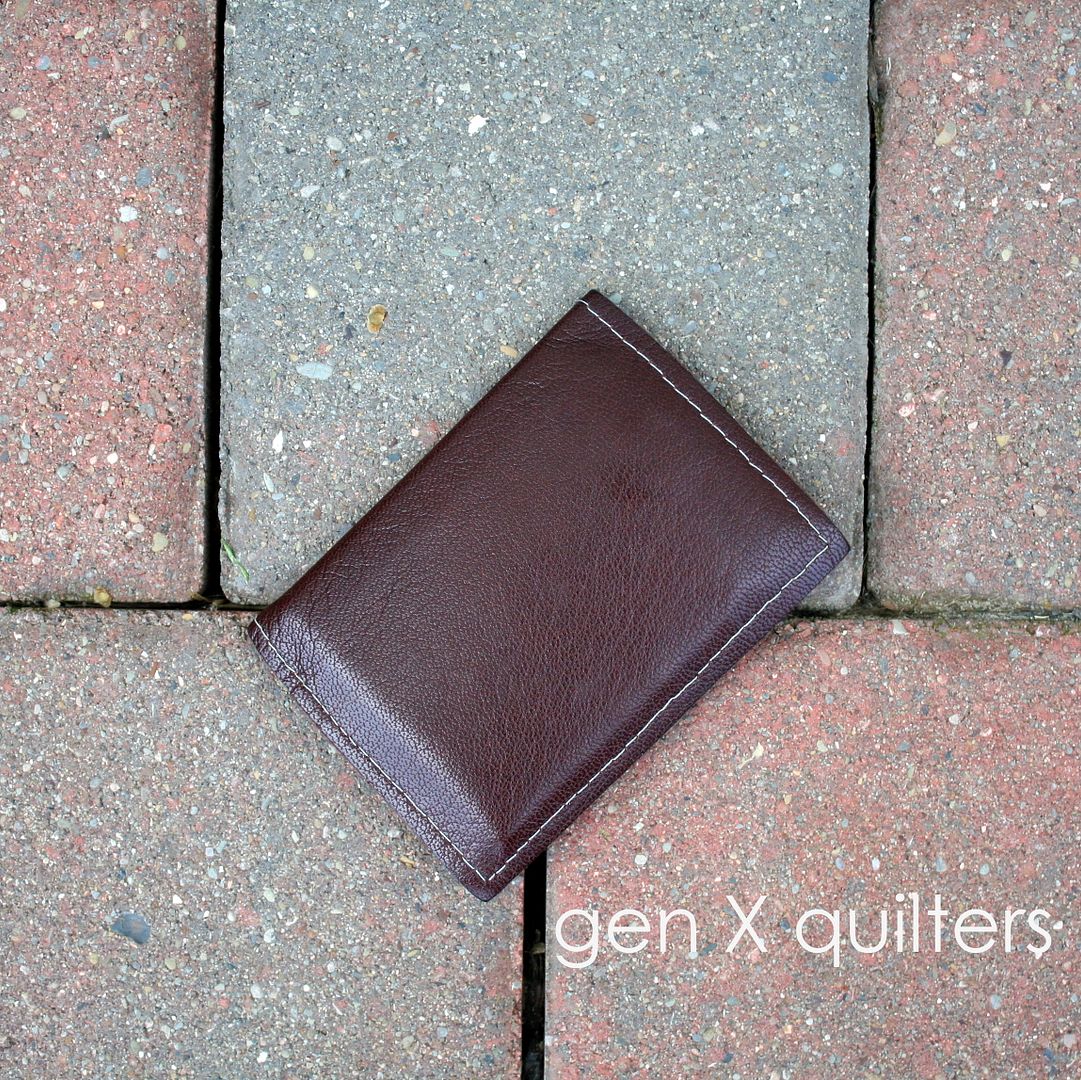
Men's Bi-fold Leather Wallet

Hubs had a birthday recently - and I wanted to share the leather wallet I made for him with you.  He's pretty particular about his wallet.  I don't blame him.  I know I'm the same way about mine.  He's a bi-fold man, tried and true.
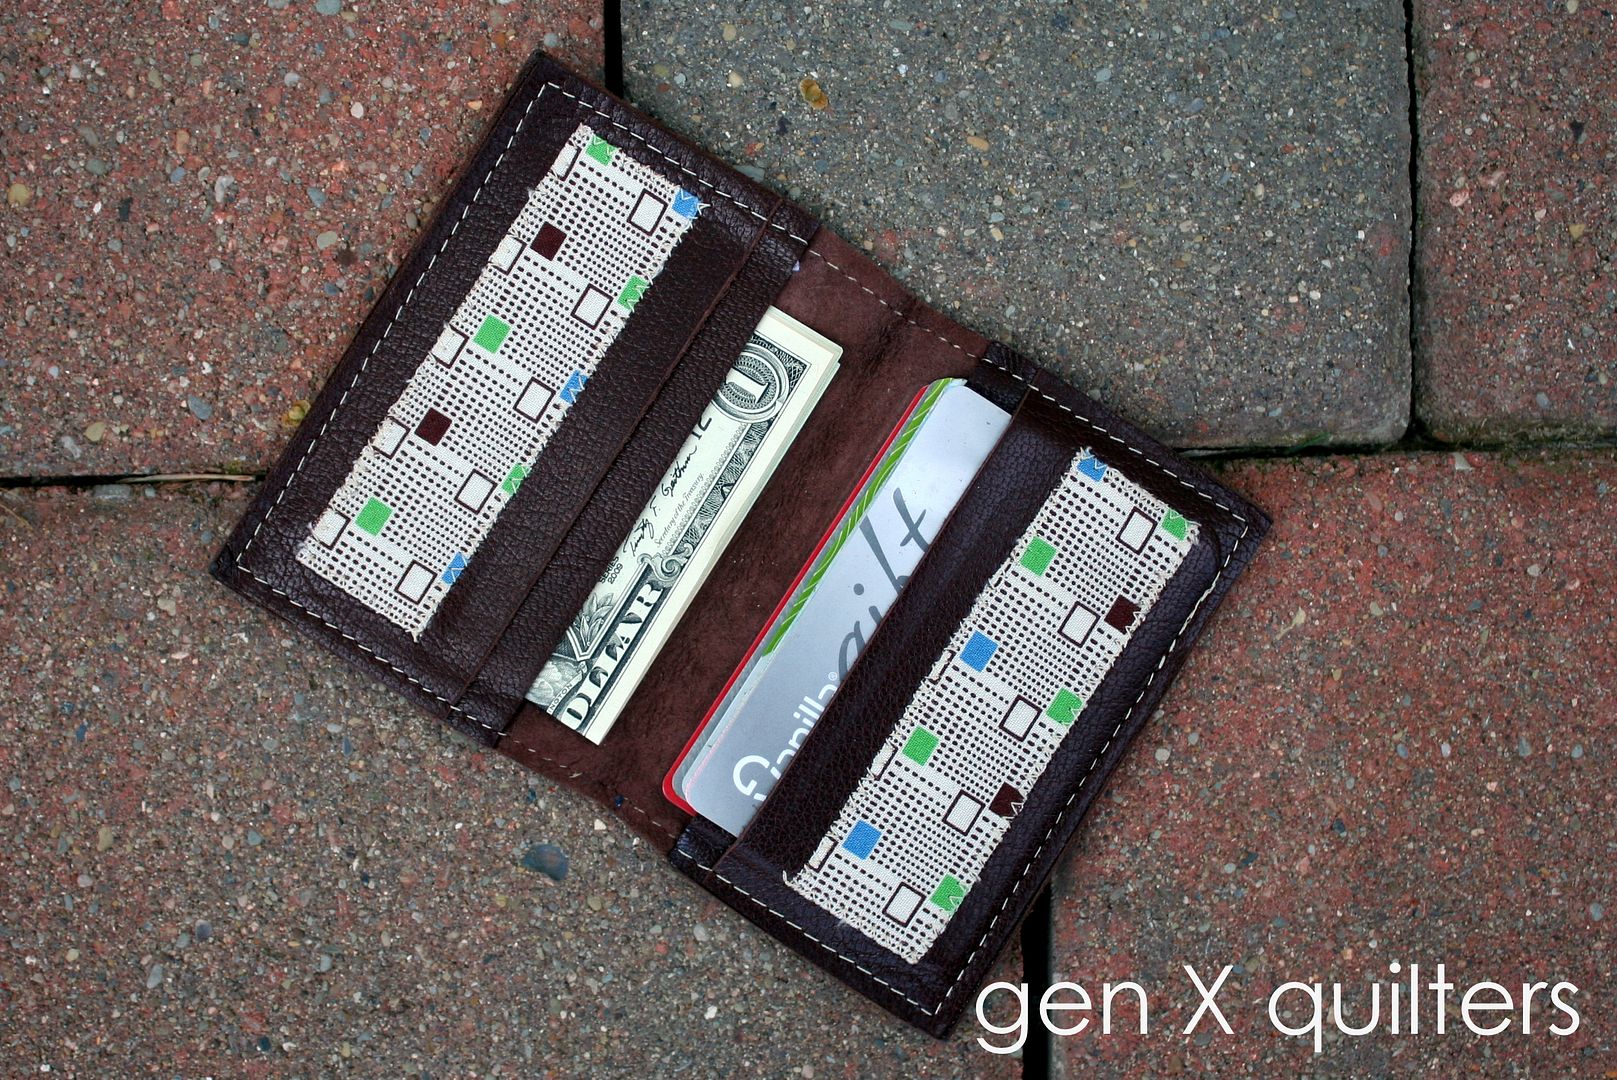
I wanted to gift him a wallet with the leftover leather I had from bag making.  I figured out the dimensions for his favorite bi-fold and made sure each side had 2 sleeves.  And just because I couldn't sew something without fabric - I cut into a fresh 1/2 yard of this Katie Jump Rope print because it was the PERFECT accent for this wallet.  I tried my best to explain to him the rarity of this print - and how much I must really love him to cut into it for 2 tiny pieces.

It's just simple and plain on the outside.  Nothing to call too much attention to it.  Not sure he's up for explaining to anybody at work that his wife made him a wallet.  Well, I guess most of them know how crazy I am with the sewing anyway...... :)

It was good to use up these scraps!
Do you sew with leather?
Do you have any other small projects to make with leather scraps?

TUTORIAL FOR MEN'S BI-FOLD LEATHER WALLET.

Quick Quilting Tip: Scant 1/4" Seam


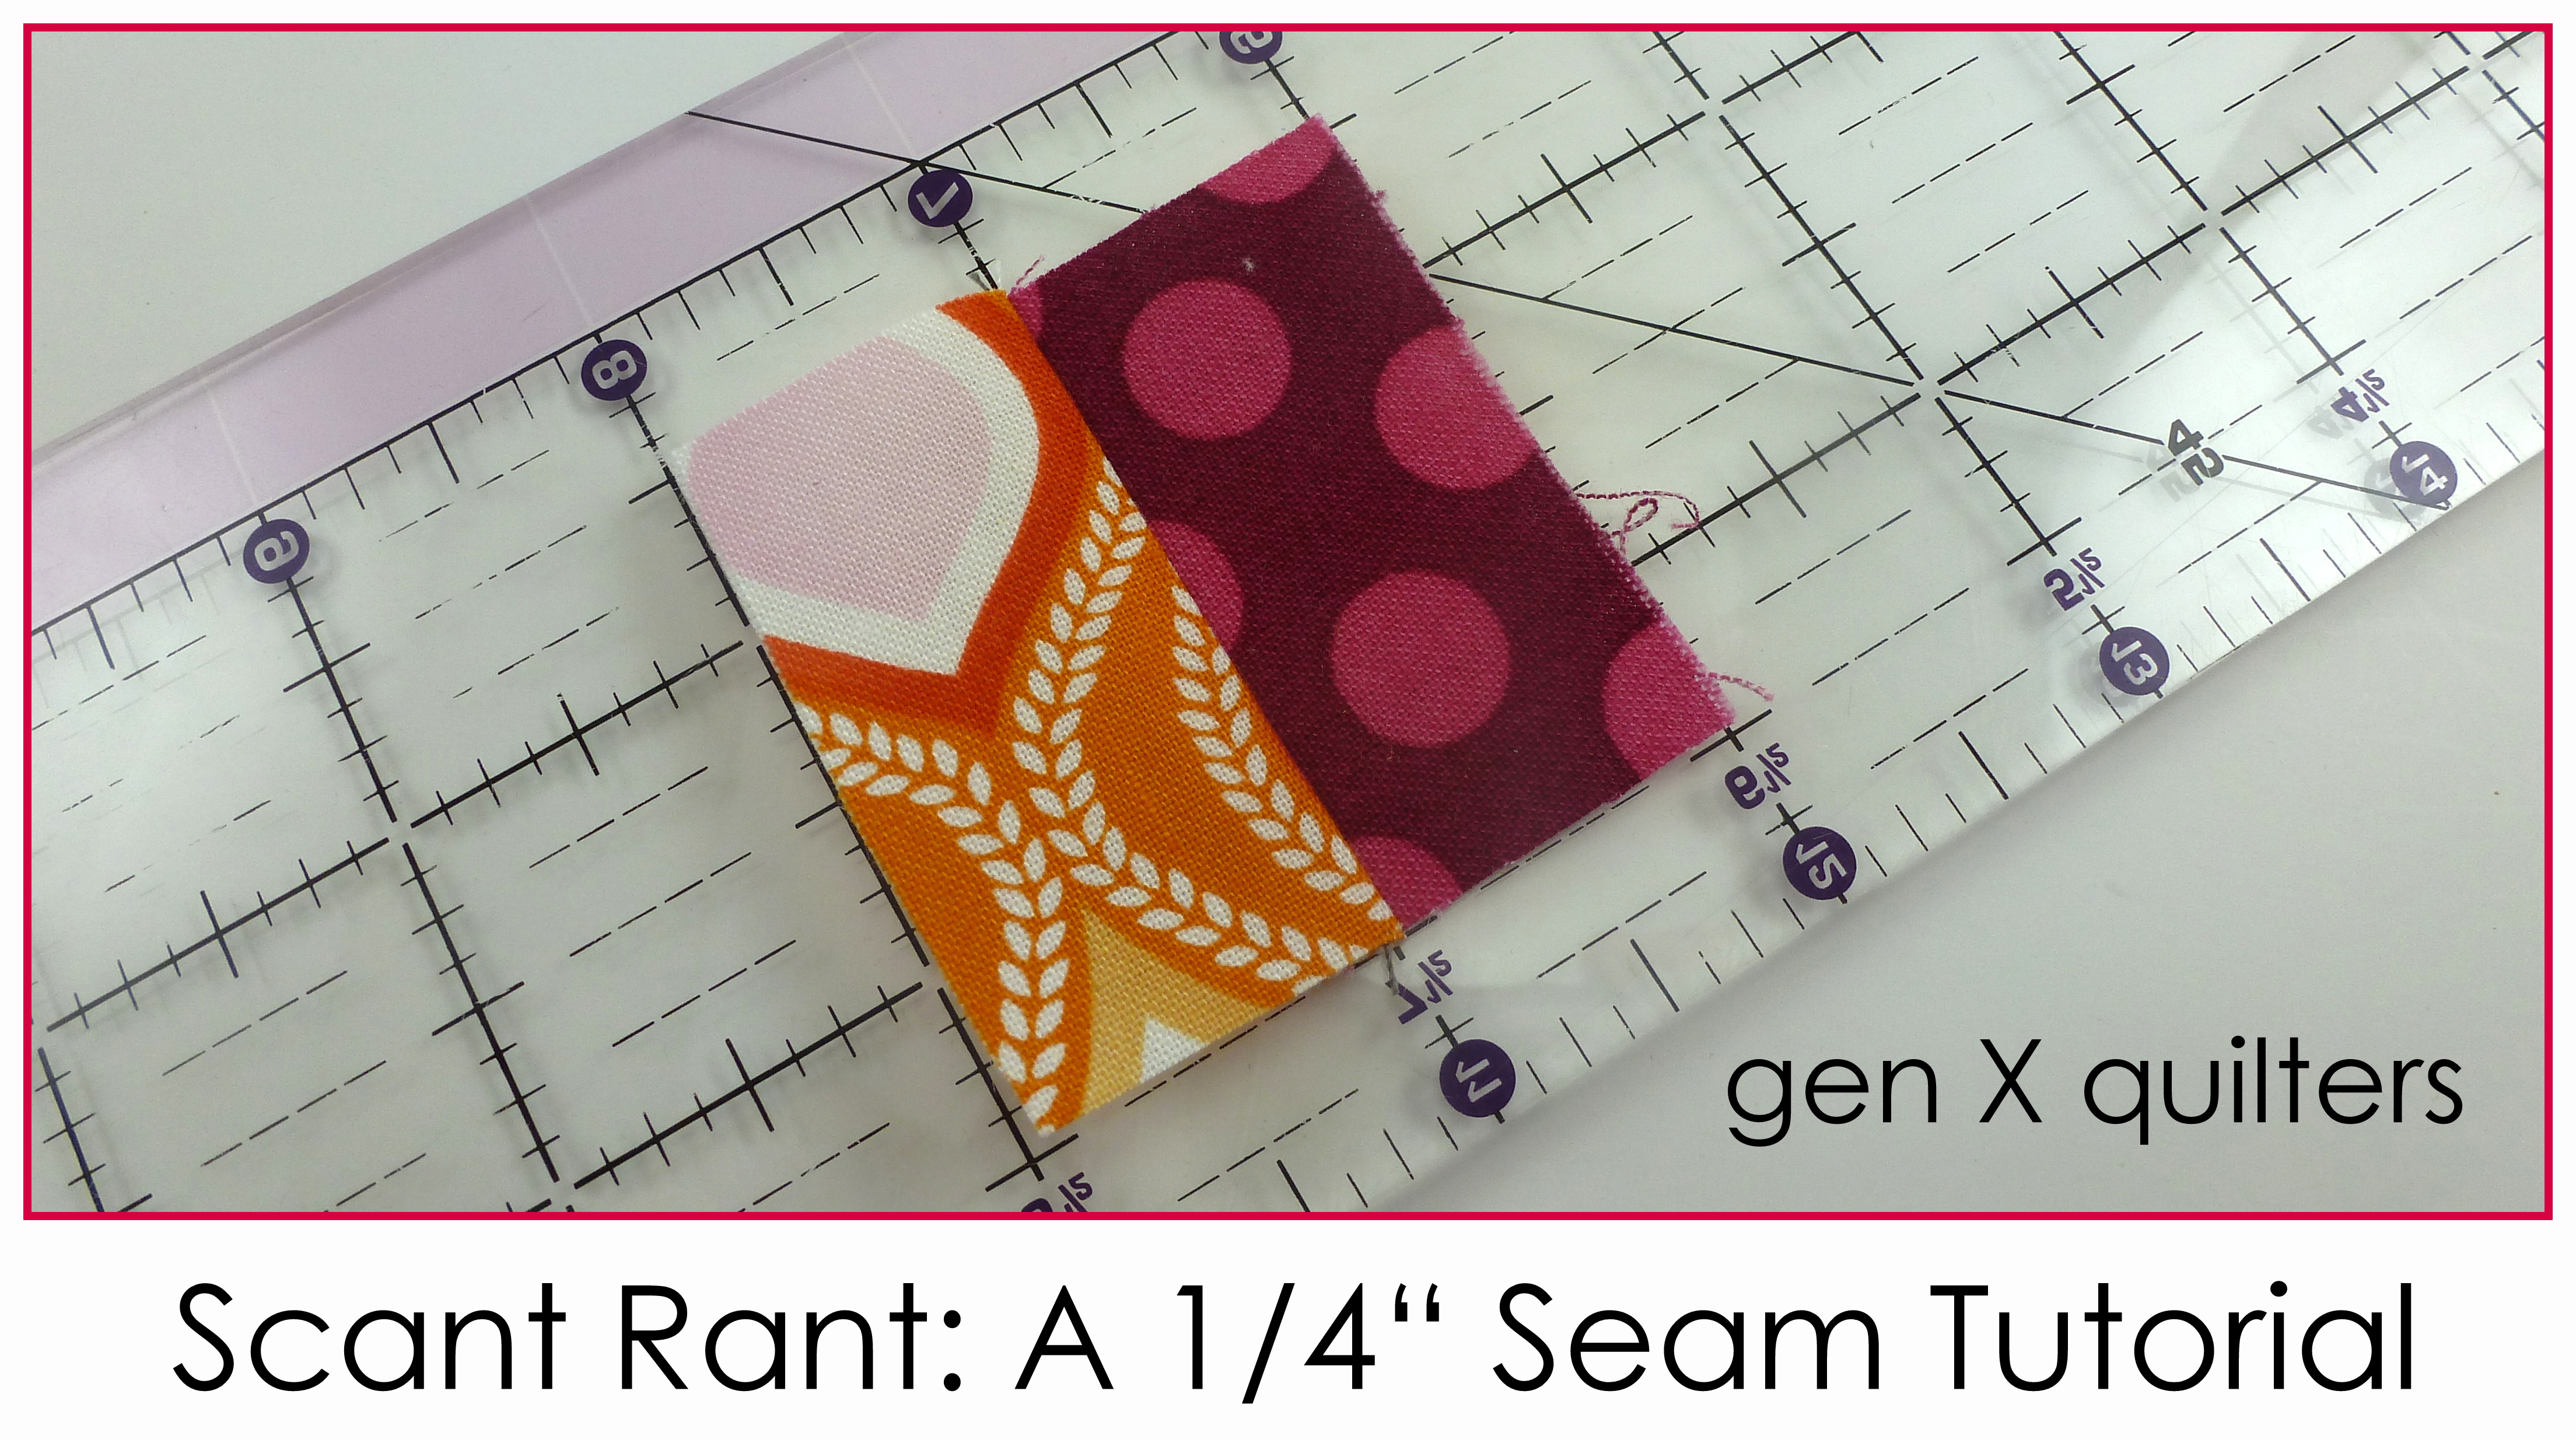
Hello there!  Today I am sharing my best quick quilting tip with you as a part of Amy Smart / Diary of a Quilter's Quick Quilting Tips and Tricks blog hop to celebrate her new book Fabulously Fast Quilts.  Hopefully this tip will help you see a little less of Mr. Seam Ripper.


In the 8 years I've been sewing, I can honestly say there is ONE thing I did that dramatically changed my piecing.  For many years, I pieced and pieced always to end up with blocks that were a little off.  Sound familiar?  I'd heard of a scant 1/4" seam and didn't really pay much attention - thinking I was using a foot that was supposed to be 1/4".  But what does the scant mean?

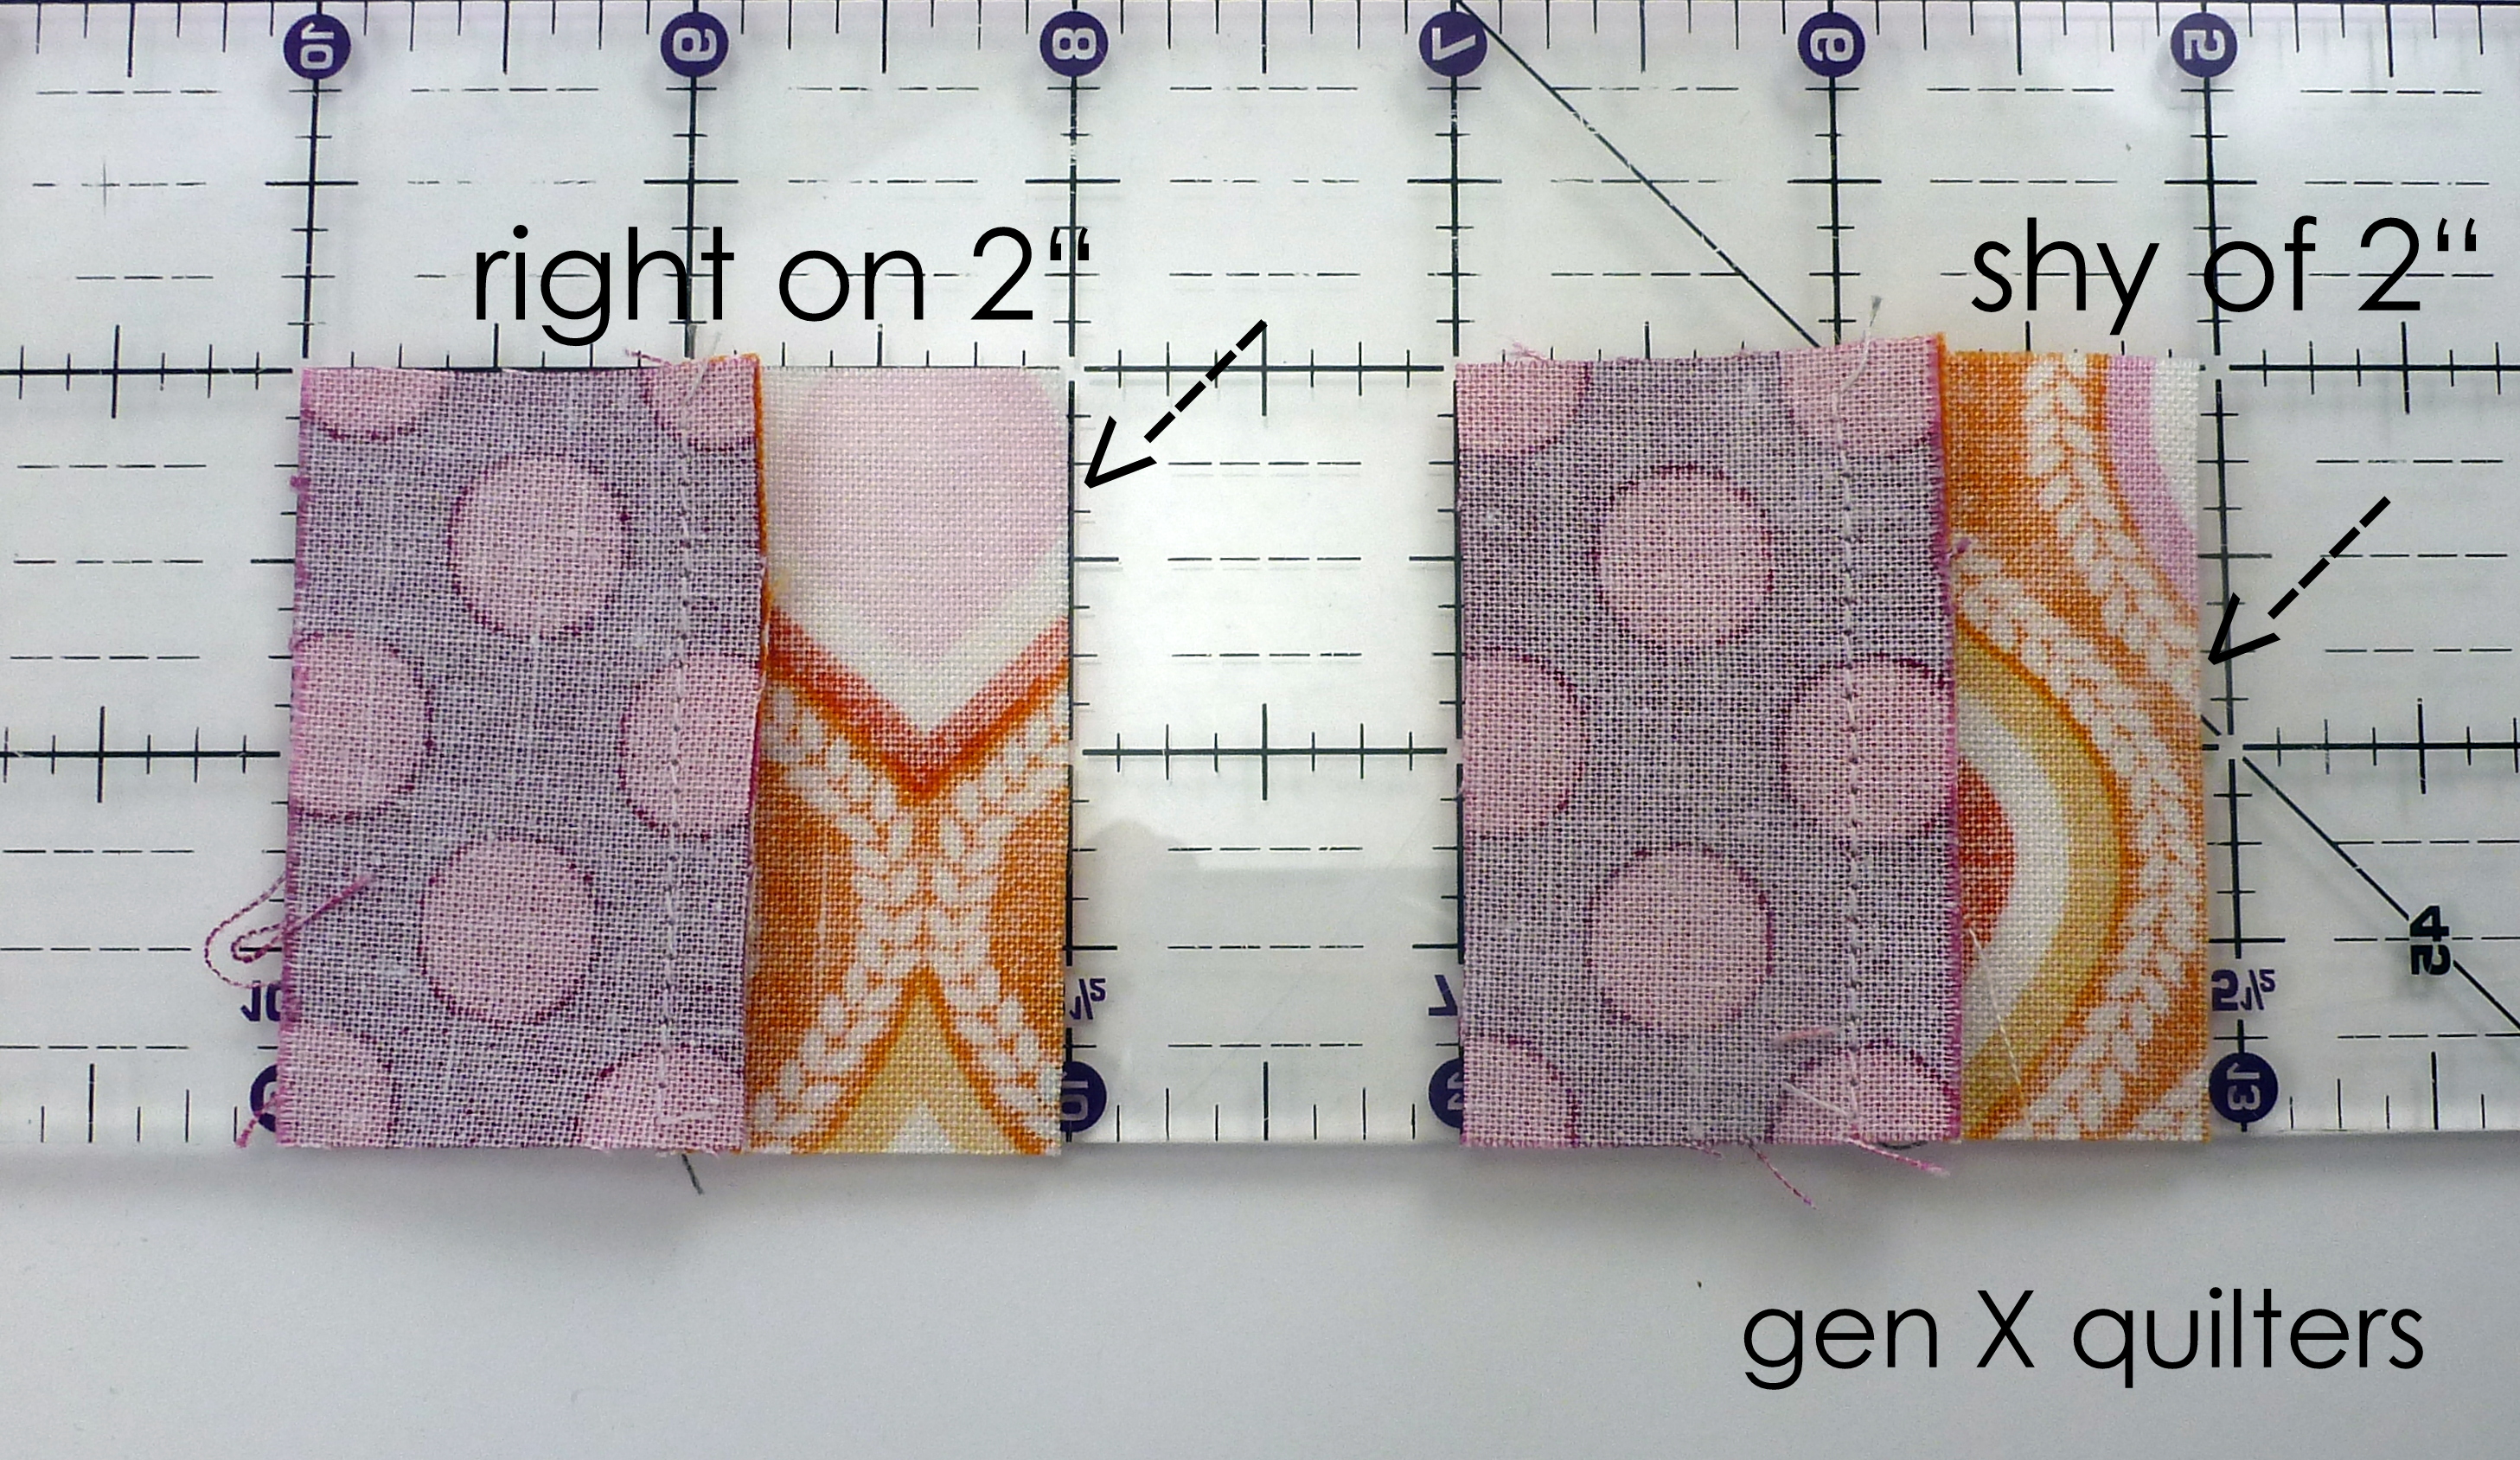
The term scant means just a thread shy of a 1/4".  If you never test for it, you don't realize that your thread and the pressed fold take up some space in the measurement, usually resulting in blocks being short of their required finished dimensions.  

The idea is to sew with a seam allowance a little bit smaller than 1/4" - then press open your pieced unit open.  We want <1/4" seam + thread diameter + fold to yield a pieced block that is right on the money.

There is a simple test you can do by sewing only 2 rectangles together to see if the seam allowance you are sewing with yields the desired measurement.

For basic sewing machines (Machines with Fixed Needles) - find the test instructions here.

For sewing machines with adjustable needle positions - find the test instructions here.

I also explored how the seam allowance is affected by pressing method here if you want to get crazy with it.

My suggestion is to perform this test for the way you usually sew - and then watch your blocks come together more accurately.  I hope this helps some of you avoid some headaches in the future!